Author Archives: bowtie6

The Old, The New…

I should be getting paid by GM for making this post, but I am not – unfortunately.  However, I just wanted to post this because it made for a cool picture.  I hope you agree…

I was over at my cousin Jim’s shop yesterday and three of his clients showed up.  I took the following picture which I thought was pretty significant.  A whole lot of technology on front of your eyes actually.  Both of these beauties represent the very best from Detroit – back then and now.

And so, you get the idea…  The old, the new… 

Chevy, runs deep!  🙂


You Never Know…

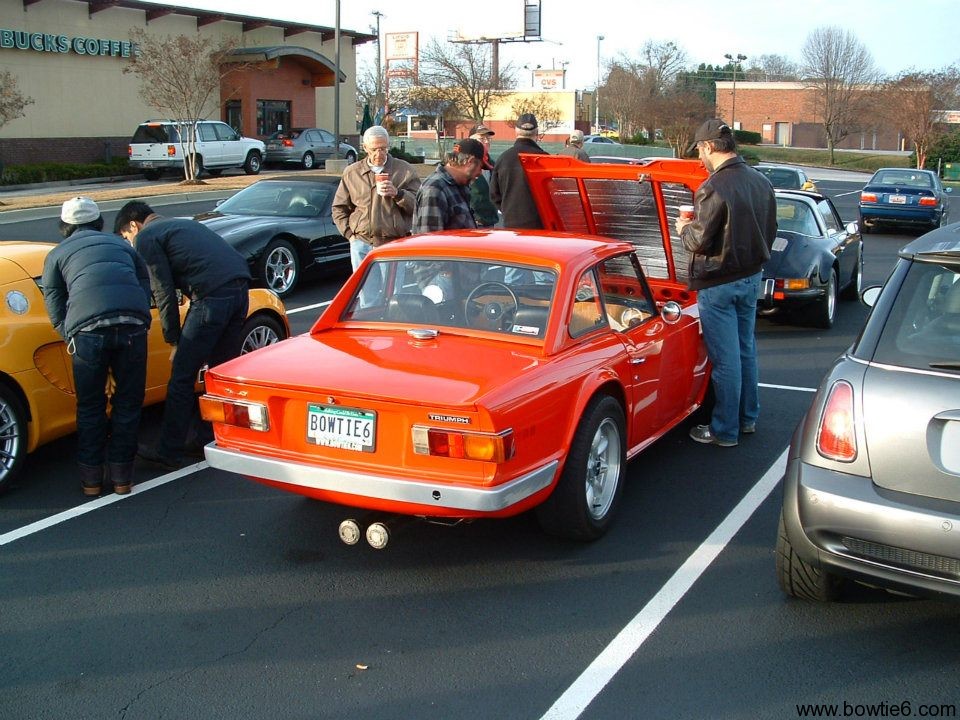
I’ve been driving bowtie6 quite a bit these days…  A bit cold, but with the new kicker heater it is nice and toasty.  I guess since we are getting around, you never know when you are going to get a mug shot.

My friend and fellow TR6 owner, Adam Beasley sent me a text message yesterday with this photo.  The photo was taken at the parking lot of a local barbeque place (they have really good BBQ there!).  Turns out a friend of his took the photo and sent it to him.  Since he knew Adam owns a TR6, Adam told me he made the comment that he had “…seen this red TR6 and it was in decent shape.”.  Well, yeah!  So moral of the story, one one drives a “classic” car rather than having it in a garage all the time, you might get your picture taken!  🙂

As a side note, yesterday I had a chance to visit a car show that is held every year here at the Expo Center.  Mainly, it is a showcase of new cars where one has the chance to check out new cars without the pesky, ignoramus “car salesmen” flying around like underfed vultures.  At any rate, several things I learned last night:

  • They had the full lineup of CTS Cadillacs.  The CTSV’s no less.  They had a new coupe and the sedan both with the kicker supercharged LS engine.  Both were clad in a very awesome metallic black paint.  Very nice indeed.
  • The new Ecotec 1.4 turbo is awesome!!  There were several Cruze examples with the new 1.4 and man is this engine impressive.  Physically, it is smaller than the 2.2 or 2.4 Ecotec and should be a really good candidate for transplants.  The turbo on these is tiny!  It is unknown though, if a five speed gearbox will hook up to the back of the engine.  Then again, maybe if we get a pair of pliers and a blowtorch we could medieval on it…  😉
  • Had a chance to get an up close and personal view of the new Fiat 500.  They had two of them.  A hard top and a convertible.  Well…  Hate to say it, but what a POS.  I had a chance to sit in one and the ergonomics are all screwed up.  The shifter is in the wrong place and talk about cramped.  These things are expensive and I hate to say it but looks like they are not going to “make it”.  And from what I have been reading, they are not exactly selling lke the proverbial hot-cake.
  • Supercharged Vette was also very impressive.


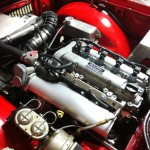
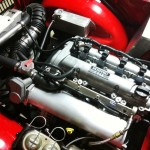
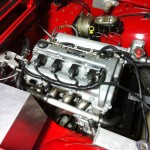
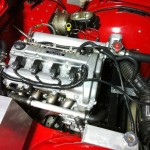
bowtie6‘s ECOTEC Engine

Quick post for today…  Just wanted to show what the whole shebang looks like these days…  The ECM box has a nice cover on it.  Looks pretty cool, huh?

Click on each picture for a larger image…

1917 Locomobile – Part 3

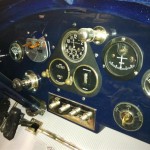
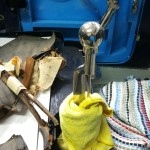
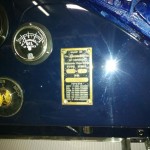
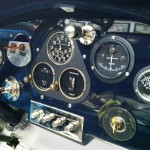
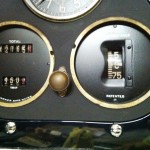
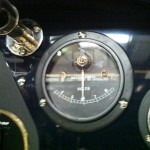
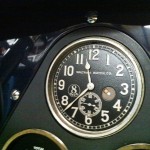
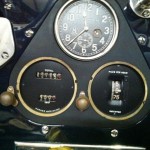
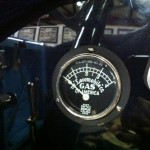
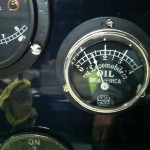
I have a new set of pictures of the 1917 Locomobile.  Mainly they are of the interior of this magnificent machine.  The gallery below has many interesting details about the interior.

  • The Volt meter, made by the Westinghouse Company.
  • The clock is a Waltham.  Imagine that!
  • Check out the speedo.  Max speed is 75 mph.
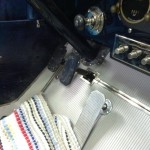
  • All the bits inside the cab are nickel plated.
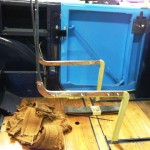
  • Check out the frames of the rear jumpseats…
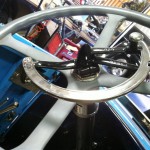
  • The steering wheel is pretty cool, with the “spark” and “fuel” levers.

Enjoy!

TR6 Bonnet Rod

After installing countless sheets of Dynamat Extreme all over the place ($$), thick sound proofing carpet backing, new carpet, plugging up the firewall for any small holes, modifying the exhaust and misc other improvements, bowtie6 is very quiet now.  While this is a great thing, it also brings with it the ability to notice other smaller aggravating sources for noise. I started noticing a very annoying squeak from underneath the bonnet (the hood).

This darn squeak would happen on bumpy roads as well as smooth blacktop.  Since it was coming from under the bonnet I started adjusting stuff.  I made sure the two rubber bumpers were up to snuff, made sure the latch was nice and centered and double checked all bolts.  Fender bolts, hinge bolts, grille, the works.  Still – squeak city.  Damn.

While visiting with a buddy of mine that works on TR6’s – Mike Richardson – over the holidays, I discussed the annoying squeak.  We went for a ride, and Mike laughed and said, “It’s the bonnet rod!”.  Duh!

Mike suggested a couple of things.  The first was to tighten the nut holding the rod in place.  Mike reached into his toolbox and pulled out a 7/16″ wrench and tightened the nut just a tad.  Since Mike restores TR6’s back to “original” I figured this might do the trick.  Well after chewing the fat for a while, I headed back home.  Damn squeak was still there.

Remember I said above he suggested two things?  Mike suggested that if after tightening the nut it still squeaked, to take a closer look at the rod and see if there was any evidence of it rubbing on the rod guide on the body.  Sure enough, there was a shiny spot on the rod where it touches the guide.

Properly mounted the rod nut should be a loose fit.  This enables the rod to fall in place into the recess on the rod guide when the bonnet is lifted open.  If the nut is too tight, then gravity cannot let the rod fall in place and one has to manually intervene, which is not good.  Mike said this is out of the “Original Restoration Handbook”.  Hmmm…  I guess I never read that book.  Shame on me.

However, leaving the nut a little on the loose side – according to Mike – the rod has a tendency to bounce and move around.  This is how that shiny spot forms on the rod and thus the source of the squeak.  Hmmm.  I guess the “purists” know a thing or two I don’t know.  Imagine that.

“So, how do I fix this?”, I asked Mike.

Mike looked at me and said: “Get some shrink wrap and cover up any shiny areas.  This will solve your squeaks”.

So when I got back home, I opened my toolbox with all my ‘lectrical stuff in it and found the appropriate size shrink wrap.  I cut an appropriate length, aligned it over the shiny areas and let the hot air gun do the rest.  This is what it looks like:

I put the nut back on, careful not to tighten it too much (in accordance to the “Original Restoration Handbook”) and went for a ride.

Well folks, that did the trick.  No more annoying squeak.  Imagine that.

So if you have an annoying squeak under the hood that is driving you nuts, you might be able to do a similar fix as shown above.  Mind you, it will not score you many points with the judges but I can’t stand squeaks.  Of course, in my case…  who cares what the judges say!

Thanks Mike!!!  🙂