Restoring a vintage stereo console is a project I’ve wanted to work on for a very long time. I know, these things are dinosaurs from an era long gone, but I have always had a certain affinity for them. Finally, a couple of weeks ago I found this piece of furniture and decided it would make a great candidate for restoration – ahem – upgrade…
 Some History
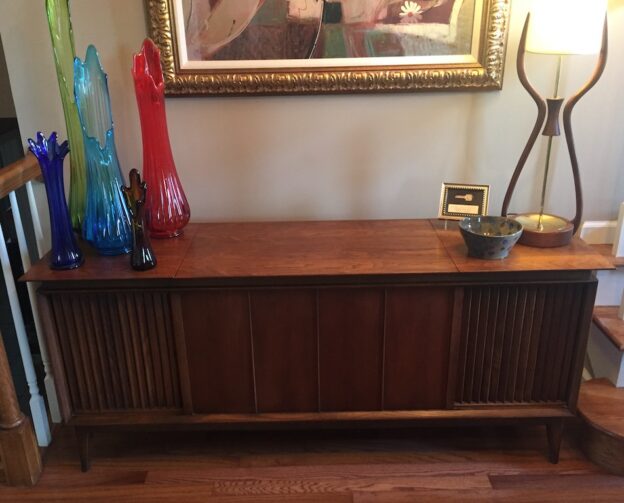
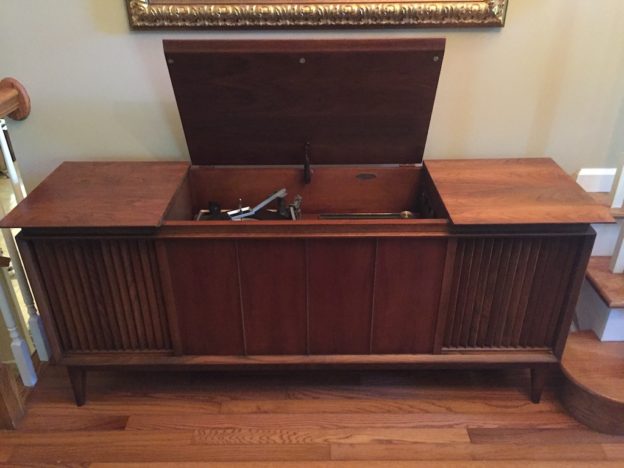
Back in the 60’s a console was one of the nicer options to bring hi-fi sound home. “Separate” components would make the scene a few years later, but this was the way to go in those early days of stereo sound. This console consists of two stereo speakers on either side. The center has a lift-up lid that when opened, displayed the magic:
 On the left is an automatic record player with a selector for different speeds and on the right, a tuner/amplifier. Oh and don’t forget a compartment to store records.
This is the audio only version of the console genre: there were also larger consoles that would not only have the above components but would also house a television. The TV would be in the center and usually had sliding doors to hide the screen. My aunt had a Magnavox console with the television set in the center and it was awesome!
The Project
 This particular console is a “Silvertone” made for Sears from sometime in the mid to late 60’s. As expected for a piece of furniture of this era, it is very, very heavy.
I plugged the power cord in the outlet and sure enough, the receiver’s lights came on. Unfortunately nothing but static and hissing came from the speakers. I switched the record player on and as expected nothing happened. I wasn’t expecting much, after all don’t forget this is almost 50-year-old components.
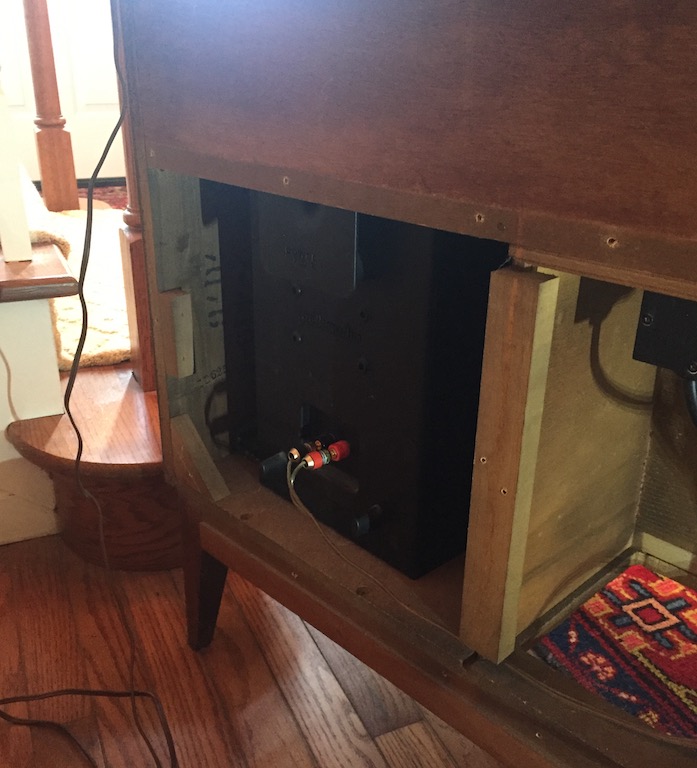
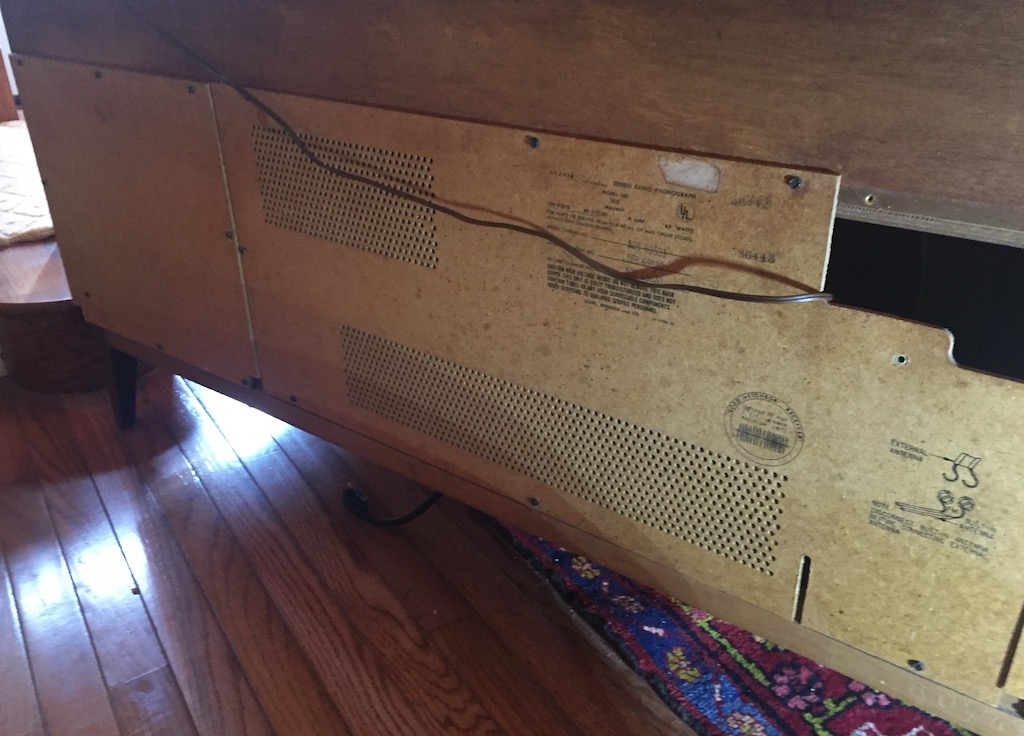
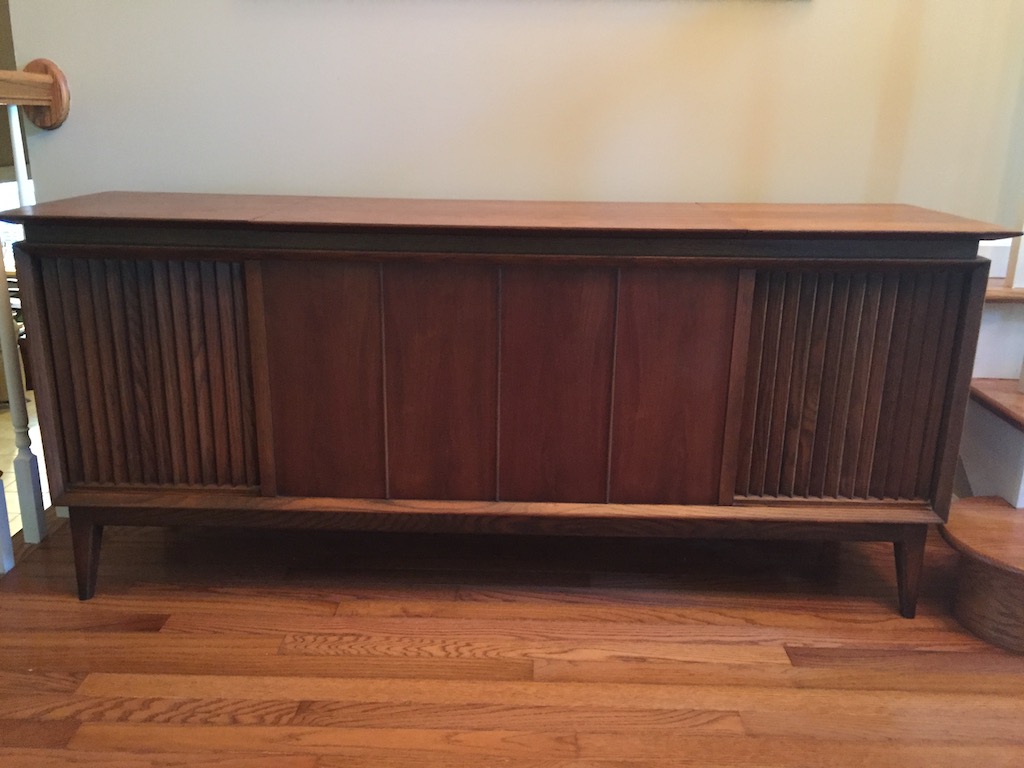
Today, I decided to open the console and disassemble the components. From the back, this is what the console looks like…
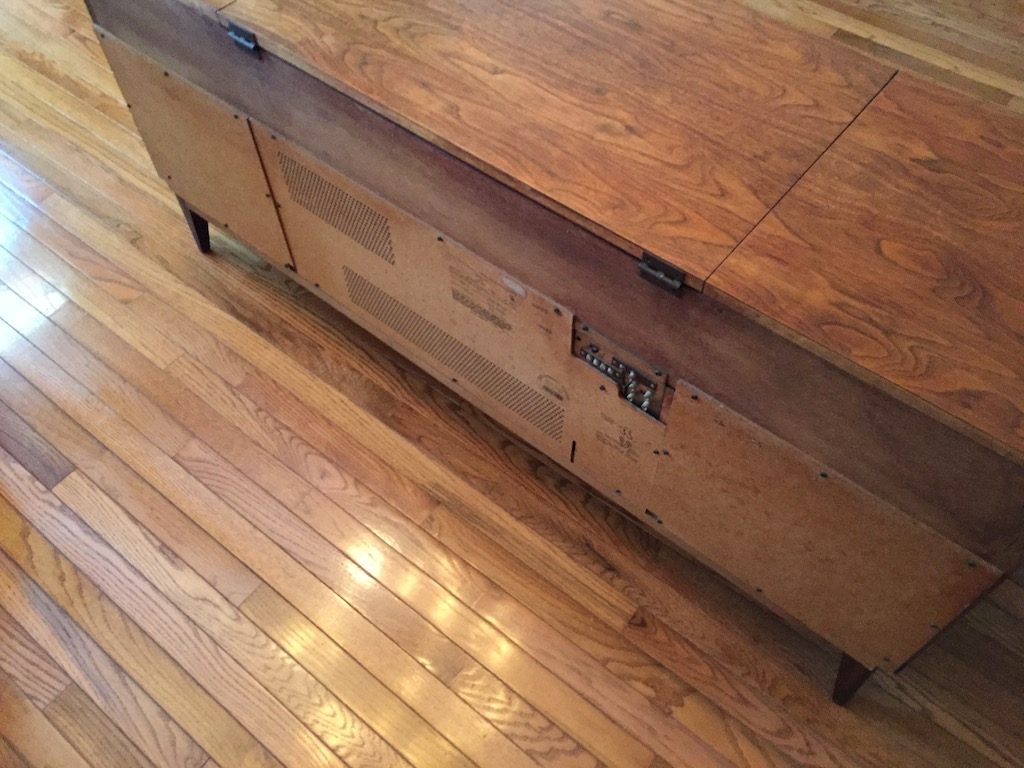 And as expected, there are three separate compartments. To the extreme left and extreme right you can see the back covers for the speaker enclosures. In the center, the cover for the amp, tuner and turntable mechanism.
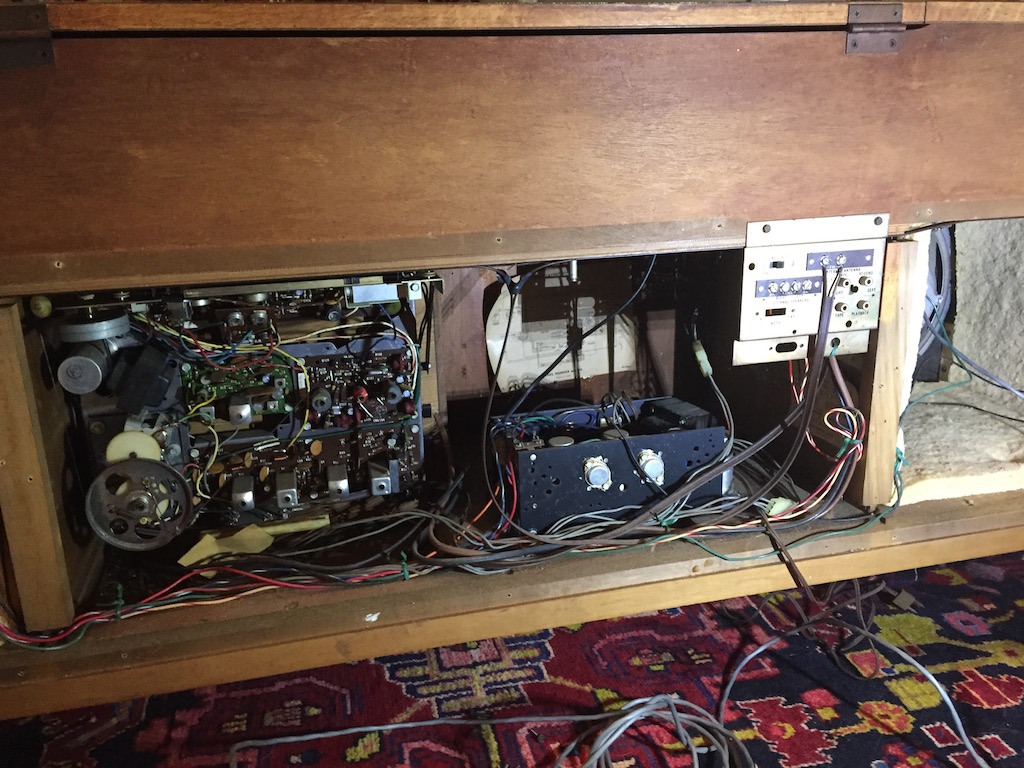
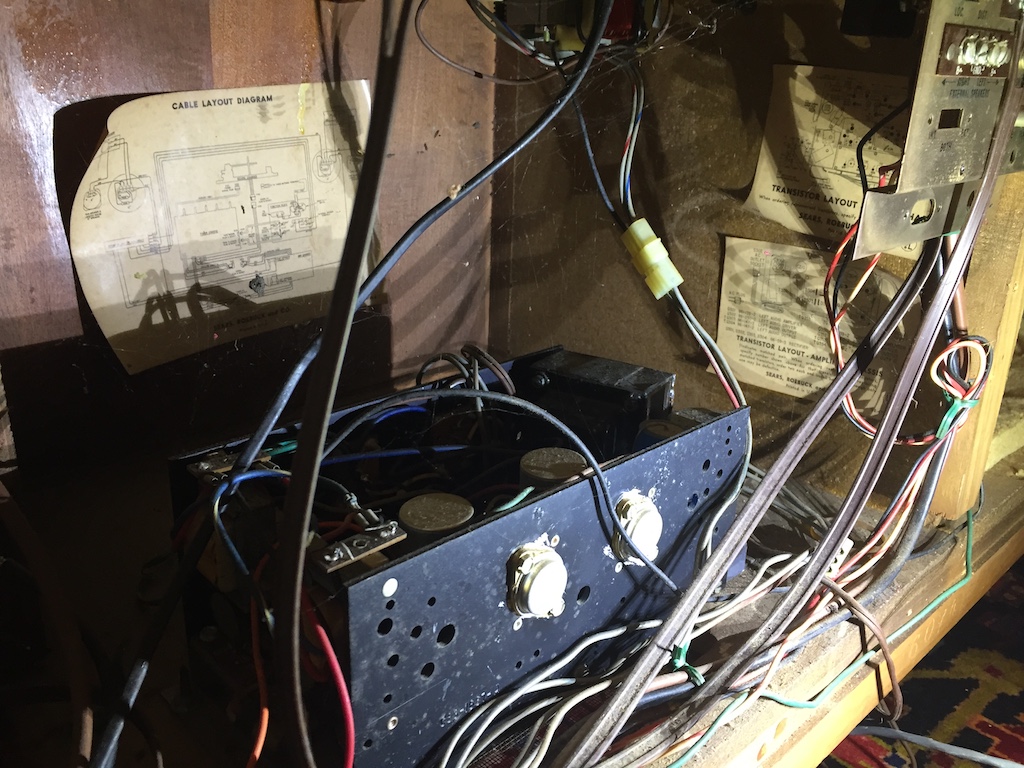
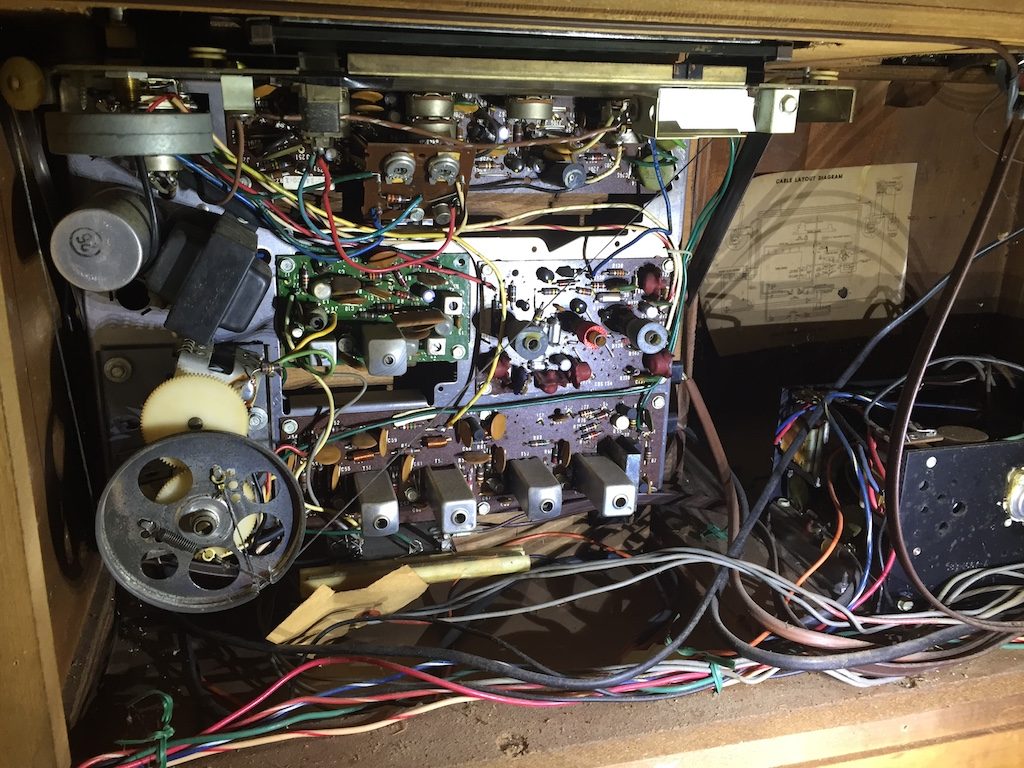
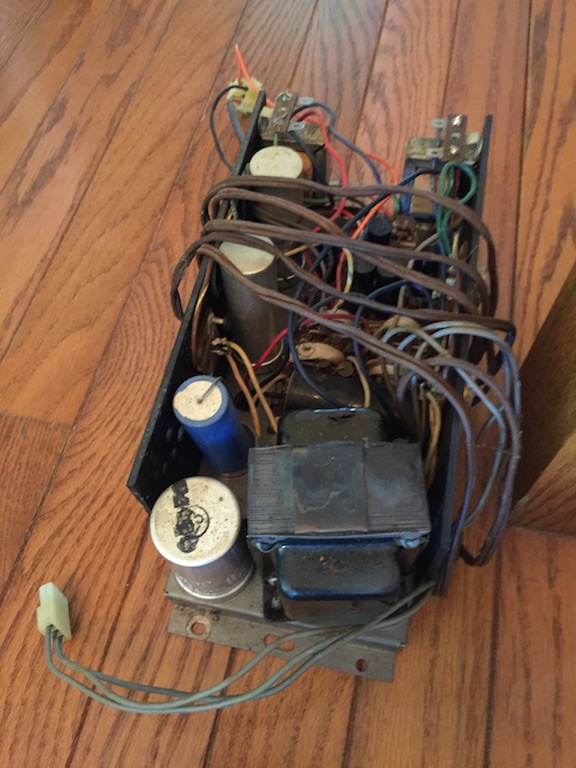
 This stuff is ancient! I found brittle connectors and cables as well. Also, to the right of the power supply/amplifier I found two shriveled up belts (possibly from the turntable mechanism).
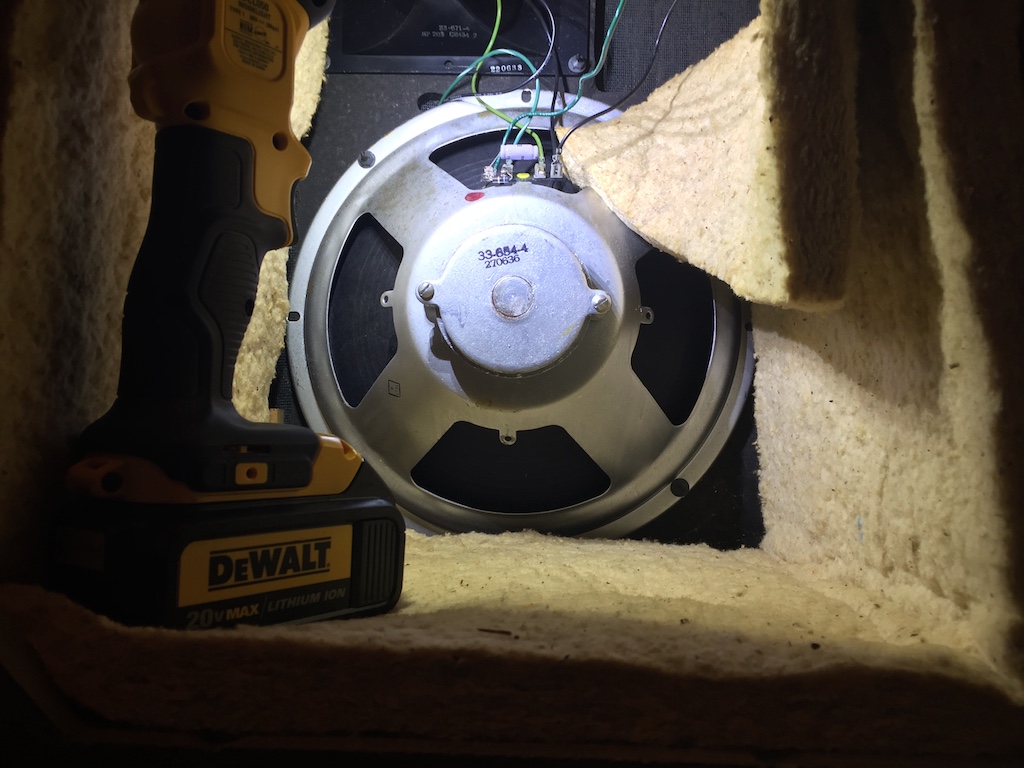
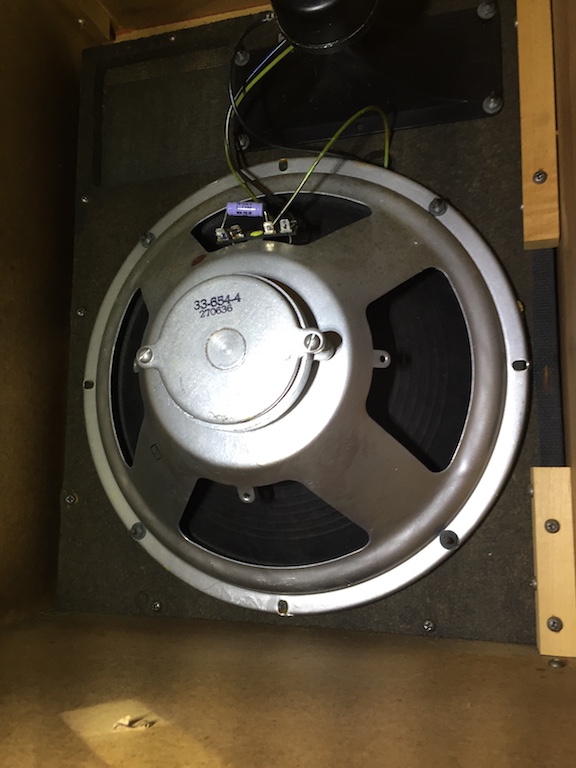
 And next, this is what I found in the speaker compartments. As it turned out, the big woofer is a paper cone affair with a very small magnet and a horn tweeter at the very top. You can see that in the second photo below. This must have been state-of-the art when this console was sold but by today’s standards this is not so great (more about this later).

 Taking it Apart
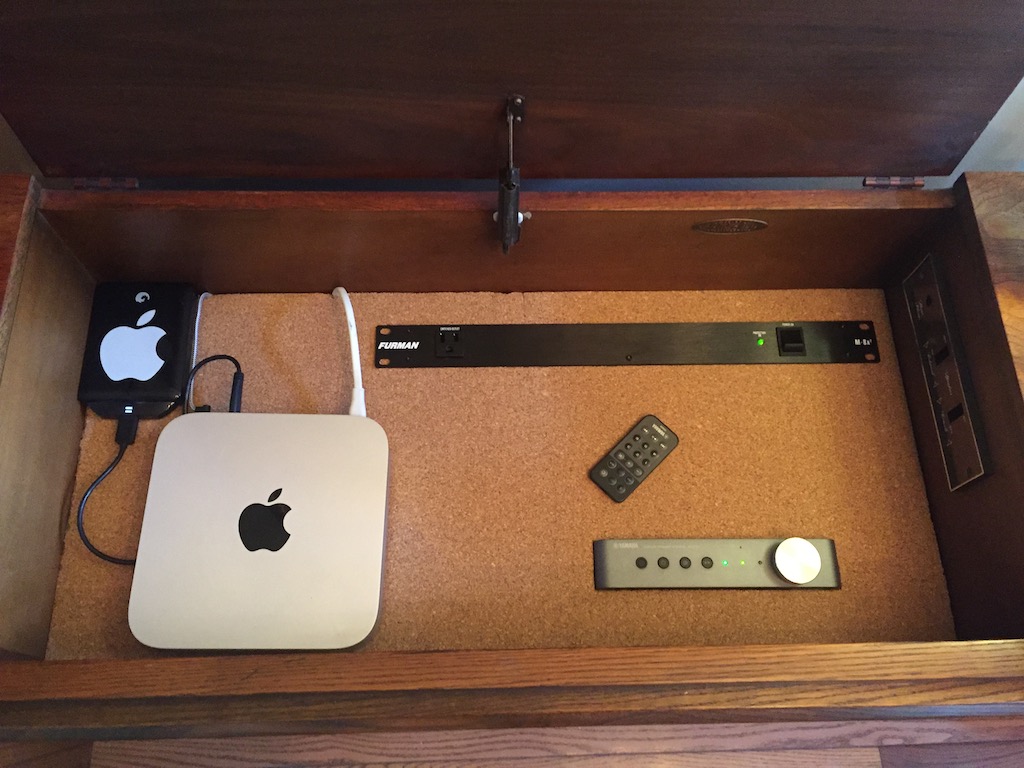
Since none of these bits work and the cost to repair would likely be high, the sensible thing to do is to gut the console. My plan is to replace the old components with a modern integrated amplifier with bluetooth and upgraded speakers. This way, I can stream music from my iPhone or iPad and in the future I can get a modern turntable for playing my old vinyl collection.
Taking the components apart took patience. I started by removing the power supply/amplifier by disconnecting wires from the tuner. There were several that had to be cut but eventually the unit came out.
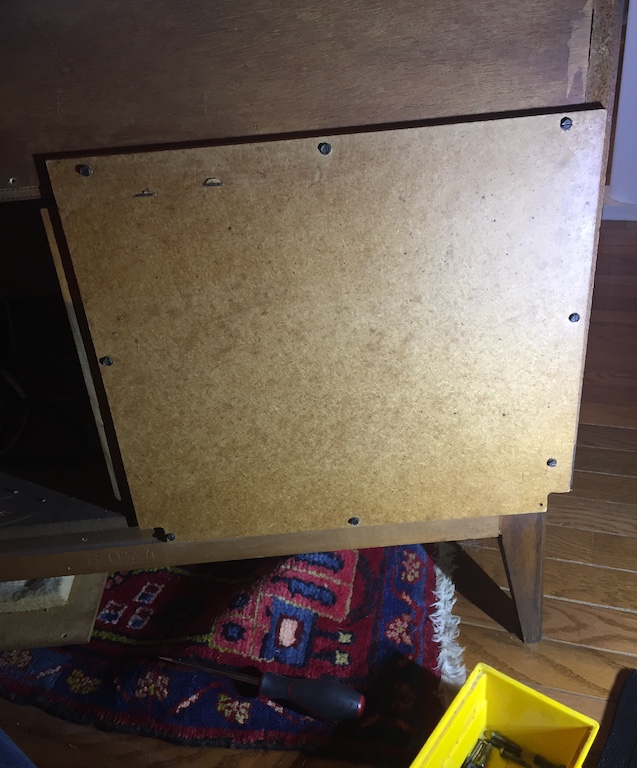
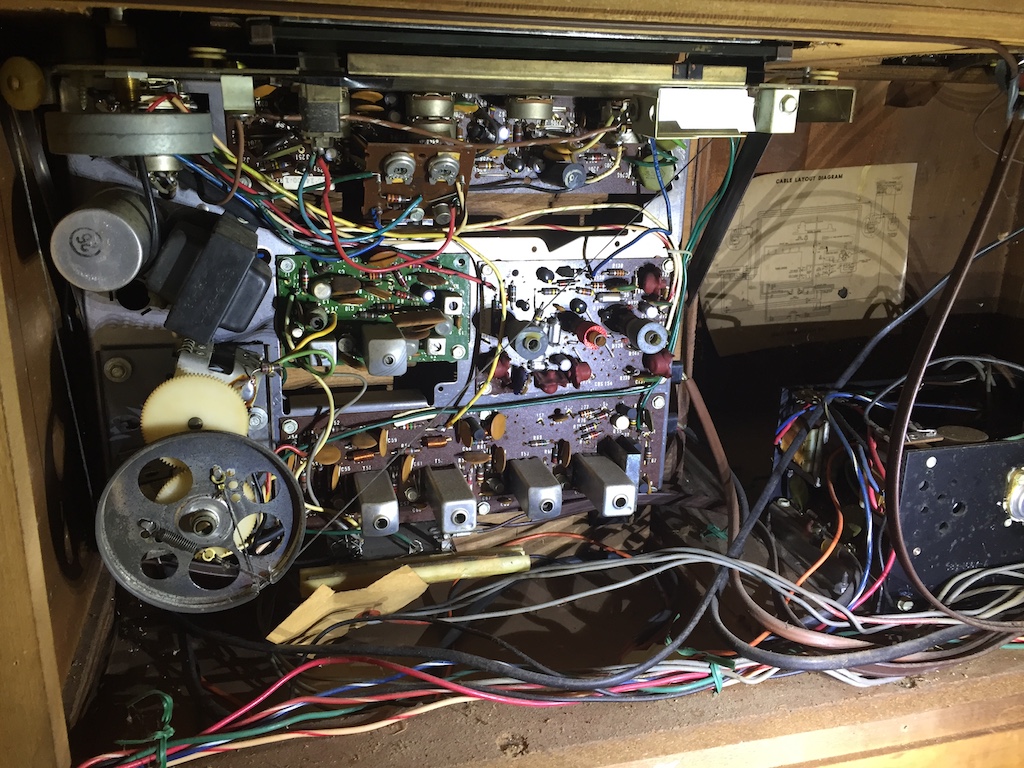
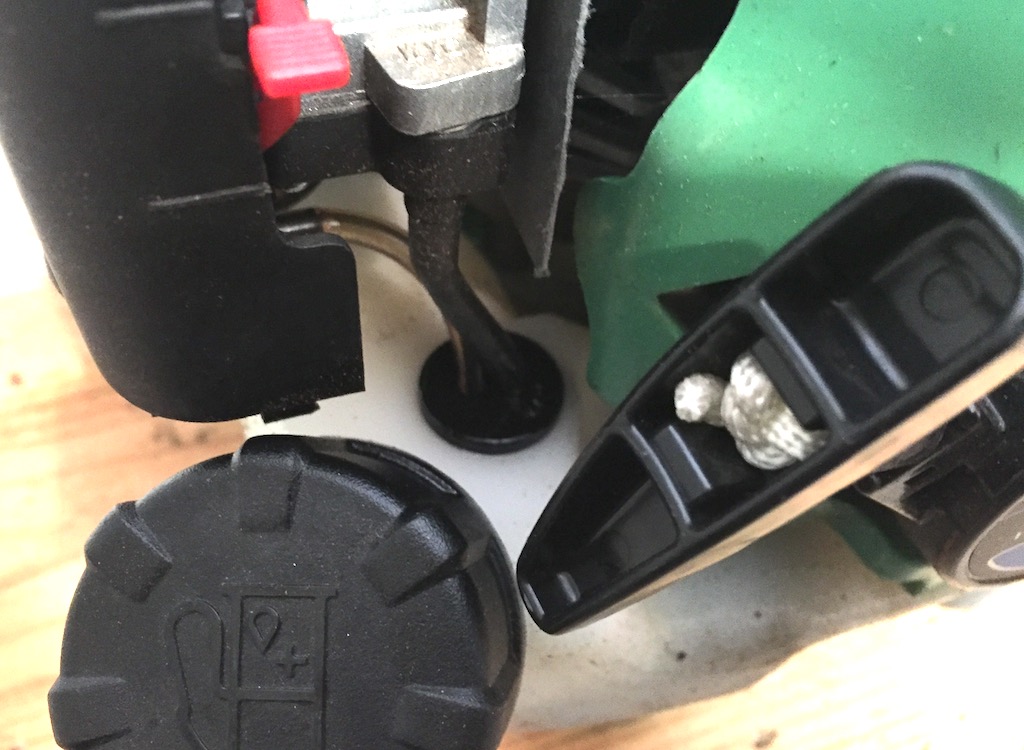
 Next, the record player. This is what it looked like from below:
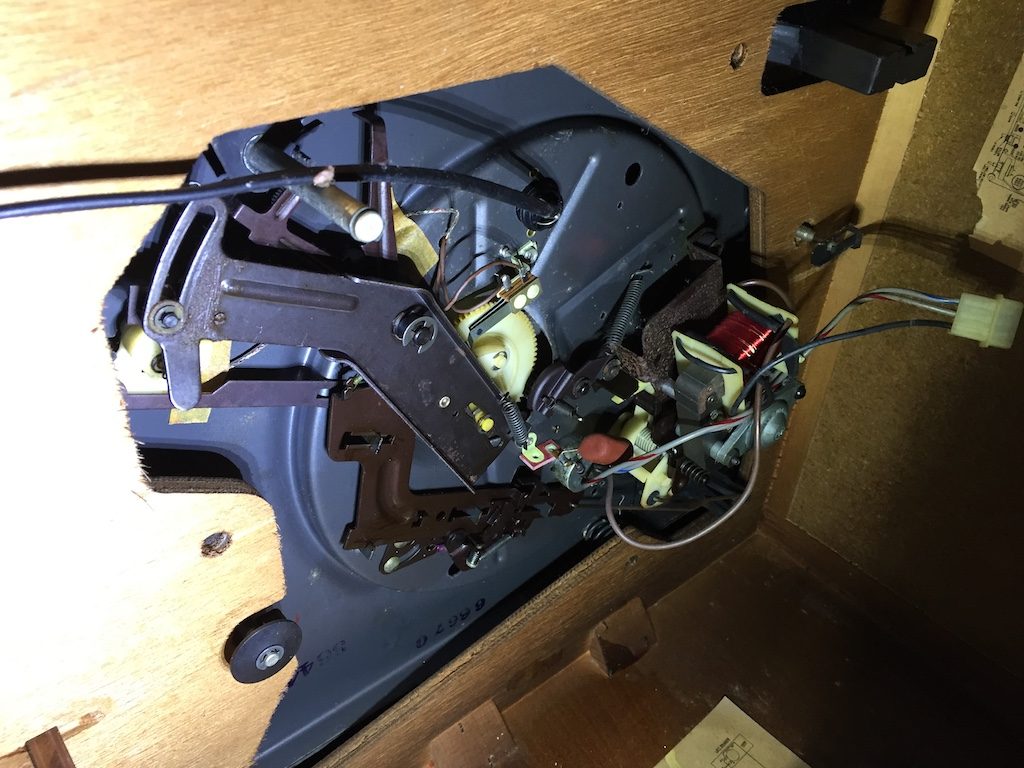 It took some doing, but eventually I figured out to remove the safety pin from one stud (above right) – then the whole thing just rotated up. The record player’s mount consisted of three springs and foam, which by the way had almost completely deteriorated to dust.
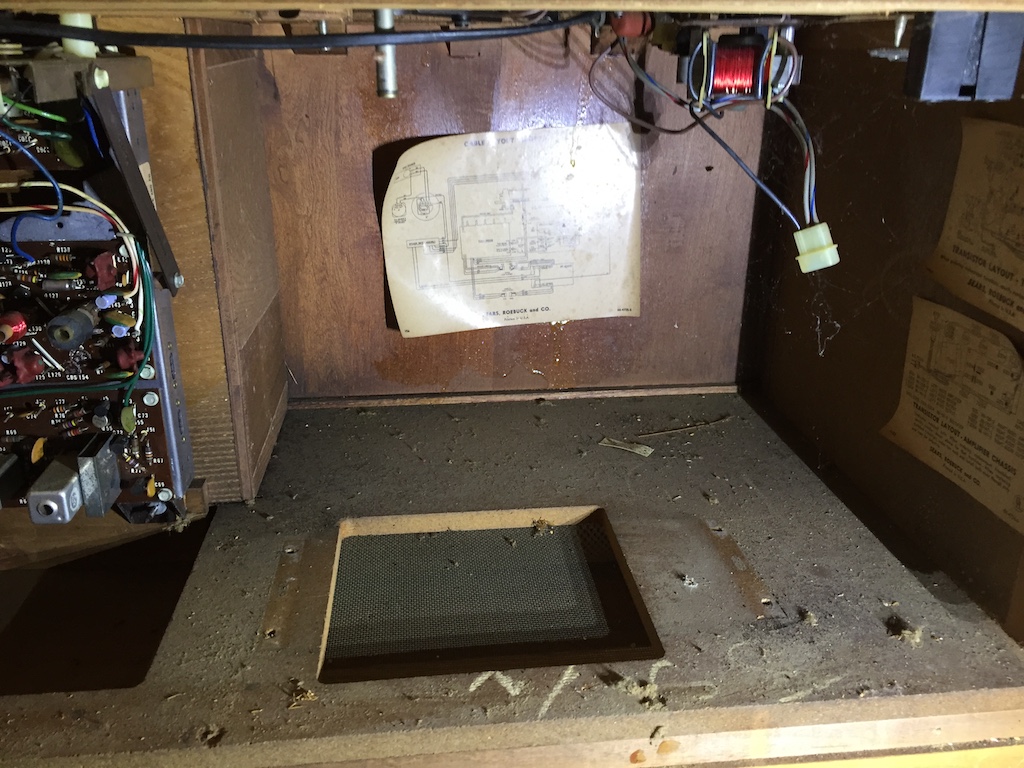
The last piece of hardware to go was the tuner. This took patience but eventually it came out. At the end of the day, the piece of furniture is now empty! There is quite a bit of room left to design a new top to house new components.
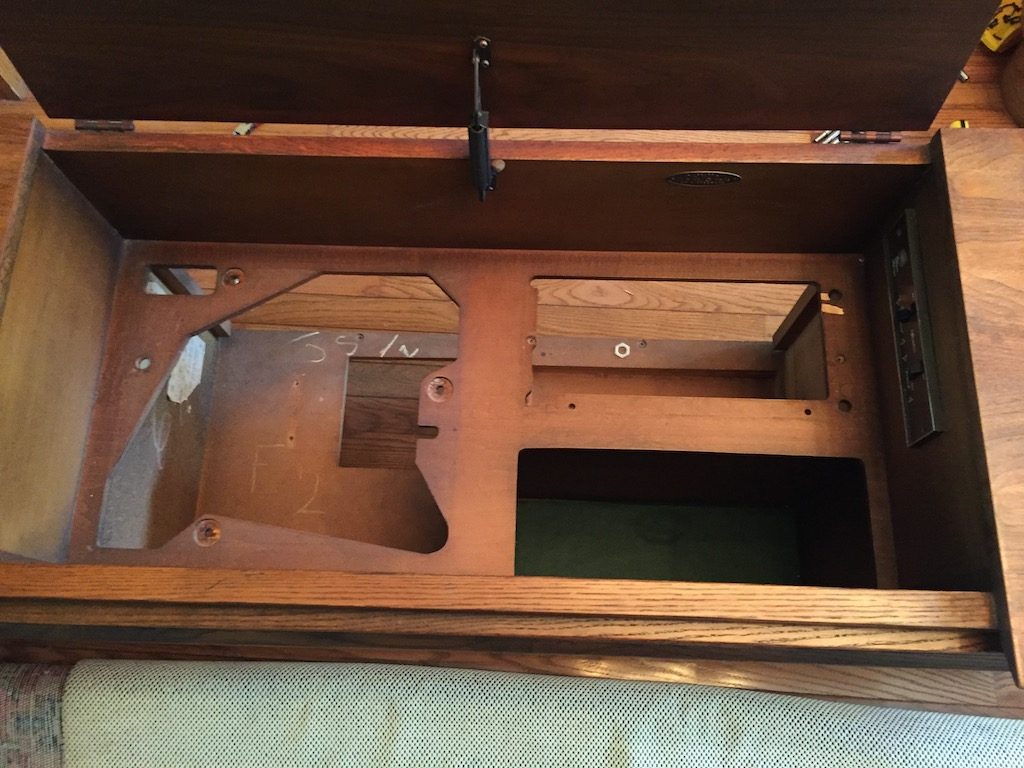
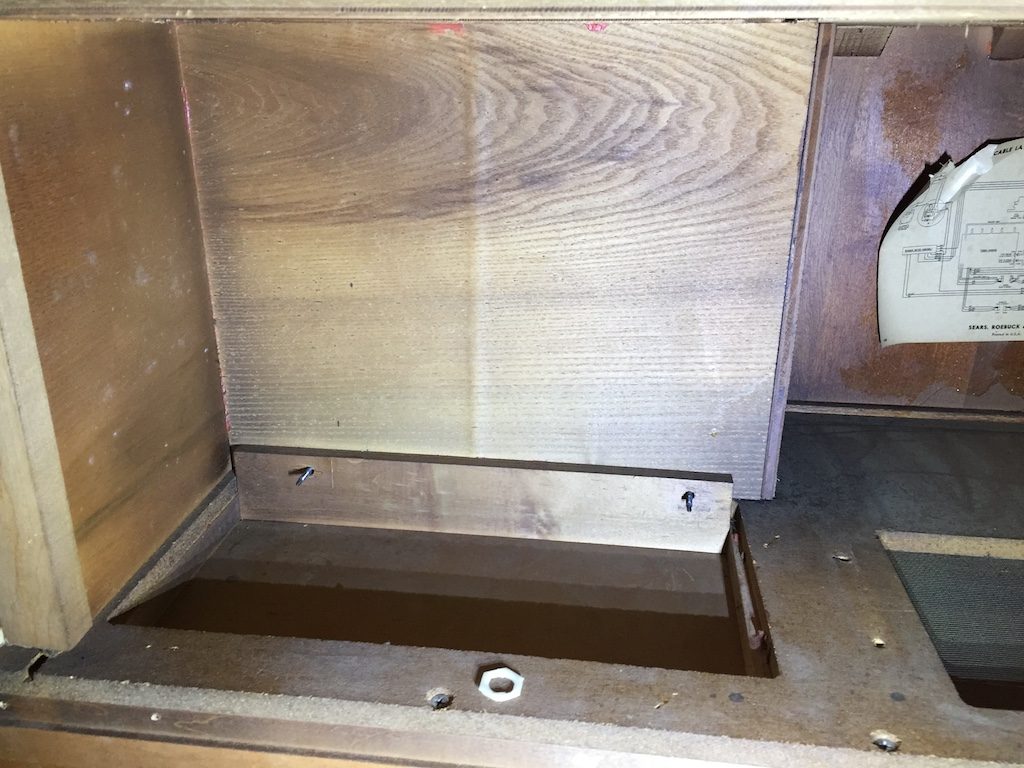
 The top picture is looking at the console from above. Once I figure out my new components, this will be cut where needed and a new top made to fit. The last two pictures show what the lower cavity looks like. You might notice the holes on the “floor” – those were there to help vent the old components.
Finally, the speakers. This part was very dusty and smelled bad. The sound baffling insulation was covered in 50 years’ worth of dust. Once I had that nasty stuff out, I started by removing the paper cone woofer, shown below…
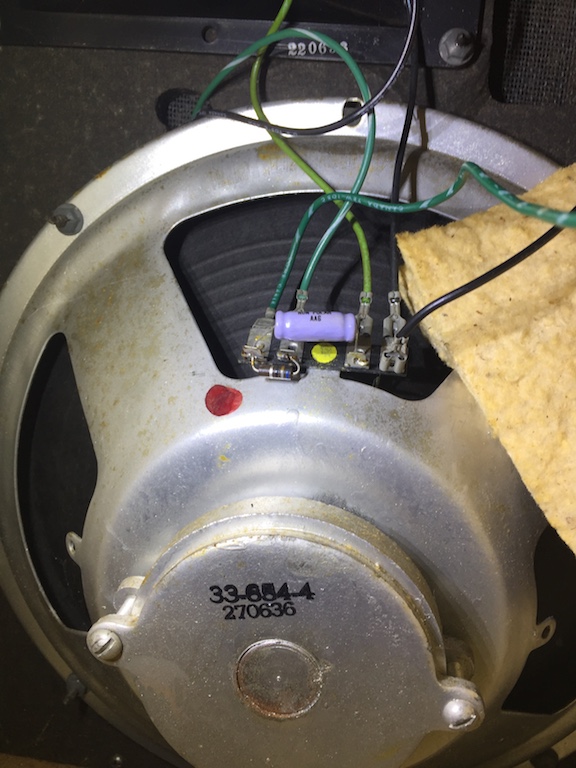
 Once the woofer came out, I found this:
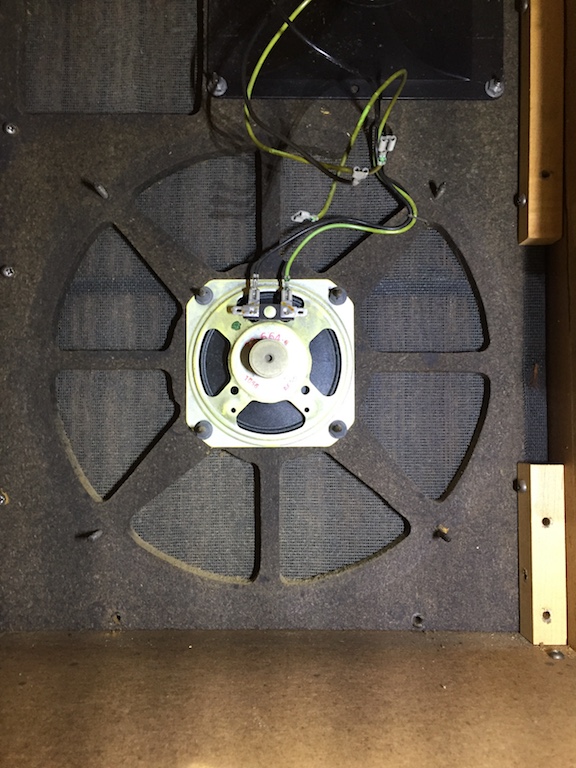 LOL! A center mounted mid-range driver! At the very top, this is what the horn tweeter looked like:
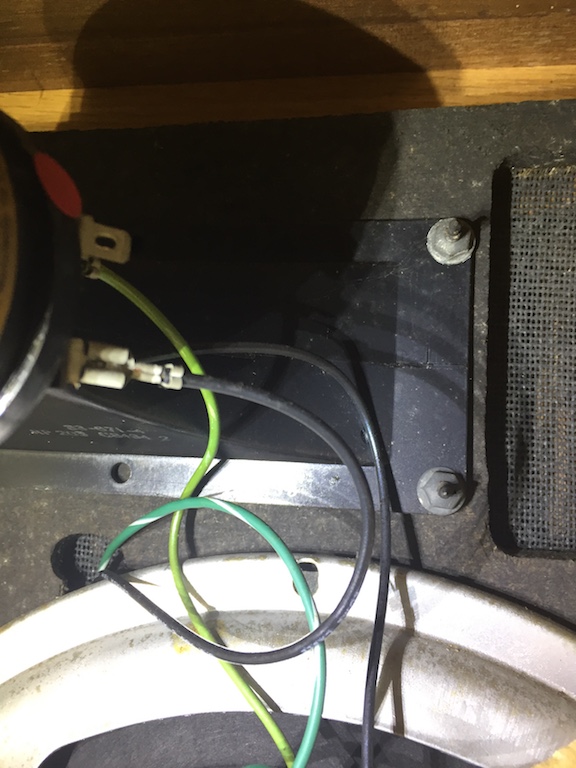
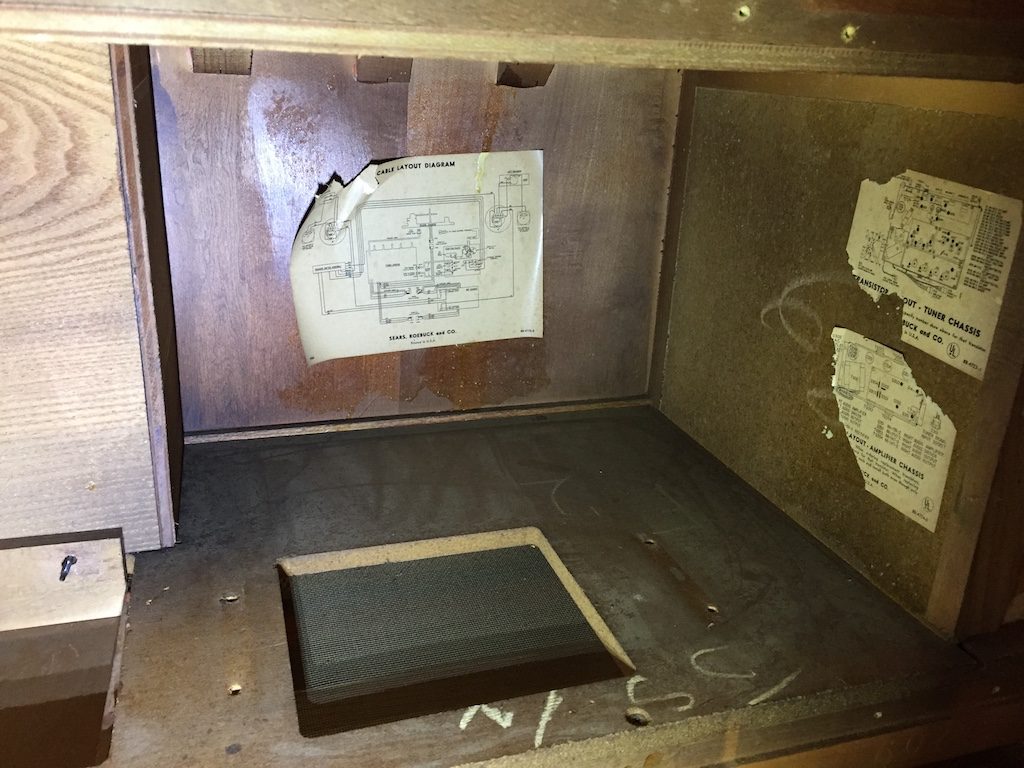
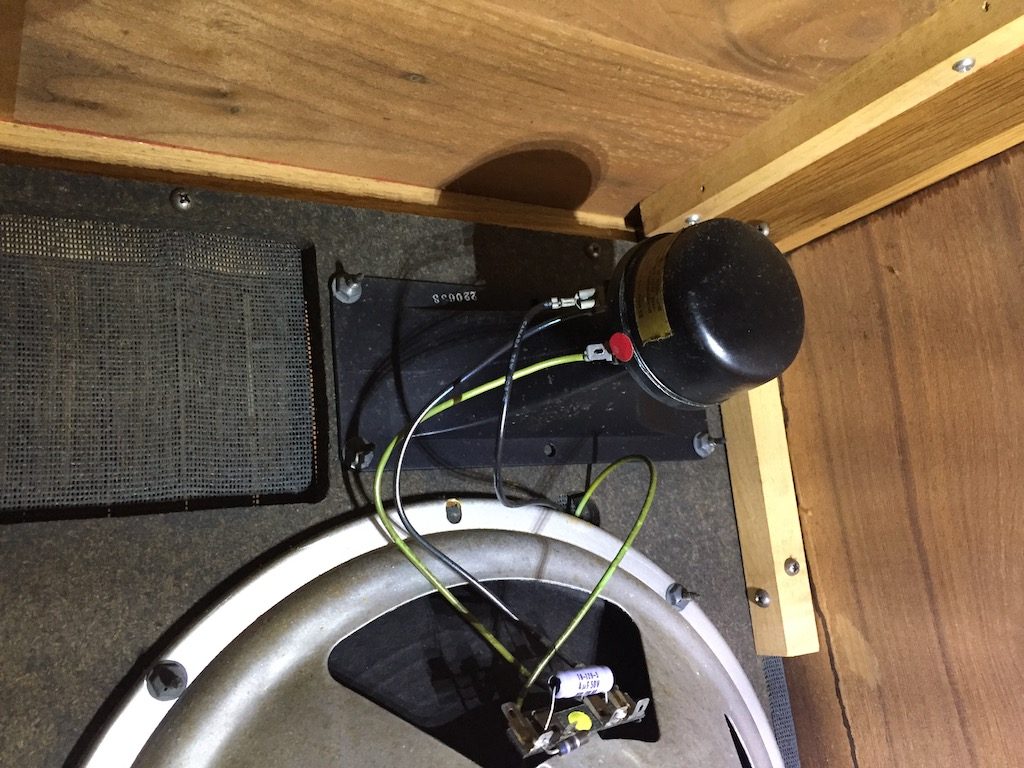 Eventually, the horn tweeter came out and I was left with only the dark gray mounting plate attached to the inside of the console. Screws held the mounting plate in place along with the dowels that you can see above. You can also see the mesh on the other side of the port in the picture above. That mesh was covered in dust too.
What Next?
Well, this is where the fun begins!
At first, I thought I could re-purpose my vintage NAD 1700 pre-amp by mounting it vertically inside the console after making a new top. But, the pre-amp is way too wide and has no bluetooth built in.
After several Google searches I have found a few alternatives. They are all more modern integrated amplifiers with a very small footprint. I’ve found some with old-fashioned tubes (which would look cool as heck) and the others made from solid state components. The majority of these modern integrated amps do have bluetooth and some even have a built in DAC and digital input from a computer. Very nice options indeed.
I’m also researching the speakers. I’ve found a couple of “kits” I can adapt to fit inside the speaker compartments, which are large enough for a nice option. Then again, I also have a pair of very nice PSB bookshelf speakers. However they will need a small subwoofer and real estate is tight.
So, stay tuned. I’ll have more articles as the project takes shape! And if you have any suggestions please let me know. This will be a fun project!
And while on the subject of music… May the road go on forever for the Midnight Rider… RIP Greg Allman… Ramble on…
Update:
Care to see how the console looks like today? For a followup article, see the Restored Vintage Stereo Console page.