Category Archives: Accessories

Accessories

New Honda Battery

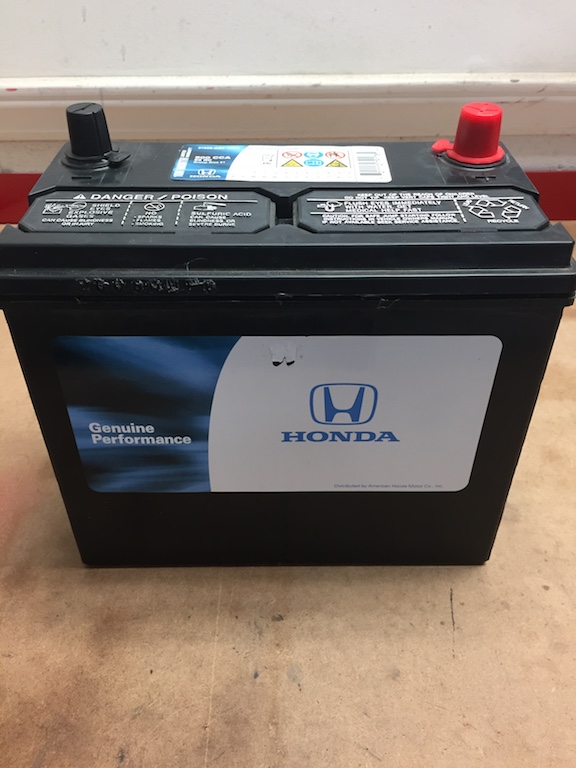
“Genuine Performance”…

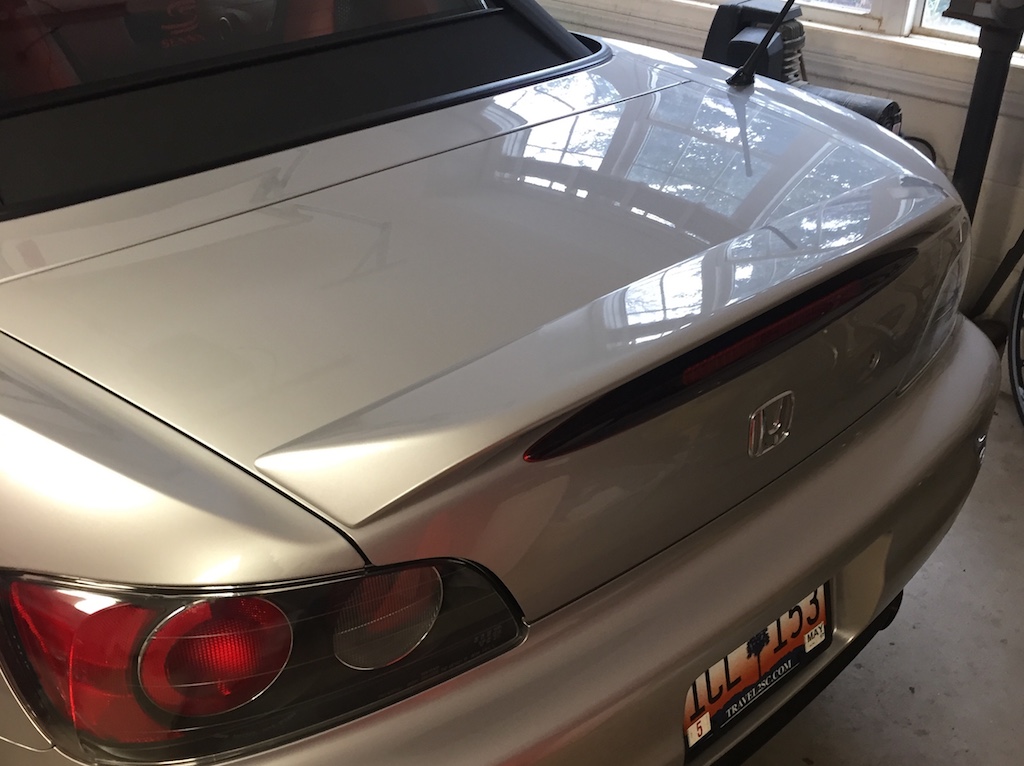
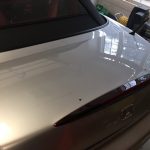
My 2003 S2000 got treated to a brand new Honda battery today.  A couple of days ago when I tried to start-up the S2000, the old battery seemed a bit weak.  And it makes sense because the prior owner had replaced it before I took ownership and that was 5 years ago!

So today, I made a few phone calls.  My heart was on a new Optima dry cell battery (like the one in bowtie6) but damn!  These batteries have become very, very expensive these days.  Just for shits-and-giggles, I called the local Honda dealer and was very surprised with their answer:  they had a genuine new Honda battery for less than what I would have to spend at a generic auto parts store.  And, it comes with a generous 100 month replacement guarantee.  Hmmm…  Can’t go wrong with that.

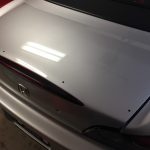
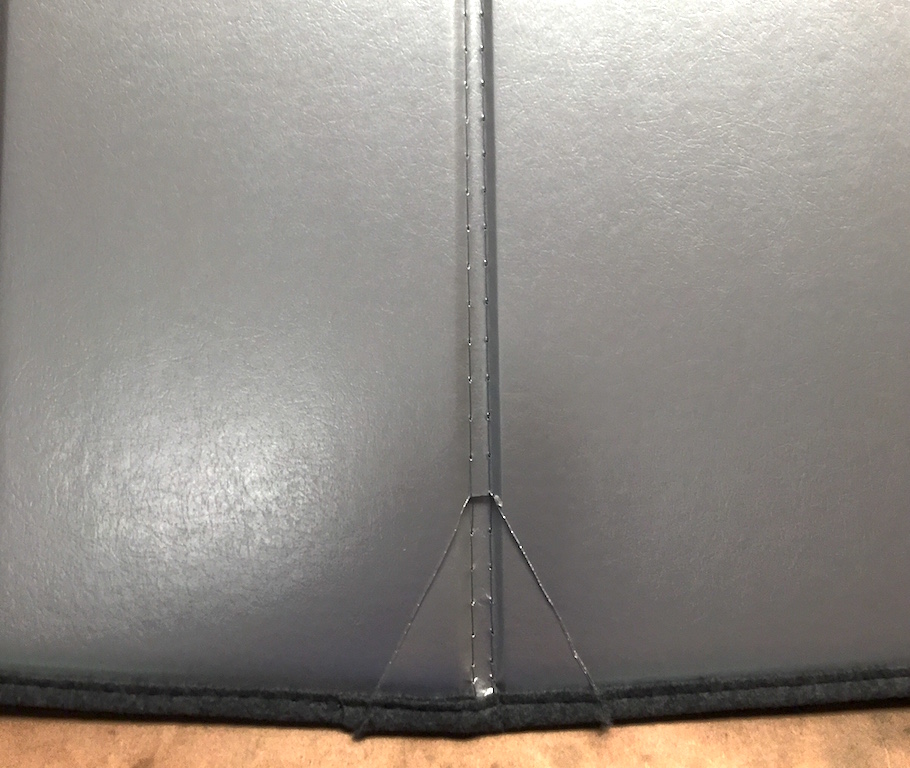
Note leakage on the top seam… Not good!

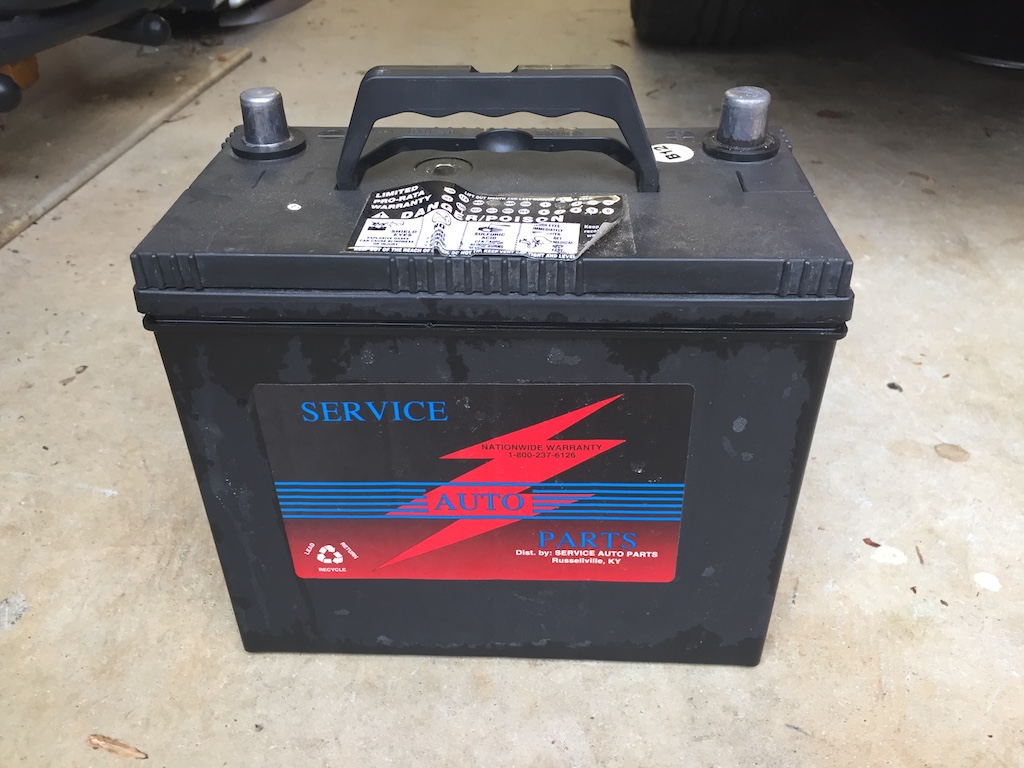
The dead battery was an aftermarket generic replacement from the home-town of the original owner.  Fair enough…  Upon closer inspection the battery was certainly past its expiration date because the battery had leaked some of that oh-so-wonderful-acid that wreaks havoc on battery trays…

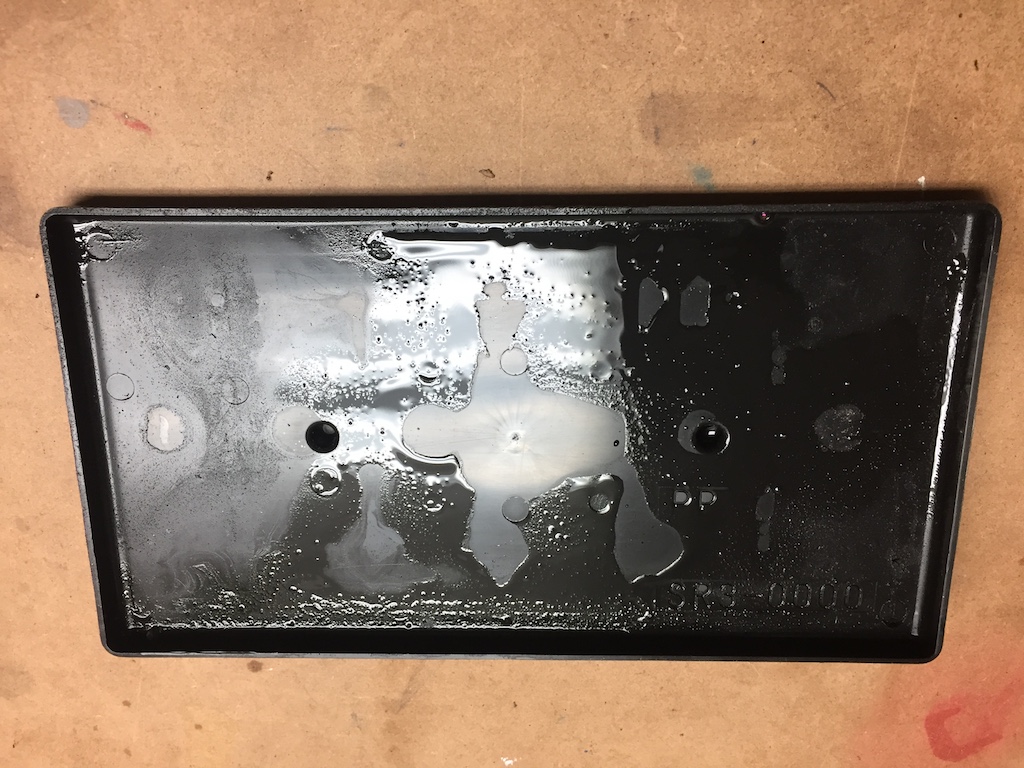
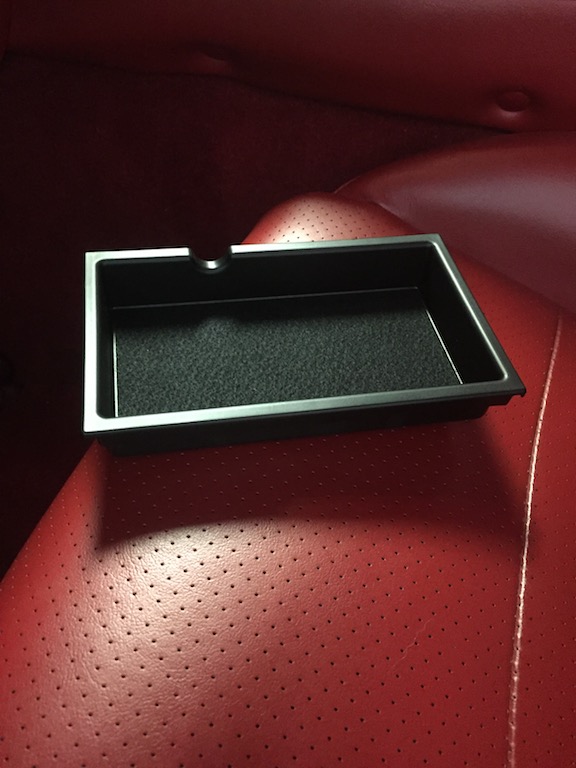
Plastic battery tray saved the day!

Fortunately the good folks from Suzuka designed a plastic tray fitted over the battery box holding the battery.  Funny because this is one of the most common “issues” on Triumph TR6’s – the battery leaks right on the battery box and 9 of 10 TR6’s show acid damage in this area.

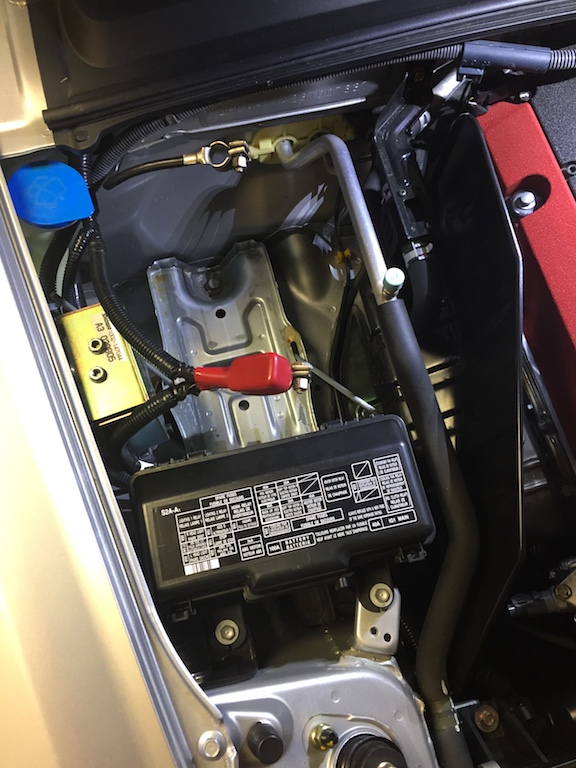
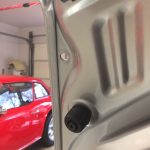
Old battery gone. Here is the battery box saved by the plastic tray…

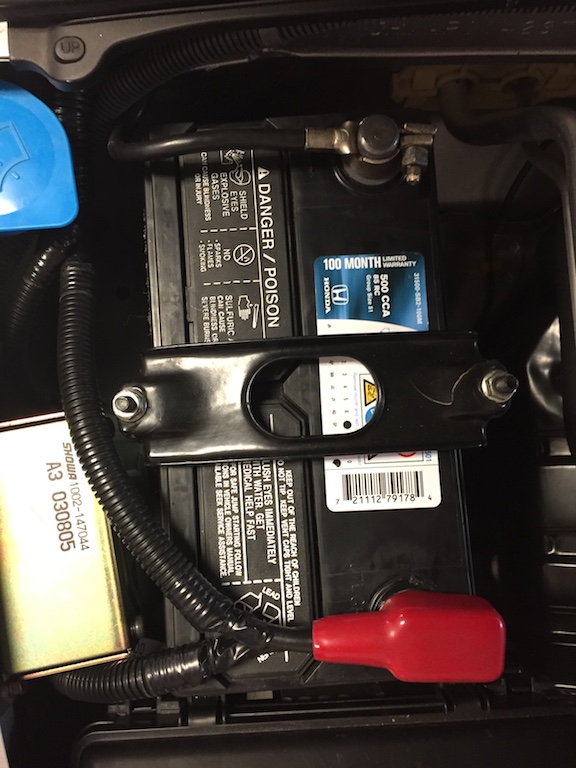
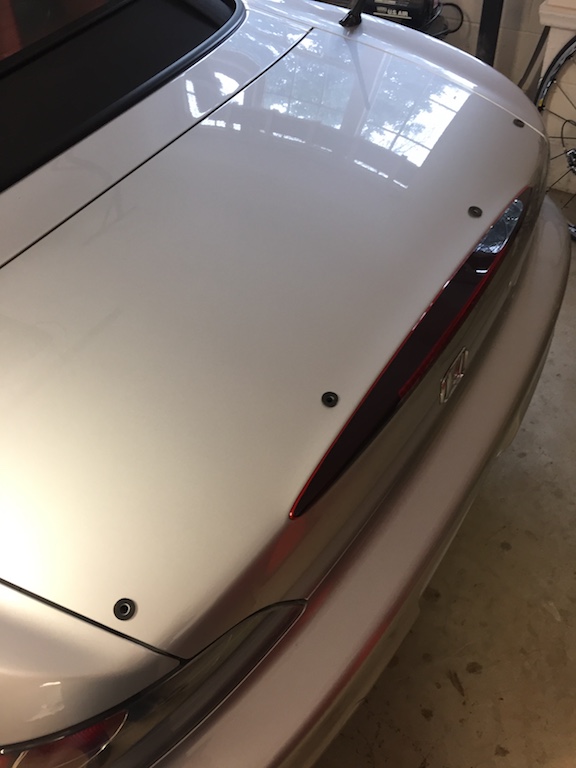
New Honda battery installed and ready to go…

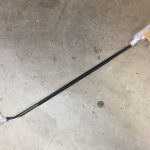
Not wanting to leave well enough alone…  You know me!  The battery is held in place by two metal rods that hook to the bottom of the battery box.  The rods are not originally painted and this looks unfinished.  So, I cleaned each rod with a little Scotch-brite and sprayed them with low-gloss rattle can paint.  I think they turned out right nice…

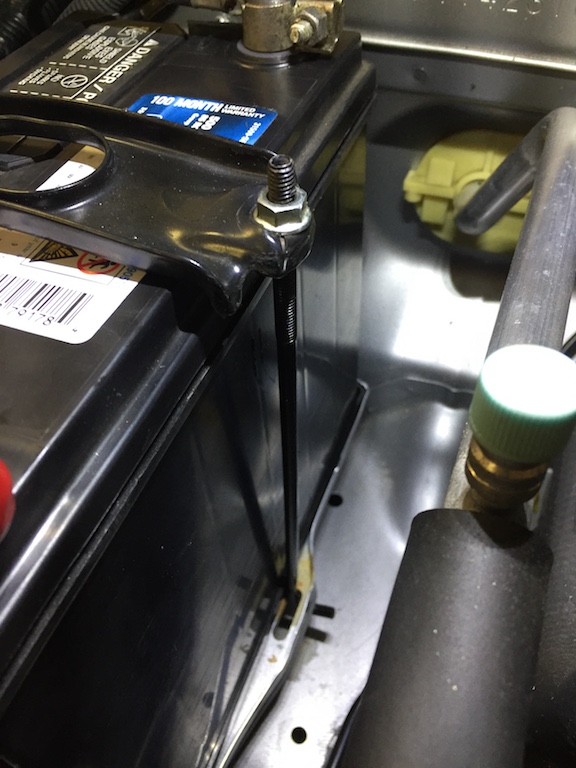
Rods painted in low-gloss black…

And finally, today’s mileage…

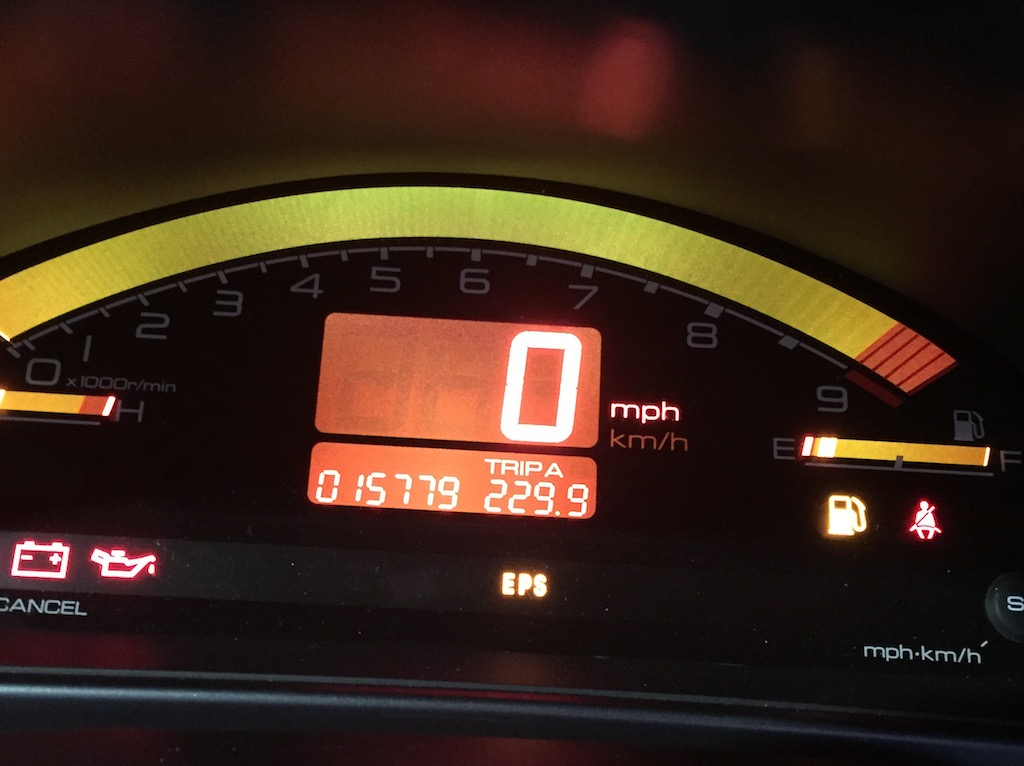
Not bad for a 2003 model S2000!


S2000 Rear Spoiler

OEM Honda S2000 rear spoiler

I’ve always liked the look of the OEM Honda S2000 rear spoiler.  For me, the rear of the car just doesn’t look “finished” unless there is a spoiler there.  And as a bonus you get some extra aero grip to boot.  Can’t go wrong with that…  Yeah right!  😉

Just like the front air dam lip that I installed previously on my S2000 (Click here), the rear spoiler is a legit Honda accessory.  These accessories are rather pricey but they fit perfectly and come painted to match the body color.  The front lip is no longer available but the rear spoiler is – so I finally broke down and ordered one.  The rear spoiler mounts with 4 fasteners requiring 4 holes drilled on the trunk lid. 😯

This part takes patience.  The outside holes get drilled from the inside of the trunk lid.  There are two small alignment marks that get center-punched and drilled.  This allows trial fitting the spoiler and marking the center holes with furnished adhesive discs.  This second set took some extra careful attention!

This is what the wing looks like out of the box…

And this is the mounting kit…

So after drilling the holes and some careful dressing with a fine file, I applied some touch-up paint to the edges of each hole.  For that I used this…

After applying the paint, I let it dry and followed up by adding over each hole a special rubber spacer included in the installation kit.  Ended up looking like this…

And then, the moment of truth.  Mounting the spoiler and tightening the 4 fasteners.  And this is what the wing looks like after I cinched up all four fasteners…

Looks pretty nifty, huh?

Oh and one last note…

The wing kit comes with two replacement torsion bars (the springs) and an optional wrench to install them with.  The kit states the new torsion bars account for the extra weight added to the outside edge of the trunk.  I found this is not really a big deal.  So, I passed on the new torsion bar springs and will just hang on to them until needed.  This is what the springs and the tool look like..

And one more picture…

Current mileage after a fuelup, as of last week on my 2003 AP1 S2000…  She’s a keeper!

Honda S2000 Organizer

img_4100Every time I drive my 2003 Honda S2000 it puts a huge smile on my face.  This car is just awesome.  If I have a bad day, all it takes is to drive a few miles and just marvel at the F20C engine as it revs its way up.  Once 6,000 RPM’s hit, its VTEC time, yo!  And the F20C still has 3,000 RPM’s left to go.

Impressive!  After all, this is F1 DNA shit; this technology hails from the glory days of McLaren/Honda and Ayrton Senna.  It took none other than the boys from Maranello to build an engine that would produce more horsepower per liter than the F20C.

But I digress “big league” as a certain trained monkey would say (and for the record, the other trained monkey isn’t worth a crap either).  What I really wanted to share today is a nifty trick I found.  The one thing I don’t like to do in my S2000 is drive with the top down and have my wallet and iPhone in plain view on the passenger seat.  What to do?

One answer is use the storage compartment between the seats.  Fair enough, the lid has a lock and key but it is awkward to use.  I want something more convenient.  After some research on eBay, my gamble paid off:  as shown in today’s featured image I bought a center console storage tray for a 2010-2014 Mazda 3 or 6.

mazdaconsolepartnumber

Part number for a Mazda 3 or Mazda 6 center console storage tray

Soon after I acquired my S2000, I bought a pair of extended length floor mats.  These mats are longer and cover the reinforcement beam in the floor of the S2000 protecting the factory carpet.  One drawback is the colour is a little off, but who cares?  I rather protect the carpet from wear and tear.

img_4097

Extended length S2000 carpet mat

As you can see, the little tray fits perfectly…

img_4098

Reinforcement beam and the Mazda tray

As you can see in this picture, the tray fits just perfectly between the reinforcement beam and the seat frame pad.  This little tray will now prevent my wallet and iPhone from sliding under the seat.  Added benefit is this all fits under the carpet mat and is within easy reach.

img_4096I need to get some stick-on Velcro on the back of the tray and that will lock it down for good to the factory carpet.  But overall I think it is going to work just fine.  Oh and the part was about $14 on eBay.  I think this is a keeper!


2014 Camaro CoverCraft Sunshade Review

IMG_3771

Honda S2000 CoverCraft sunshade

UV and heat will destroy an automobile’s interior very quickly especially if it is leather in direct Southern sunshine.  In the case of my Honda S2000, not only is there plenty of leather but the interior dash, trim, door panels and carpet are all red.  So to prevent it all from eventually becoming “pink”, I purchased a rather pricey custom-fit sunshade from Covercraft called the UVS-100.

I’ve been very pleased with the material, workmanship and overall the sunshade has a been a very worthy investment.  The way I see it, I rather sacrifice a sunshade for the sake of preserving the interior.

As you can see in today’s featured image the sunshade fits the windshield opening of the Honda S2000 perfectly and the only cut-out is on the top edge and that is to allow room for the rear-view mirror.  All edges are perfectly hemmed with a very soft material and the stitching is flawless.  So far so good.

Well, when I purchased RedRock (my 2014 Camaro SS), the first thing I ordered was a custom-fit CoverCraft UVS-100 sunshade.  The sunshade arrived and as expected, it fit perfectly.  However, I soon discovered a problem.  You see, the Camaro’s dash has one of these little doo-hickies:

IMG_3774

Camaro light sensor dome

That is the dome over the light sensor the BCM uses to turn on the automatic headlights when the sun sets.  Unfortunately the good folks at CoverCraft did not account for this little device being in the way when deploying the UVS100 sunshade.  I had to be very diligent not to accidentally hit the little dome over the sensor with the sunshade.  Needless to say, it would be my luck that the entire dash would need to be pulled out to replace the dome if it became damaged by the sunshade.  And I am very convinced, to boot, the good folks at GM would immediately dismiss any warranty work on this kind of claim.  Since this is not something I would be looking forward to experience…

I decided to do a little surgery on my $60 CoverCraft UVS-100 sunshade.  I made a few measurements and with the aid of a fresh (and surgically sharp) X-Acto blade, did a little “alteration” as so:

IMG_3770

Sunshade cutout to allow for the light sensor dome on the 14 Camaro

I removed the excess material after cutting it, however this left the edges exposed and they needed a little dressing.  Since I did not want to leave them exposed to wear-and-tear (I don’t have a sewing machine like the one CoverCraft uses), I looked around and found some leftover scraps of headliner material used when I restored the hard top on bowtie6.  After fiddling with this for a while (damn, took longer to cut this than to alter the sunshade!), this is what it looks like now (I know, it is not perfect but it is better than the alternative)…

IMG_3779

Headliner material secured with a little contact glue so the edges won’t fray…

IMG_3781

View from the inside, after the alteration…

IMG_3782

And finally a view from the outside.

In Summary

I really like the way this looks now.  I wish there were an option from CoverCraft to allow for this, especially since they do such a nice job at dressing all the edges on the sunshade.  I suppose this would not take much effort, especially since they accounted for the opening for the rear view mirror.

And so, a couple of advantages from the alteration I made:

  • The little dome will not become damaged in case I forgot to hold the edge up.
  • The automatic headlights won’t turn “on” during daylight hours due to the sunshade covering the sensor preventing wear and tear on the electrical system.

Overall, the CoverCraft sunshades are a good value.  I have not financial gain from this review, but I just wanted to post this in the hope it might be of interest to anyone using these shades.

The alteration I made, does solve the problem of a possible costly damage to the light sensor dome.

Flip Key for a Honda S2000

IMG_1763

Flip Key for a Honda S2000 fully assembled…

I did some research on what options exist for a flip key for a Honda S2000.  As we all know AP1 S2000’s did not come with flip keys.  Here is the story on fitting a flip key for my 2003 Honda S2000.

I did some searching on eBay (where else?) and found a suitable candidate.  This one is available for about $25 bucks – a little steep – but I figured what the hell and gave it a try.  What you get for your hard-earned cash is a blank plastic enclosure for the S2K’s remote PC board and a flip key blank.  The key comes uncut so you have to take it to a local locksmith to have it match your key.

Flip Key fully disassembled

The only thing missing above is the flip key blank.  At the very top is the upper half of the enclosure.  The area with the blue ring is where the “chip” is inserted for cars equipped with it.  I have no clue how that works – my 2003 AP1 does not have a chip.

The rest of the bits include a tab for fixing a ring for more keys, the three little screws used to hold the two halves together, the spring and the little plunger that releases the key.

Finally, the bottom half of the enclosure.  The red circle shows a tab that requires a slightly modified to make room for a little metal tab on the remote’s PC board.  You can see the metal tab in the picture below, right next to the “OMRON” text.  I used a Dremel tool with an end-mill and carefully removed the excess material on the tab.  Click on the pictures for more details.

Next came the buttons…

IMG_1760The buttons that came with the enclosure are rather chintzy and did not fit so well.  So I just recycled the buttons from the original factory remote.  They have the right color, texture and “feel”.  Picture above shows the original remote on top and the new enclosure on the bottom with the buttons installed.  They just drop in place.  Above the big oval button at the top is a small recess where the clear plastic on the remote control PC board rests.  This is also where the tiny red LED light shines through when pressing the buttons.

This is what the flip key for a Honda S2000 looks like fully assembled and in working order (click on the pictures for more details:

 In Summary:

  • The flip key enclosure is fairly nice. I have about $27.00 in it.  $25.00 for the enclosure (free shipping) and another $2.00 to have the key blank cut.
  • Prior to assembly I had to smooth the edges with a jeweler’s file to remove all the sharp edges.  It is very obvious this is a mass-produced item with no time spent making it look OEM.
  • It takes some patience to get the spring that drives the key aligned properly.  There is a small tab on the bottom half were part of the spring is anchored.  Then one has to pre-load the spring with the key while making sure all the other bits don’t fall out.  The little “button” used to trigger the key must also be aligned properly.  Not rocket science but it just takes patience.
  • The outside of the bottom half is very poorly designed.  There are three tiny screws holding the affair together.  Two are easy to get to; while the single screw closer to the key resides in a recess where a foil with a tiny red “H” emblem is supposed go.  This is asinine.  If the little “H” foil is affixed then how do you get to the screw without ruining the foil when changing the battery?  I tried to leave the one screw out, but that makes the enclosure wobbly and the last thing you want is give that precious spring any chance to make an unannounced departure.
  • I’ll have to give the flip key a try.  Yes it looks very sexy and has a bit of a “wow” factor but the thing is a bit heavy and bulky.  On the other hand, the factory key and remote is so much lighter and thinner.  I suppose here is yet another example of where the Honda engineers got the AP1 S2000 oh so very right the first time…