Author Archives: bowtie6

2,400 Miles and Counting…

I’ve been able to rack up about 2,400 miles on bowtie6 so far.  And, it has been a blast!!  The frame is rock solid, and with the ECM tweaks the engine is so much more responsive.  Yet we have been able to see 28mpg in city driving no less.  Not too bad considering the tune is now more so towards performance rather than for economy and I’ve been really putting my foot into the electronic throttle pedal.

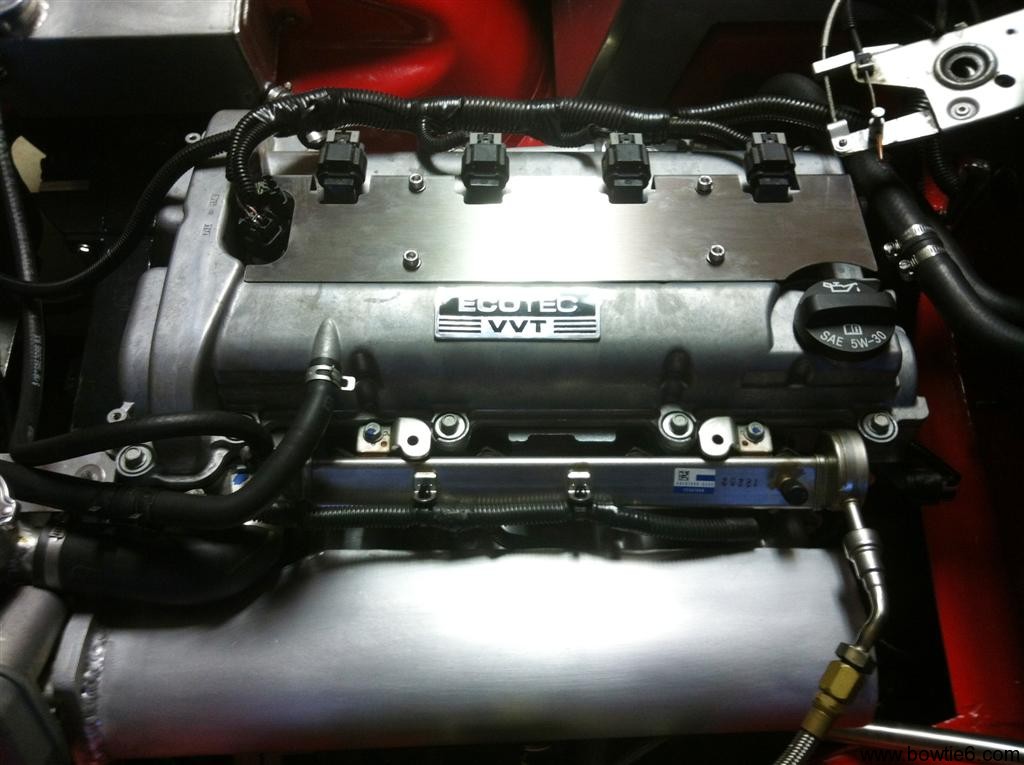
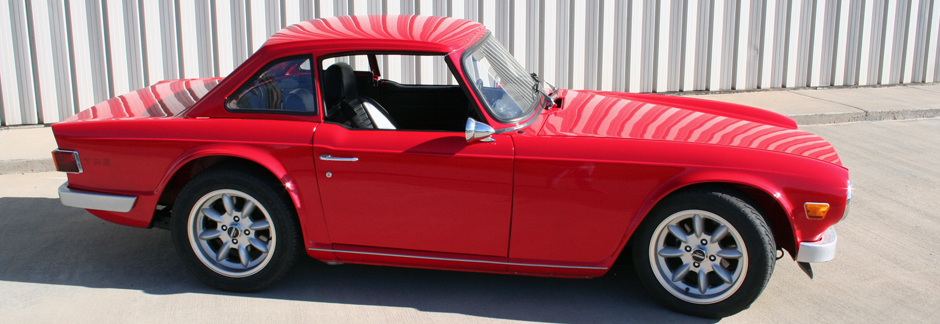
A few weeks ago, I found a vendor that makes an awesome coilpack cover for the Ecotec.  You can see this in the above picture.  Four screws with spacers hold the water-jet cut aluminium cover and very nicely hides the valley between the cams.  Looks trick.  I was thinking about unbolting the intake, cover and valve cover and perhaps having this all crinkle coated in black.  Maybe later this year…

Along with the great news, there has been on unpleasant development:  a bad wheel bearing on the new rear axle.  It seems like we got hold of a crappy “foreign” made wheel bearing and it started making a racket last week.  New ones have been sourced and I’ll be taking apart the axles this weekend.  All good – the diff fluid needed to be changed after “break in” so this should be a fun Saturday.

I’ll have pictures and a full report once we get the new bearings installed.

Custom Ford Pickup

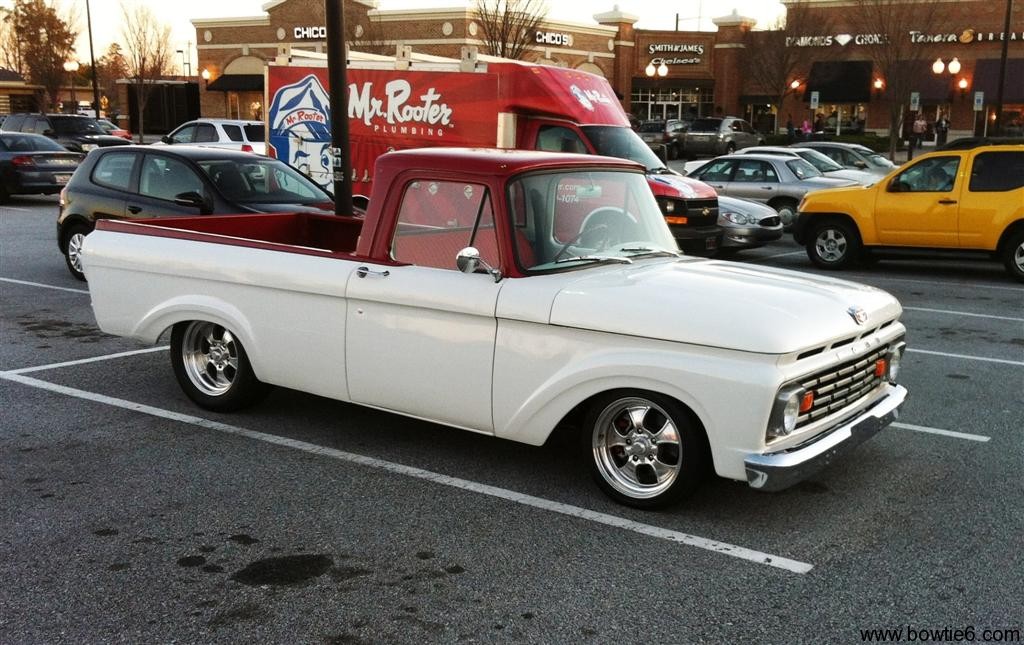
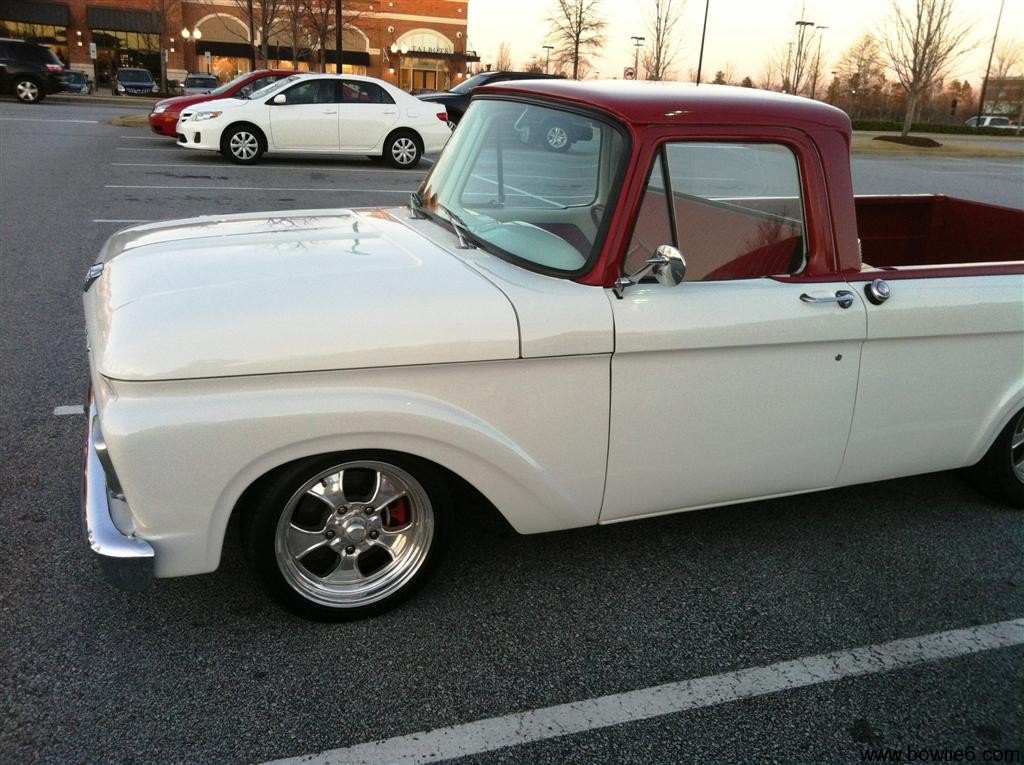
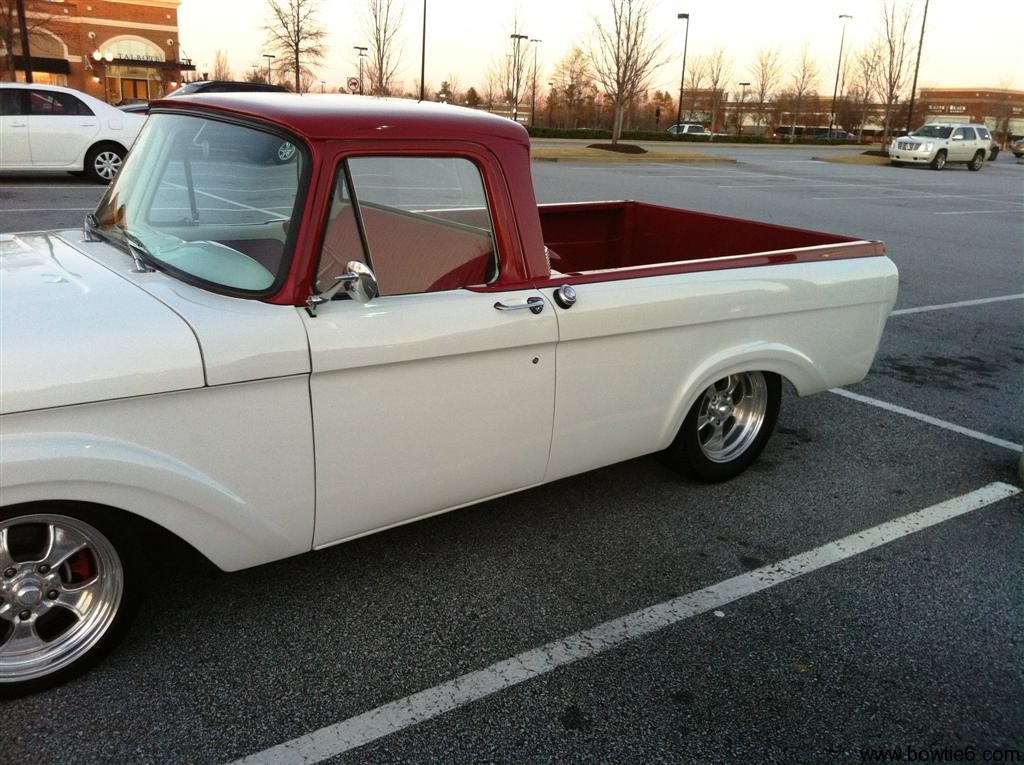
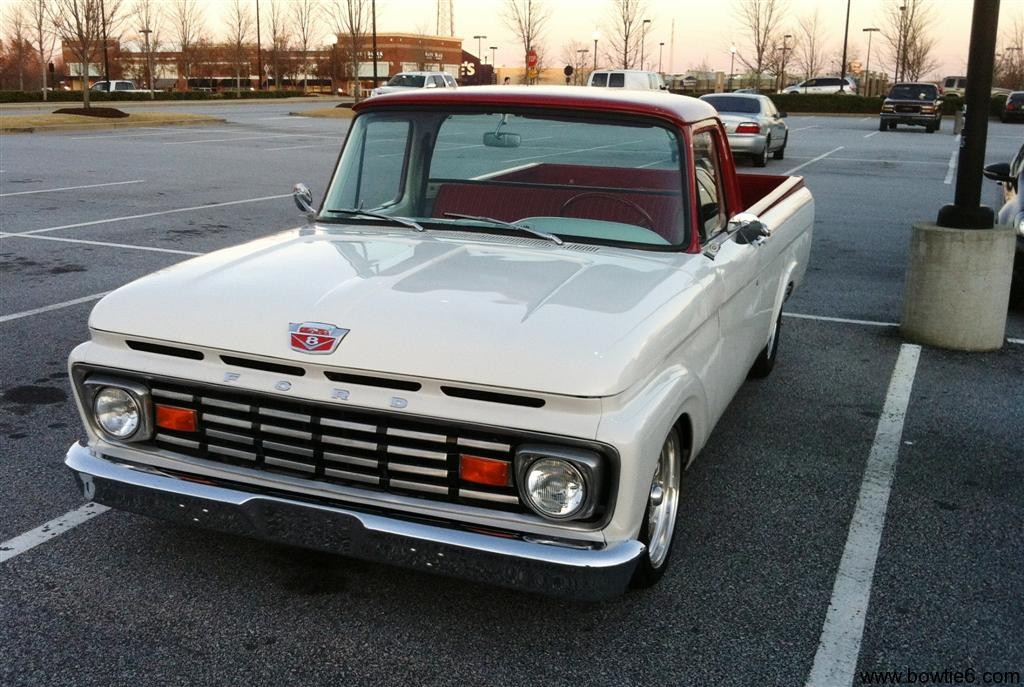
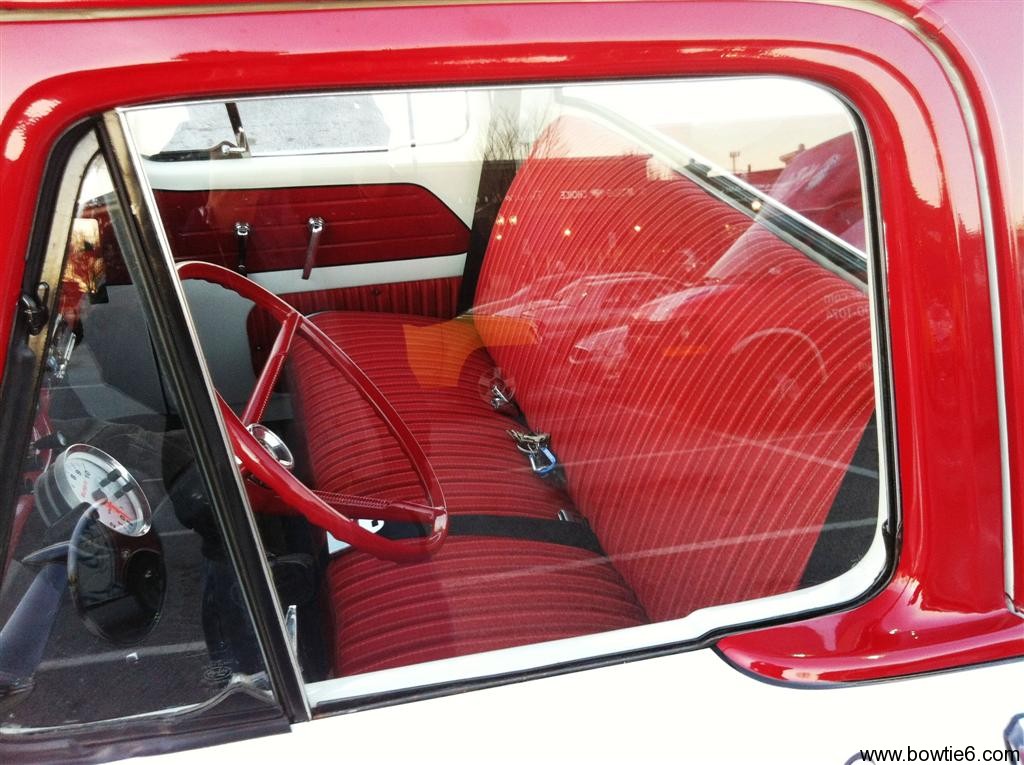
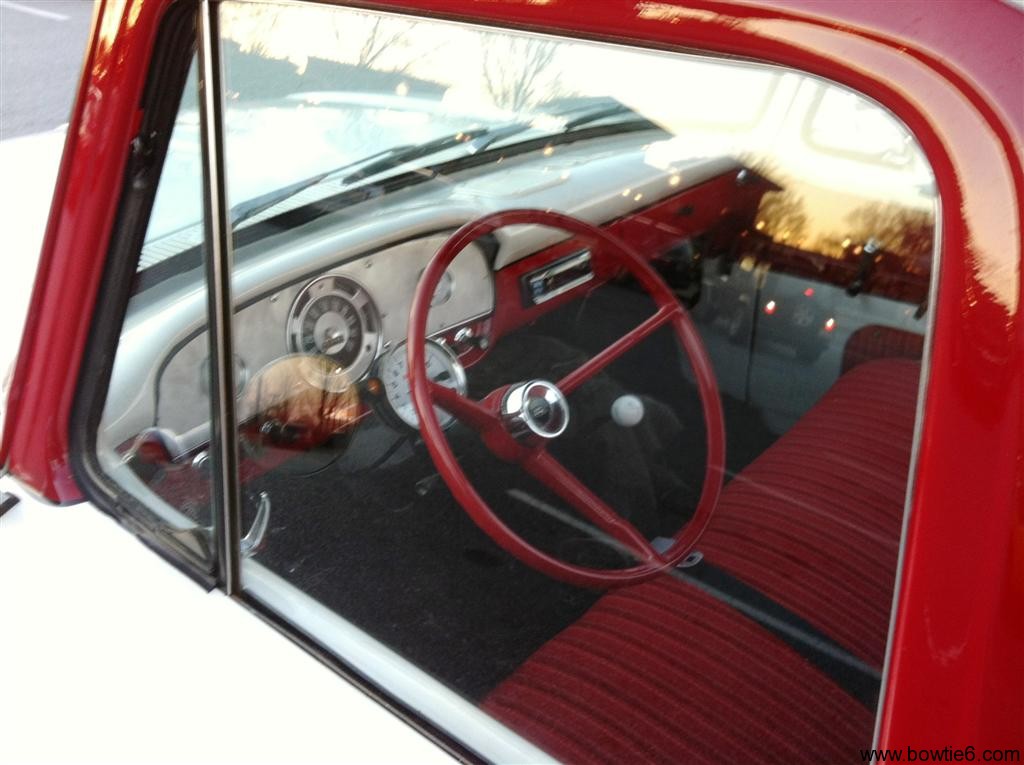
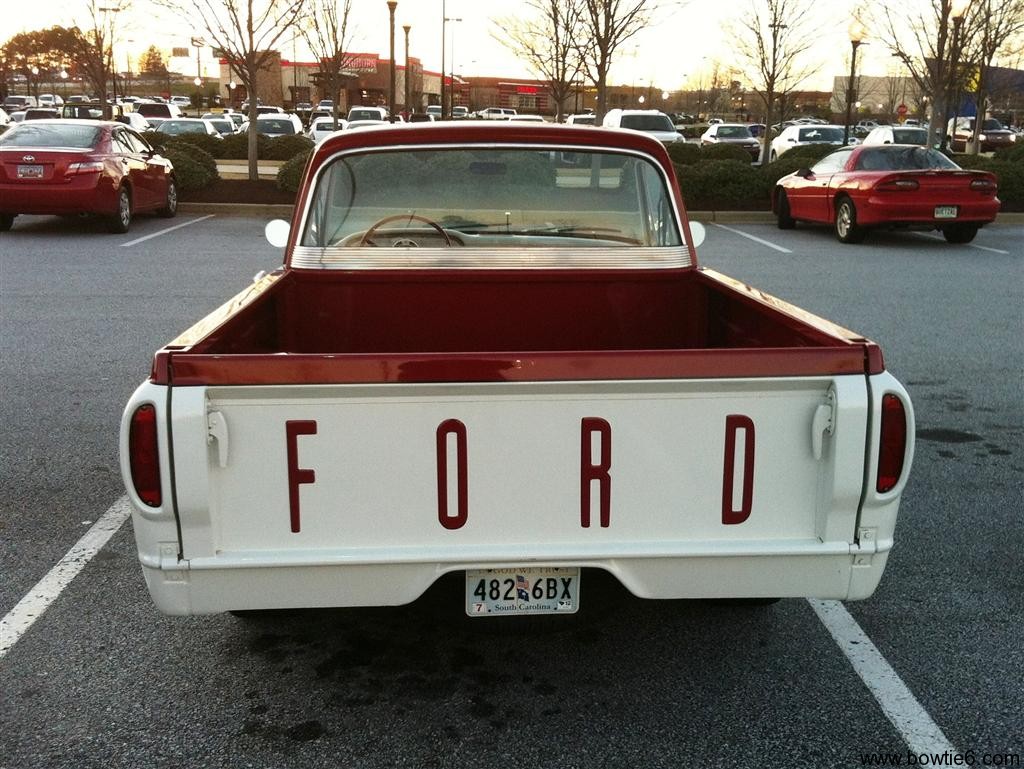
After work today, I stopped by a local bookstore to pick up a couple of magazines.  When I stepped out, I saw this custom Ford pickup.  If I am not mistaken this is a mid 60’s vintage Ford.  My Dad had a ’65.  His was red with white with the exclusive “Twin I Beam” suspension.  Dad really loved that truck and this truck reminded me of how much he enjoyed driving it with me riding shotgun.  At any rate I figured I’d take a few pics and post them here for you all to enjoy.

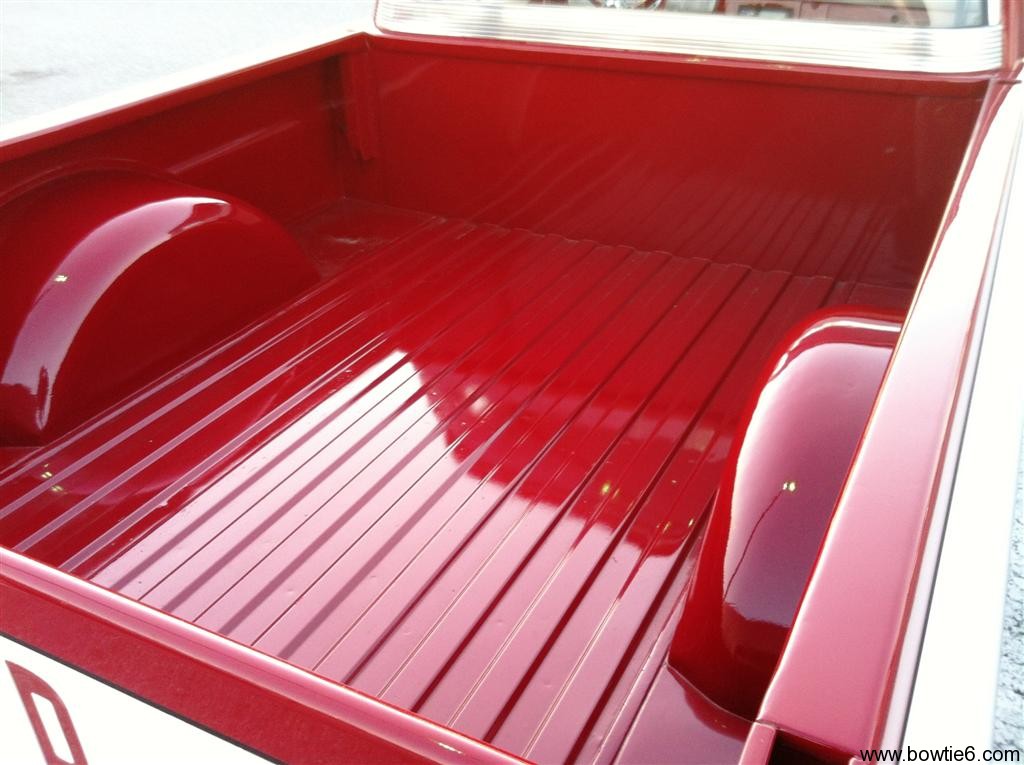
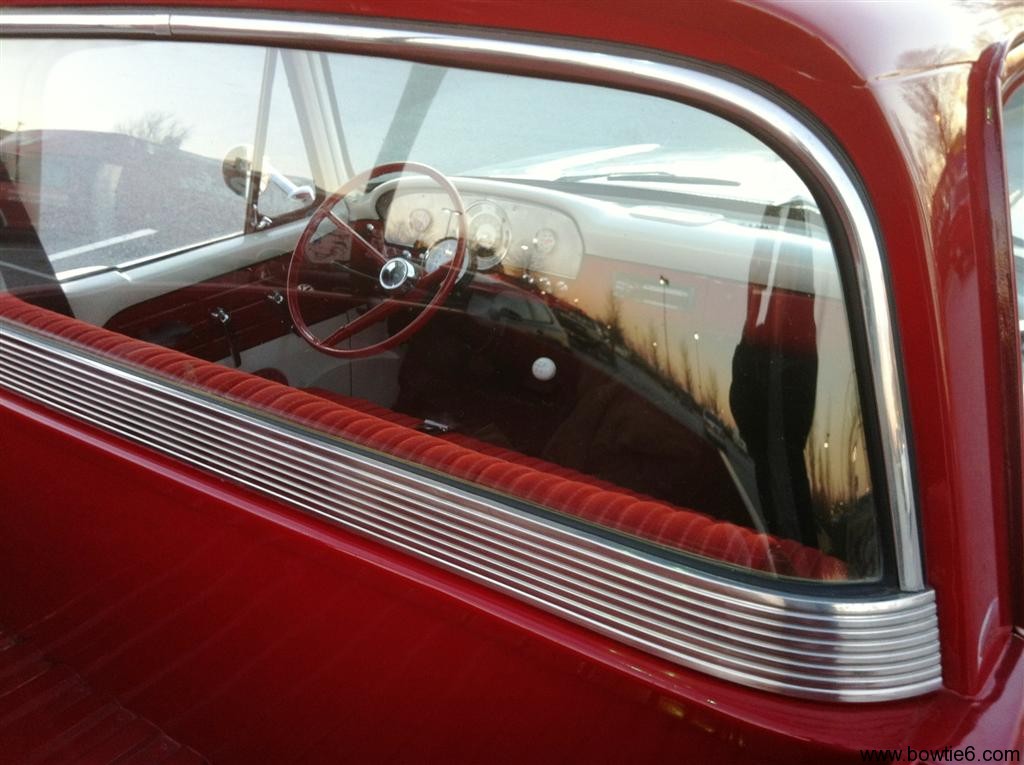
Here are the photos.  I took them with my iPhone (amazing thing the iPhone) this afternoon around 18:30 – the light was a little dim but you get the idea.

I think this is an extremely nice truck.  The stance is spot on – not too low and not too raked.  It does not have huge tires or huge wheels – these are also “just right”.  Paint is tastefully done and the interior is nostalgic but well made.  The dash was also nicely done.  The back of the cab had a really cool chrome trim (Dad’s truck did not have that).  I say this fellow really pulled it off well and has an awesome truck.  Unfortunately, I did not get to meet the owner.

I am not a Ford truck expert, however I’m sure somebody will probably give me the 411 on the exact year and model.  I would imagine the chrome trim on the cab had to come from a “De Luxe” version or such.  If you know what this is, please let me know.

Update

Thanks to Dennis Baumgartner’s comment (See the comments on this post), I did a little research.  Indeed, this is a 1961-63 F-100 “Unibody” truck.  My Dad’s ’65 had a separate cab from the bed; this one is one solid piece.  In my opinion, this makes it really nice.  I did find a very interesting writeup – CLICK HERE – that describes these trucks.

The part that is even more interesting is the difference between the pictures of the “original” truck and the ones above.  I realize there is a time for “originality” but the one pictured here is such an awesome looking truck!  🙂

Pair of TR6’s

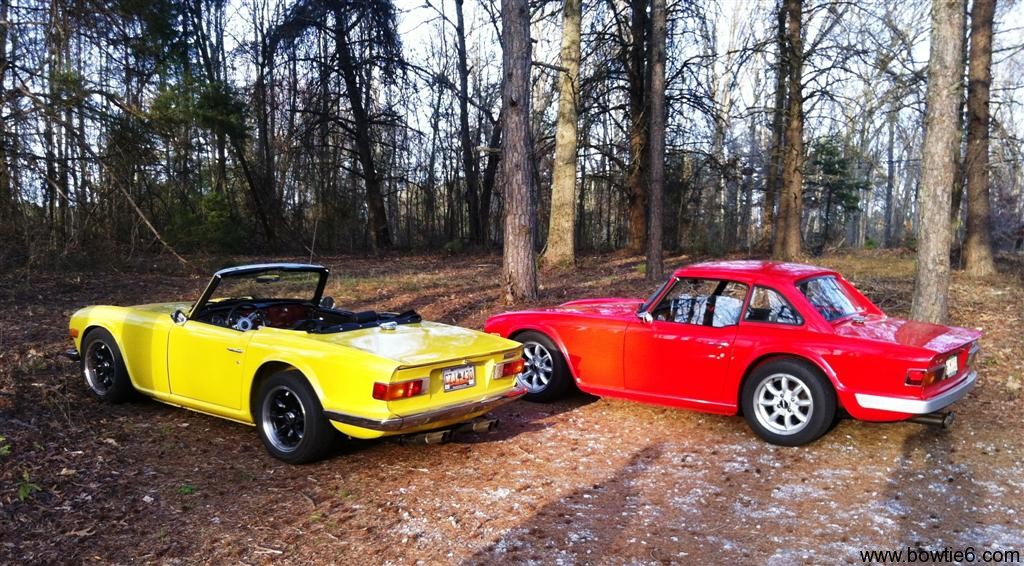
Just an awesome pair of TR6’s in the late afternoon light…  🙂

Pictured here is bowtie6 next to my friend Adam’s Mimosa Yellow TR6.  I did the paint job at my cousin Jim’s shop and it turned out very nice indeed.

Adam’s TR6 features an original TR6 engine and overdrive gearbox.  However what makes it special is the supercharger fueled by a big SU carburetor.  Although not as quick as bowtie6, Adam’s ride is a real looker…

Coilovers!!!

I’ve spent some time lately tweaking the coilovers in bowtie6.  Part of the fun of doing a conversion like this is debugging issues and improving the original design.  This is not because we didn’t do our homework.  Instead, once you get things running certain assumptions turn out different once exposed to the “real world” experience.  The coilovers are no exception.

Ever since I started talking about coilovers on bowtie6 both here in the blog and at car shows, I’ve been asked what coil rates I have used.  Folks ask me this expecting a straight answer but unfortunately there is no such thing!  This is a trial and error process that is highly dependent on factors such as suspension travel,  weight distribution and mounting angles of the coilovers – among others.

So when we put things on paper we factored fore and aft weight distribution and a general notion of the coilover mounting angles.  The best placement for a coilover is to mount them straight up.  At this angle the coil rating is 100%; the more tilted the less efficient the coil works.  However, it is very hard to get the coils straight up especially when you have “A” arms or the body in the way.  So this becomes a bit of a compromise.

As the suspension settled, I started noticing the front tyres scrubbing on the inside of the front fenders when doing some heavy cornering or when the car settled on a bump under heavy compression.  Not good.  So what to do?  There are several options…

Stiffer Springs

Coils come in a variety of ratings, such as 400lb coils for example.  What this means is that it takes 400lbs to compress the coil an inch.  This illustrates what I mentioned above about mounting efficiency.  The 400lb rating is with the coilover mounted straight up.  With the coilover mounted at a 20 degree angle, you would need a 454lb coil to give you the 400lb rating.

So just run stiffer springs, right?  Well, not really.  One can make the suspension too stiff and when that happens the suspension does not react quick enough to undulations in the road surface.  This can yield to poor handling.

Larger Swaybar

A larger swaybar can be used too.  However one has to be careful with this because with a stiffer swaybar the care will also react in unexpected ways under hard cornering such as oversteer or understeer depending whether a rear sway bar is used.  Careful matching is critical here.

Raising the Body

Another idea is to unbolt the body from the frame, make shims and bolt things back up.  Easy on paper but hard to carry out.  This could take a bit of time to figure out  Furthermore, a disadvantage to this approach is that the center of gravity will be affected and once again handling takes a hit.

Now What?

I am not an expert in this by a long sight, but after talking this over with several folks that know much more about this than I do, we decided on a stiffer set of coils (but not too stiff!).  I placed an order and a few days later (thanks to UPS) the stiffer coils arrived.  After opening the box and making a few measurements things got really interesting…

Turns out the coilover vendor from whom I bought the coilovers a year before, made a huge mistake.  For some reason they screwed up and sent me different length coilovers.  The rears are longer by 0.6 inches.  When my cousin Jim fabricated the frame and designed the mounting points, the calculations were based on the longer of the two pairs.  Thinking they were both the same all looked great on paper.  However, in reality the front ended up short by that 0.6 inch.

At any rate, we ended up upgrading the front coils with the new stiffer ones.  What a difference.  The tire scrub has been solved while retaining good handling.  Another “bug” solved.  Moral of the story?  just because a vender ships something you have ordered and it seems to be “correct” do yourself a favor:  measure and make sure all is correct and up to spec.  Especially on parts that might be not used for quite some time.
ECOTEC ECM Tuning – Changes So Far

I mentioned in the last post I’d go into more details about HPTuners.  This time I want to talk about the Ecotec ECM tuning changes done so far.  I’m far from being an expert however one needs to start somewhere…

Vehicle Anti Theft System (VATS)

The first and most important task is disabling VATS.  This is a prerequisite when doing an engine swap such as what we did here.  Failing to disable VATS renders the engine inoperable.  On earlier ECM’s GM devised a system by which the ignition key had a special resistor that would match a receiver in the ignition key tumbler.  This “match” would enable the ECM to fire the engine.  With those early ECM’s it was possible to wire an inline module and basically fake out the key resistor.  With modern ECM’s such as the one controlling the Ecotec, the VATS became more advanced.  With the aid of HPTuners though, this is a simple change in the flash file burned into the ECM.

Mass Airflow Recalibration

In bowtie6, we replaced the stock plastic intake with a smaller, more direct intake manifold.  The reason was not for performance but because the stock intake was too big and got in the way of the steering shaft.  The air filter housing was also replaced with a cone-shaped K&N air filter.  There is simply no room under the hood of the TR6 for the large box that holds the stock air filter.  These changes forced relocation of the Mass Airflow (MAF) sensor.  As expected, the stock settings for the MAF did not match the new configuration.  This manifested itself in a rather rough idle and poor performance.

Tuning the MAF took some doing.  I won’t go into all the details but suffice to say it took a few hours worth of driving down the road and logging data with the VCM Scanner.  Using the VCM Editor I was able to dial in the low and high MAF tables to more desirable values.  This resulted in smoother idle and better performance.

Seeking Professional Advice

This is where the tuning process gets a bit pricey.  After going through several  books and reading many long hours’ worth of posts I decided to find a local expert.  Sure enough I found a person with a great knowledge and familiarity with HPTuners and tuning GM engines. However this came at a price.  The results though, made a huge difference.

As expected, fuel efficiency is the ahead of pure performance in the  stock ECM.  This shows up the way the commanded air fuel ratios are pre-set across the RPM range, spark tables and the way that power enrichment activates proportional to throttle angle – among other things.  After quite a few alterations the ECM is delivering more performance at the expense of fuel efficiency.  The results are astounding:  throttle response is much more livelier resulting in more power being delivered and overall the engine is much smoother across the entire rev range.  It is now very easy to make the Ecotec reach its 7000 RPM redline.

What next?

The next step will be to take bowtie6 to a dyno.  Been there, done that before but this time we will be tweaking the ECM  This will allow even more accurate dialing in for extracting that last bit of power.  Also, something that is yet to be modified are the VVT tables.  The 2.4 Ecotec has variable valve timing and this first tuning did not touch VVT.  Who knows what we can do with this?

Another avenue left for exploration is E85 Ethanol.  I’ve been intrigued for a long time about this source of fuel.  FlexFuel vehicles have a special metering device that allows the ECM to calibrate itself on the fly.  I don’t have that metering device but I have HPTuners and this will allow a special E85 calibration flashed into the ECM.  Where I live E85 is very easy to find – there is a very large fuel station just down the street from my house – so this will be a fun experiment.  Granted, flashing the ECM to run E85 without a metering device means E85 has to be burned exclusively.  However, changing back to straight fuel is easy to do, simply by reflashing the ECM.

In Summary

I realize to each his own and this is not for everybody.  However, having all this technology at your fingertips (literally) is remarkable.  Why would anyone want to waste time on those relics of fuel metering called carburetors is beyond me.

Stay tuned…  Soon bowtie6 will be the first E85 Ethanol powered TR6…  🙂