I’ve owned my 2003 Honda S2000 for six years now. Hard to believe it actually. I remember six years ago in April of 2012 when I drove to Russellville, Kentucky to make the purchase from the estate of its former owner. You can click HERE to see the post I made, with details from when I made the trip to pick the car up.
One of the blogs I read regularly and highly recommend belongs to a fellow car enthusiast like me. His name is Tyson and he has a thing for Acuras. His blog is named drivetofive – as in drive to 500,000 miles! I thought about him when I started putting this post together because Tyson documents how many miles he logs on his fleet of breathtaking Acuras. And yes, he is lucky enough to own the Holy Grail: an Acura NSX. So Tyson if you are reading, take a look at this:

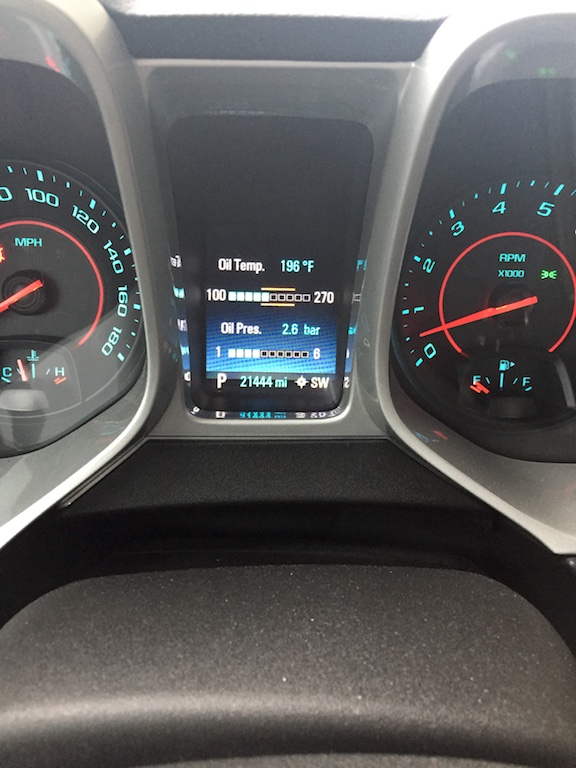
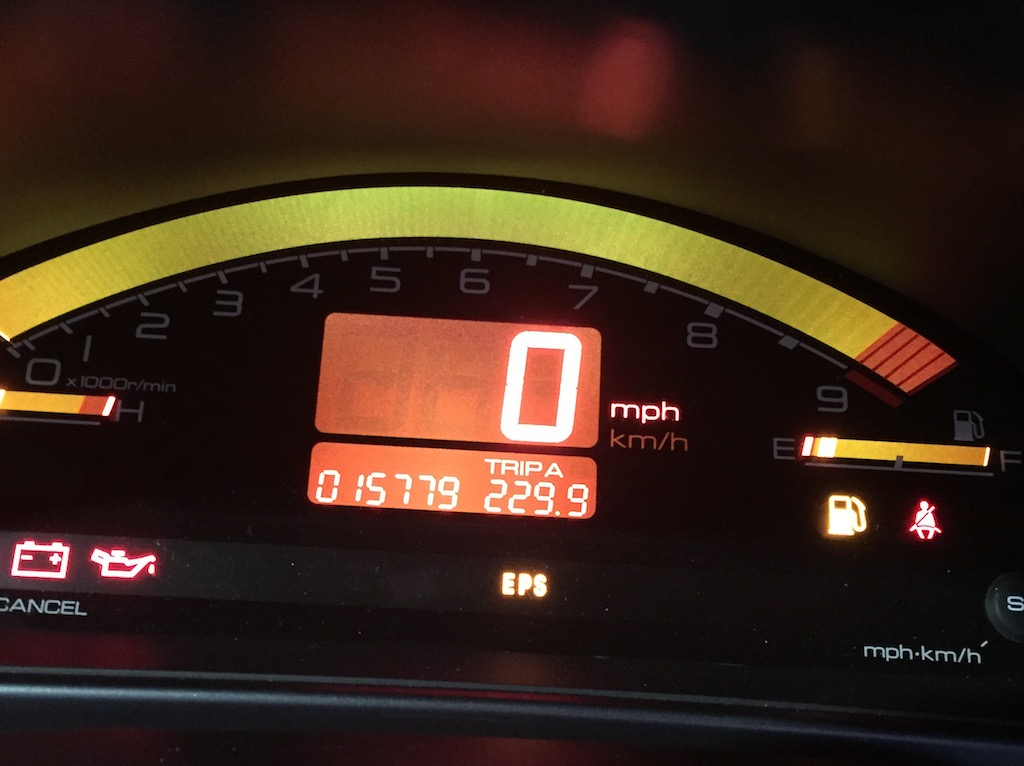
Yes, that is a picture of the dash of my 2003 Honda S2000 taken this past Friday, April 6, 2018. The S2K had a milestone: the sweet sixteen! Doing the math, I’ve owned this car for six years, and have put just a tad over 11,000 miles on it.
Even though this car is 15 years old, I get looks and comments as if she had rolled out the dealership recently. I have gone out of my way to keep this thing as clean as possible. Matter of fact, I can’t say I’ve ever driven this car in the rain during the past six years.
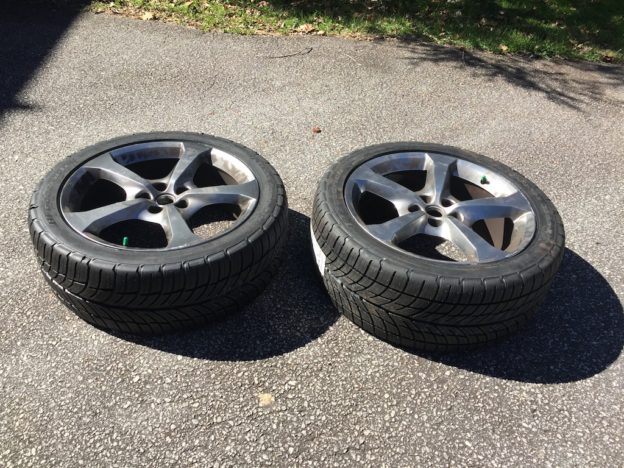
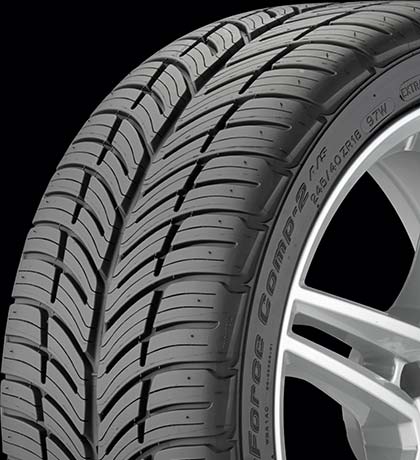
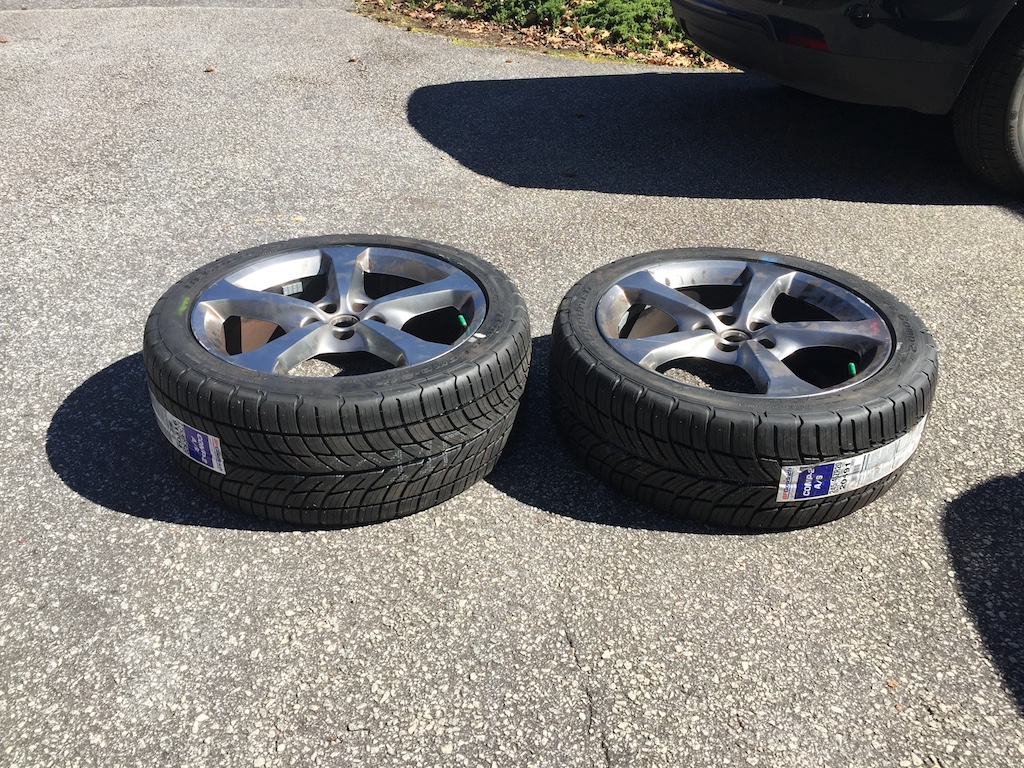
The first major purchase for the S2000 was a new set of BF Goodrich summer-only tires. Well, I need to get a new set of rears because 11,000 miles later, they are down to the wear markers. I’m not surprised. From my research the S2000 is similar to Tyson’s NSX in that the rear tires wear prematurely in exchange for optimal handling.
And so, there you have it. My 2003 S2000 has been an amazing car. It has its shortcomings in the torque department but what a joy it is to drive with the top down, revving up to the 9000 rpm redline. This thing has F1 DNA.
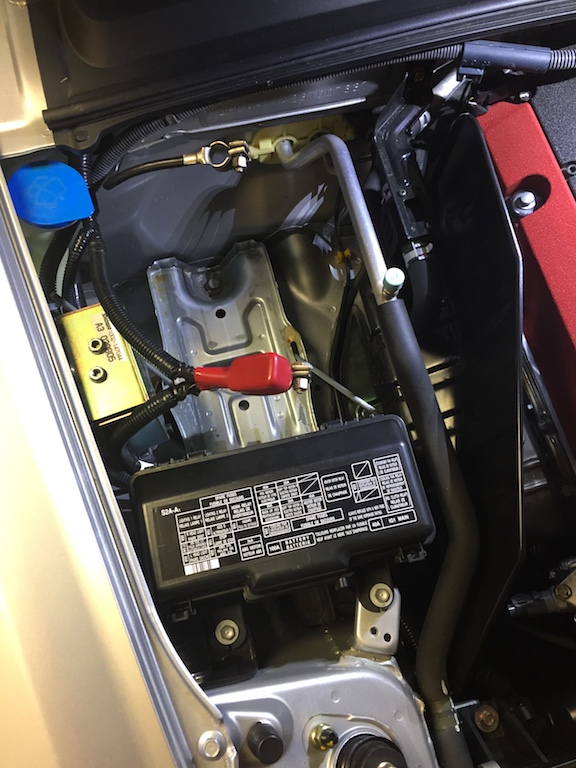
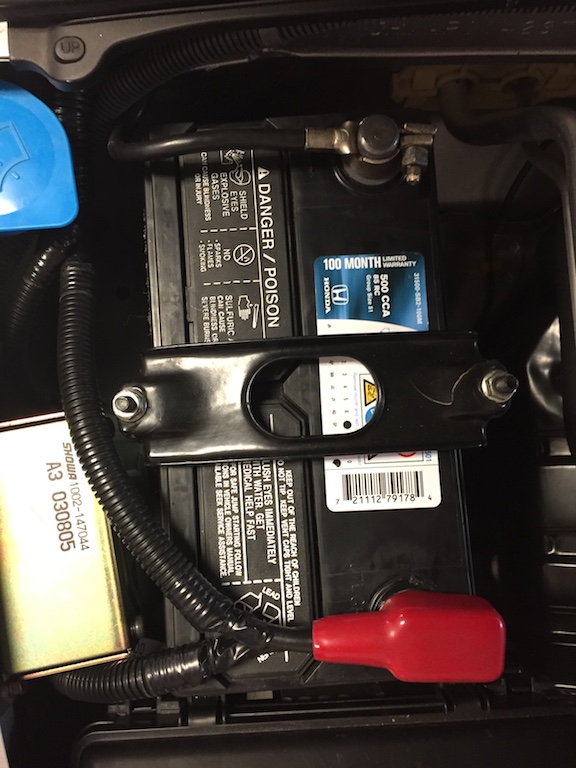
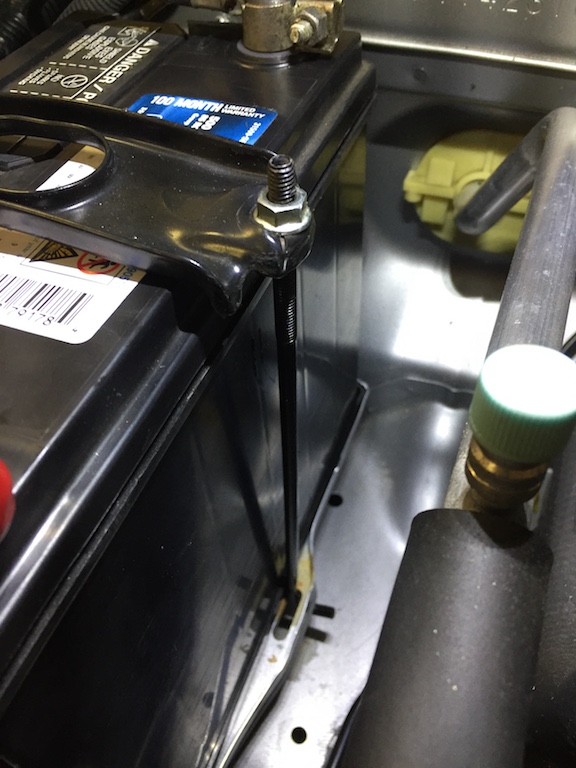
Expenses have been negligible. Other than the previously mentioned BFG’s, all I have done is replace fluids and filters. And, oh yes, I did buy a titanium factory shift knob and the factory front air dam and rear spoiler. Honda (ahem, Acura) dependability I suppose! 😉