Author Archives: bowtie6

Triumph TR4 Surrey Top – modified –

Well – here’s a new one for you…

There is the concept of a Surrey top for a TR4/250.  OK – they are nice but they are hard to find.  They have glass and they are heavy.  They do offer a removable centre section and yes, they are pretty cool.  But here is a variation on the theme…

My cousin Jim’s TR4 has been an awesome car so far.  The ECOTEC has been magnificent providing plenty of power and lots of fun.  However summer is upon us and it gets a little hot to go topless the whole time.  What to do?  Order a canvas top and look like any other TR4?  Nah.  How about this:
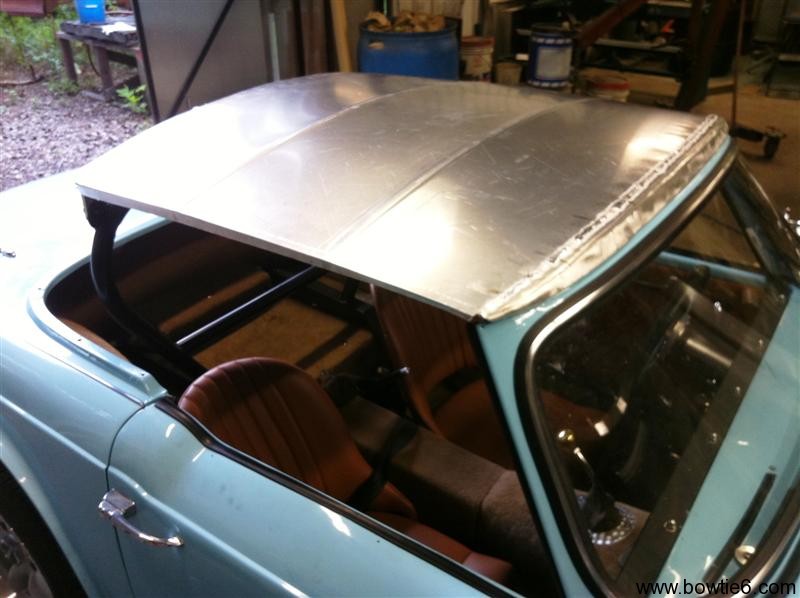
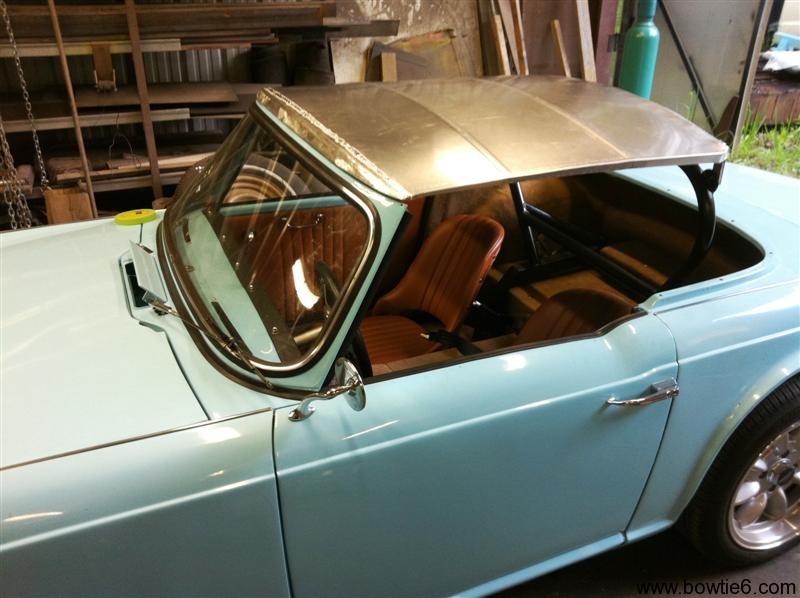
Jim’s TR4 has a rollbar bolted to the bespoke frame on special mounts.  Off the hoop, there are two tabs offering a way to mount the hand-made aluminium “bikini top” shown on the picture at left.  The three “ribs” have been formed on a Pullmax machine.  All total this top is not heavy at all, maybe a couple of pounds.  Not exactly “stock” or “original”, but what the hell.  Jim is a master craftsman and this car is indeed unique.
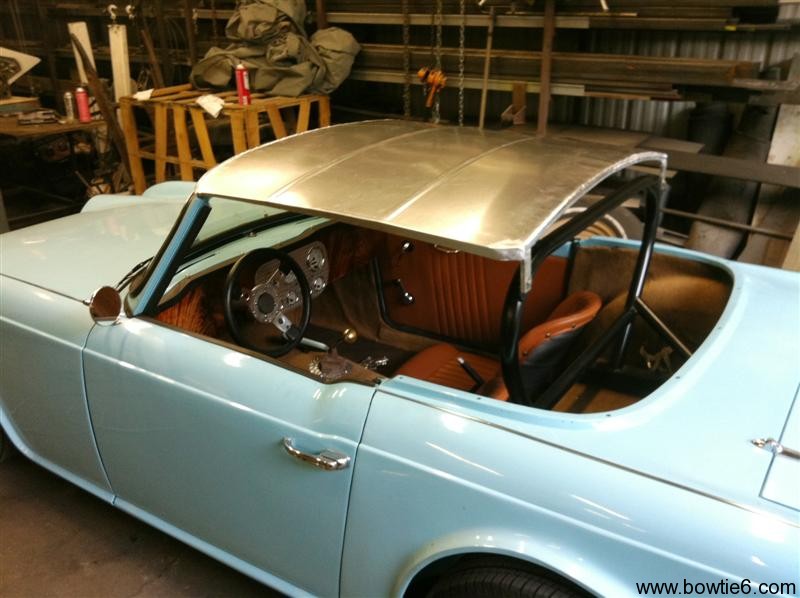
Here is another shot of the new top.  It shows the mounts on the rollbar.  The front attaches to the factory mounts on the windshield frame.  Two bolts will hold that in place.  Jim has made this in such a way that the side glass can be rolled up and it will be perfectly aligned with the edge of the new “top” – and by doing so, the car could be driven with light drizzle and this would prevent one from getting soaked.  This is the inspiration to the new “top”.  Granted, this is not everyone’s cup of tea but what the hell.  It certainly looks trick!

I realize the top looks a little “crude” – it was only made today and has not been totally finished yet.  We were kicking around the idea of fully polishing this top – after all it is aluminium.  The idea would be to make it as shiny as chrome.  Then again, it might just get painted either body colour or some other contrasting shade.  We were also kicking around the idea of covering it with some convertible top canvas to give it a faux look.  One thing we can be certain of:  take a look at the following picture:
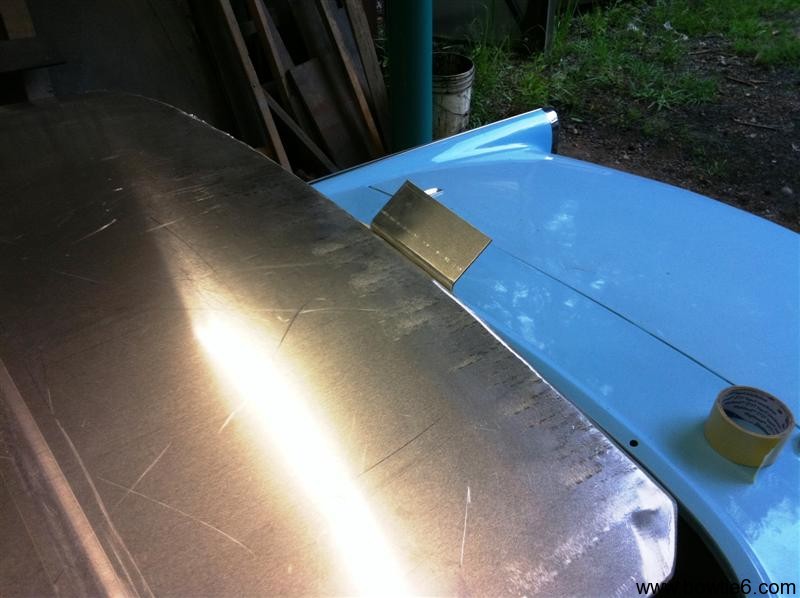
Check out the little tab…  That is a small proof-of-concept:  yes, the top is going to have a mild NASCAR “wing” on it.  This will not only look good, it will provide some downforce at high sped.  And believe me:  the TR4 needs it.  With the extra pop of the ECOTEC, the car certainly can use a few free pounds of downforce.  After all, all the pressure would be transmitted to the rollbar, mounted directly to the frame right above the rear axle…  Pretty cool, huh?
Wiring an ECOTEC engine

This Memorial Day weekend has been very busy and a great deal of progress has been accomplished with bowtie6‘s new engine harness.  Why all this effort?

The donor harness came from an HHR with a 2.4 Ecotec.  Obviously, the ECM on the HHR is located in a completely different location.  This means the harness is very long in some places and very short in others.  Very few circuits are “just right”, so quite a bit of work has to go into making alterations.  Basically, every sensor circuit to be modified has to be cut, soldered and shrink wrapped in order to maintain 100% integrity.  This takes time.

I guess this is taking things to the extreme but these are the details that differentiate amateur, shade-tree “swaps” from a 1st class, professional installation.  The goal is to make the the engine harness disappear and this is not easy to do.

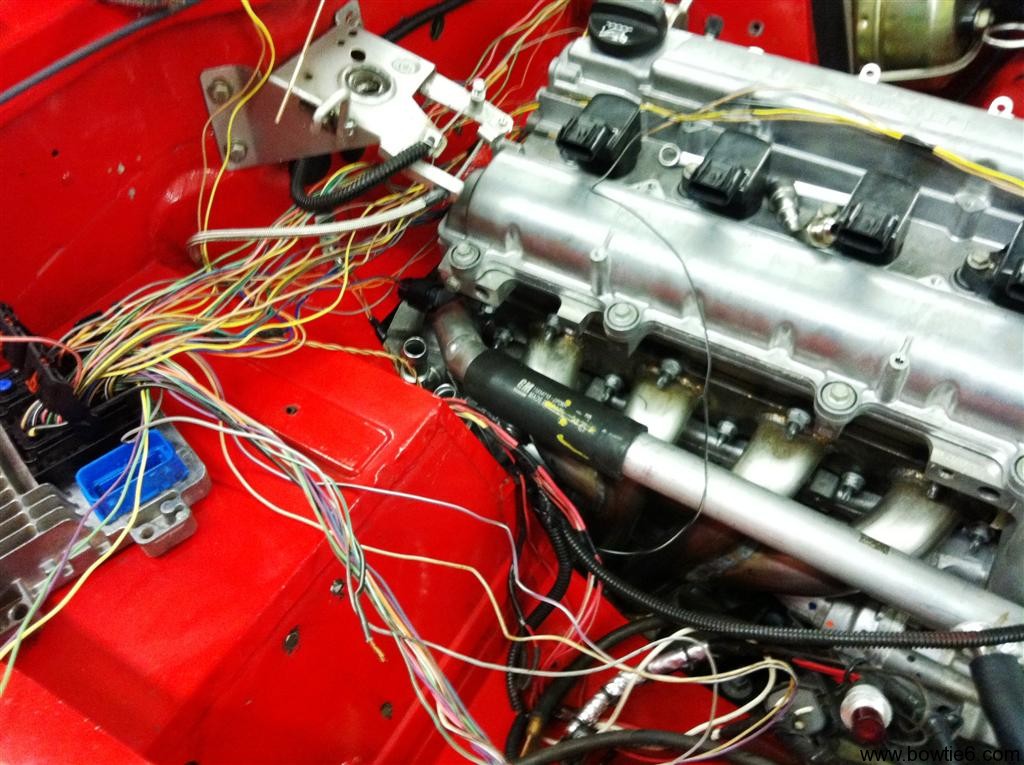
The picture above shows the ECM resting on the passenger’s side of the engine compartment.  The ECM will have a new special made enclosure, including relays, fuses and circuit breakers.  Again, it takes time but the results will be pretty impressive.

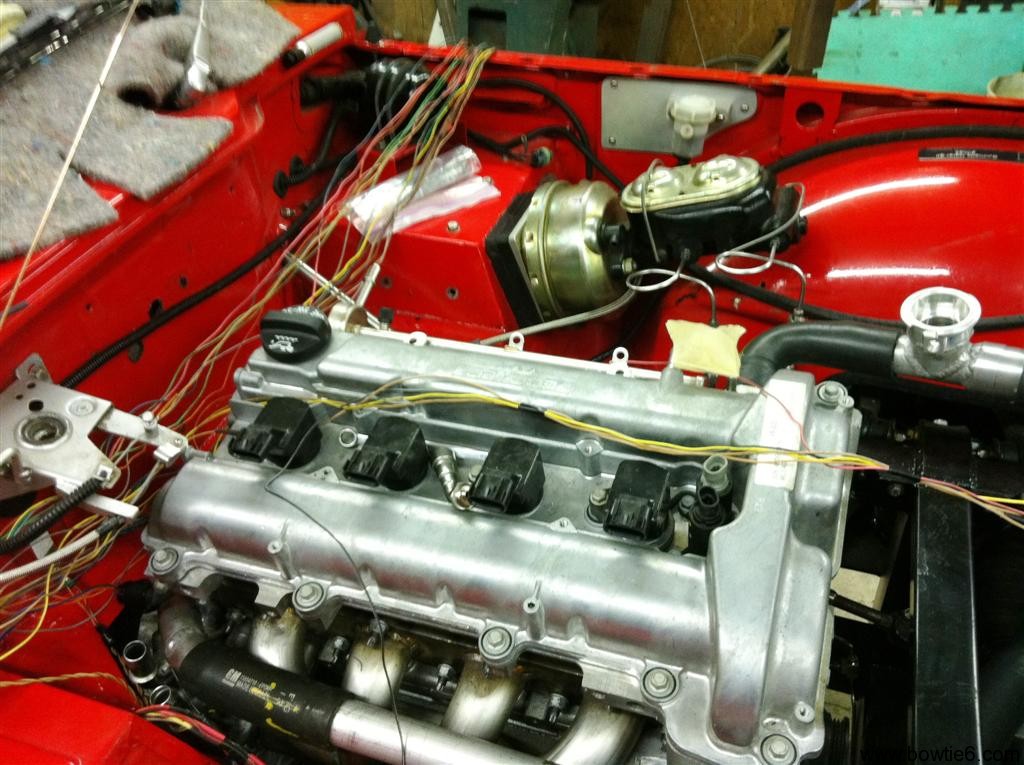
From the ECM, the harness has been divided into two separate looms:  on the driver’s side is the knock sensor, crankshaft position sensor, rear cam sensors, alternator, injectors and throttle body.  The passenger’s side loom feeds the coilpacks, O2 sensor, temp sensor, mass airflow sensor and forward cam sensors.  Looks simple but there has been a lot of work into this!

Next to do will be to build the new ECM enclosure and start wiring relays, fuses and circuit breakers.  This will tie all the switched hot leads as well as constant hot feed into the ECM.  Finally all grounds need to be resolved.

Finally, the full exhaust system has been put together.  The bespoke stainless headers have been permanently bolted to the block and the exhaust pipe bolted on.  More on all this next time – it is quite stunning!


Wiring Harness

Tonight I started working on the engine wiring harness.  Doing an engine swap requires some sort of engine harness to be used along with the computer (ECM) in order to make the engine work.  This is the part where “old school” hot-rodders shudder and panic about.  This is also the part the trips up many folks attempting to run electronic fuel injection (EFI).

I’ve worked with my cousin Jim for the past 15 years perfecting the fine art of transforming a stock wiring harness into something that can be used to fully run a modern EFI engine in a classic car.  At first we worked on “throttle body” engines – basically a glorified carburetor but with the advantage of electronics.  These were the early EFI setups that offered much better economy than a plain carburetor but had a long way to go.  Throttle bodies evolved into individual injectors feeding each cylinder and more sophisticated ECM’s.

Through the years, we were able to adapt the L98 Tuned Port v8 with it’s distinctive intake with eight runners going to each cylinder.  As the L98’s became scarce we moved to LT1’s and LT4’s.  During this time, we also mastered the L32 V6 as originally fitted to bowtie6.  The next step was the LSx family of engines.  Currently we’ve focused on the ECOTEC engine as fitted in Jim’s TR4 and now my TR6.

The throttle body harnesses were the simplest.  No much really to figure out.  When we started using L98’s and LTx’s in Jaguar XJ6 and XJS conversions, at first we sourced the harnesses.  They were not cheap, so we took a stab at using original GM harnesses and cleaning them up.  If done properly they make an excellent harness however it takes some effort to figure them out.

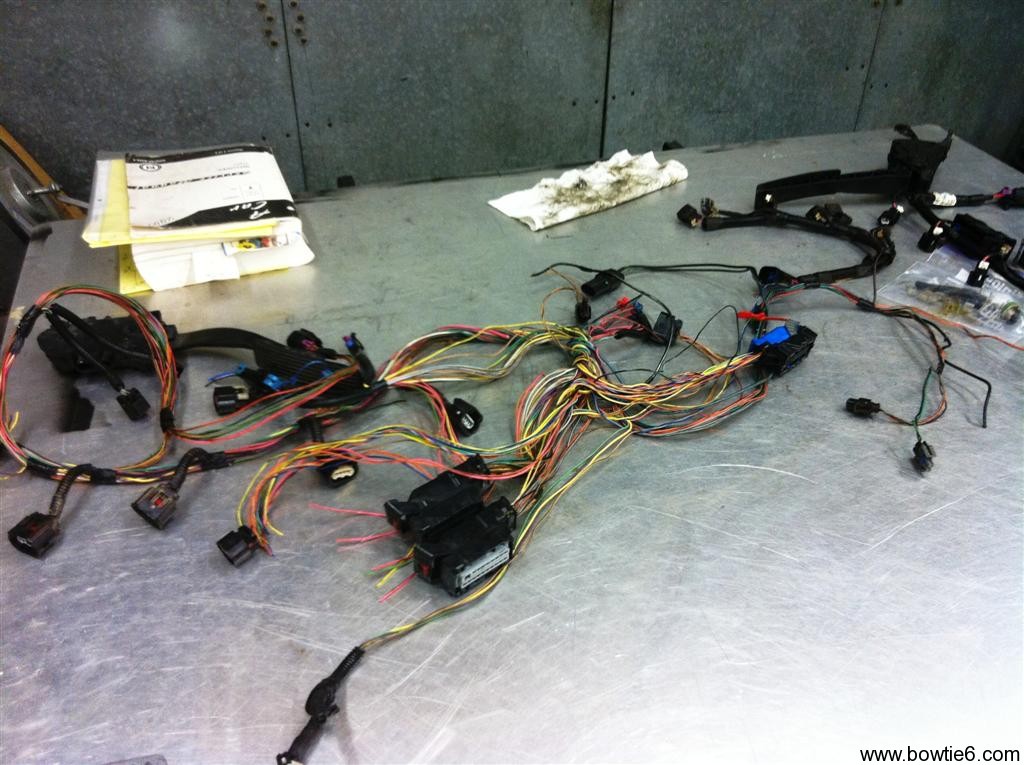
This photo shows the harness from a wrecked 2.4 ECOTEC powered HHR.  The harness is basically all there; however it must be modified to work with the ECM and placement in the engine fitted to bowtie6.  This photo shows the harness after I had removed all the plastic casings protecting the harness.  This is done for several reason, among them exposing all circuits and it is easier to trace the wires to decide what needs removal.

We don’t use the original GM fusebox.  We also remove redundant ground wires and hot feeds, thus allowing the harness to be much simpler and easier to deal with.  Depending on what donor harness you use, certain pinouts on the ECM connectors must be relocated.  This is all done by using original GM Factory Service Manuals.

I’ll have more as the process takes shape.  This is actually a lot of fun however it is a little time consuming.  At the end of the day, it is a very rewarding feeling when the harness allows the engine to run.

Things You See on the Road

Weather was great today and the the things you see on the road get interesting.  I was out on my bike today and…  Summer is definitely coming and along with it little critters start showing up.  I found this bad boy on the road today – he was alive and kicking too!  Live and let live…


Coilovers on a TR6

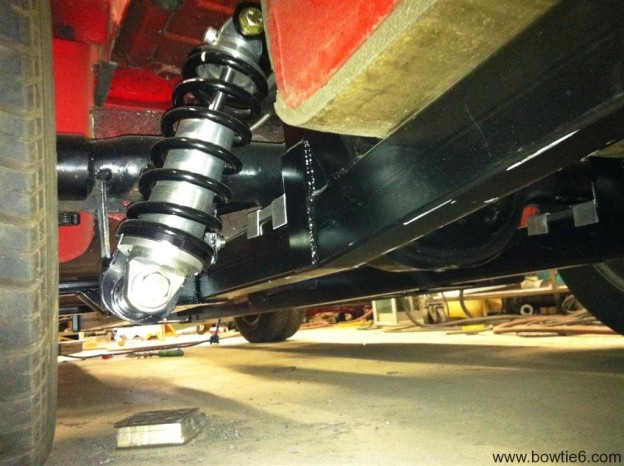
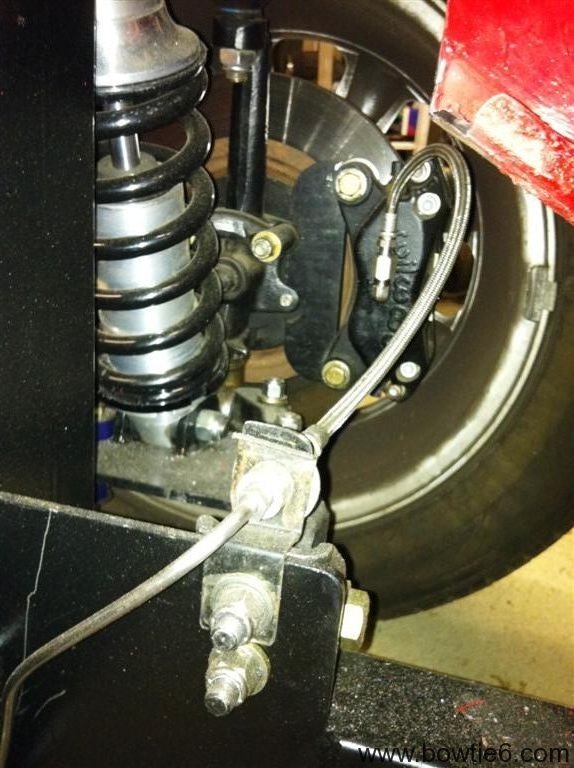
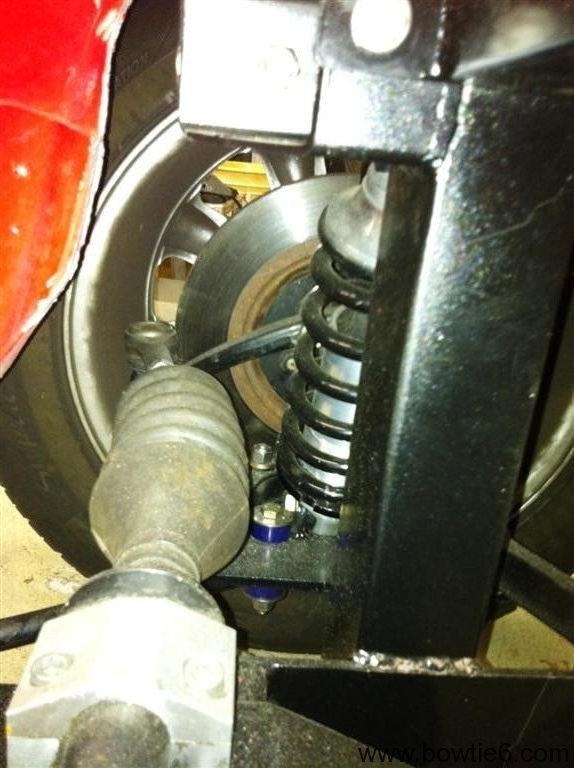
When bowtie6 was built the first time, we used coilovers on the rear suspension.  A special bridge was made and welded to the frame to hold the top part of the coilovers and tabs were welded on the aluminium control arms to hold the lower part of the coilovers.  This was nice, the horrible “lever shocks” used on stock TR6’s were removed and all was good.

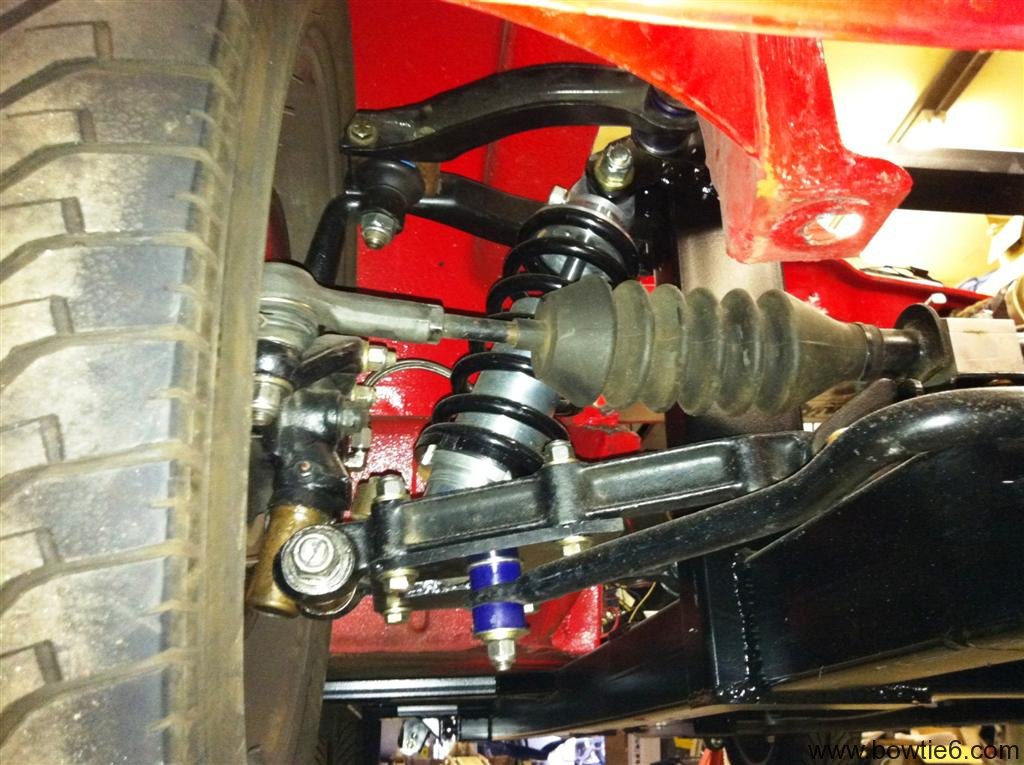
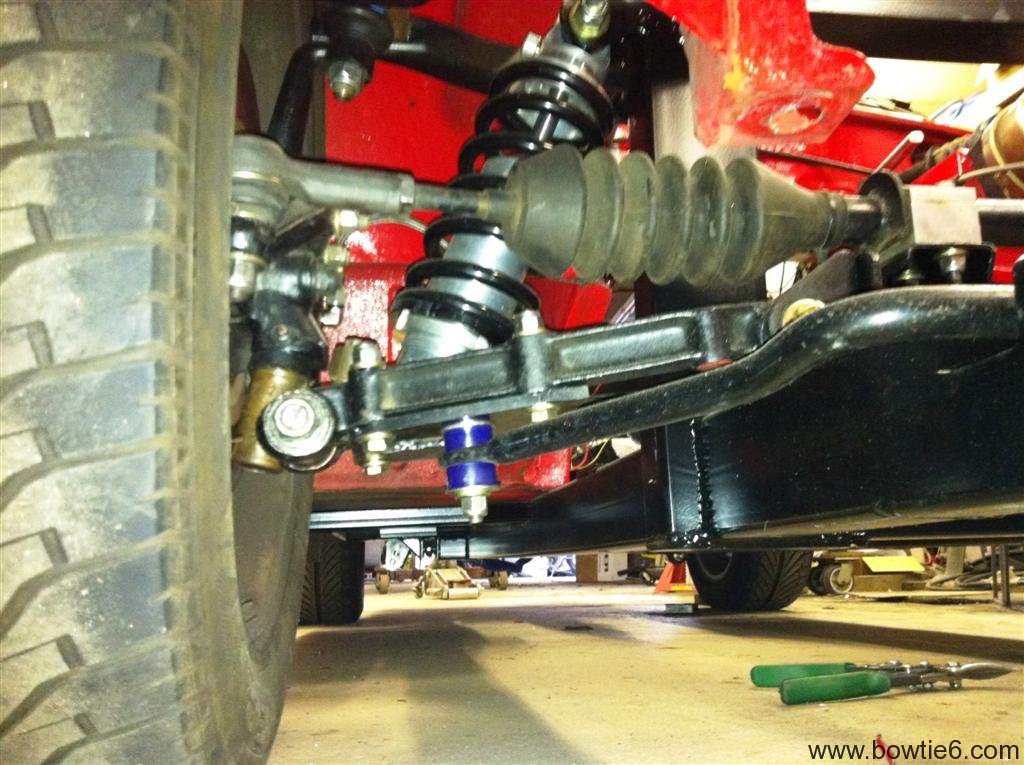
We thought about using coilovers up front but the way the original Triumph frame is constructed did not allow for a very good placement.  So instead, I used SPAX shocks with upgraded aftermarket “racing” springs.  This setup worked quite well – but with a huge shortcoming.  What shortcoming?

We all know factory Triumph TR6’s require the dreaded “spring compressor” to take the front suspension apart.  This in itself is not a big deal (provided one uses the correct type of spring compressor), however the constant tension from the spring loads up the front suspension something fierce.  This load forces the driver use great effort when turning the front wheels at parking lot speeds.  What??  Well – until you drive a TR6 with coilovers you will have to take my word for it.  With coilovers, one can turn the steering wheel with very little effort.  Huge difference.  Coilovers also allow the use of different spring rates.  One can tune the suspension to his needs very accurately.  Finally, one can control ride height very nicely with coilovers.

The downside is price.  Good quality, rebuildable coilovers are not cheap.  Sure, one can source coiloves from eBay or some half-quality supplier.  Good ones will run you about $400 a pair.  By the time you order the appropriate springs you can have $1000 a set.  But they are worth it!

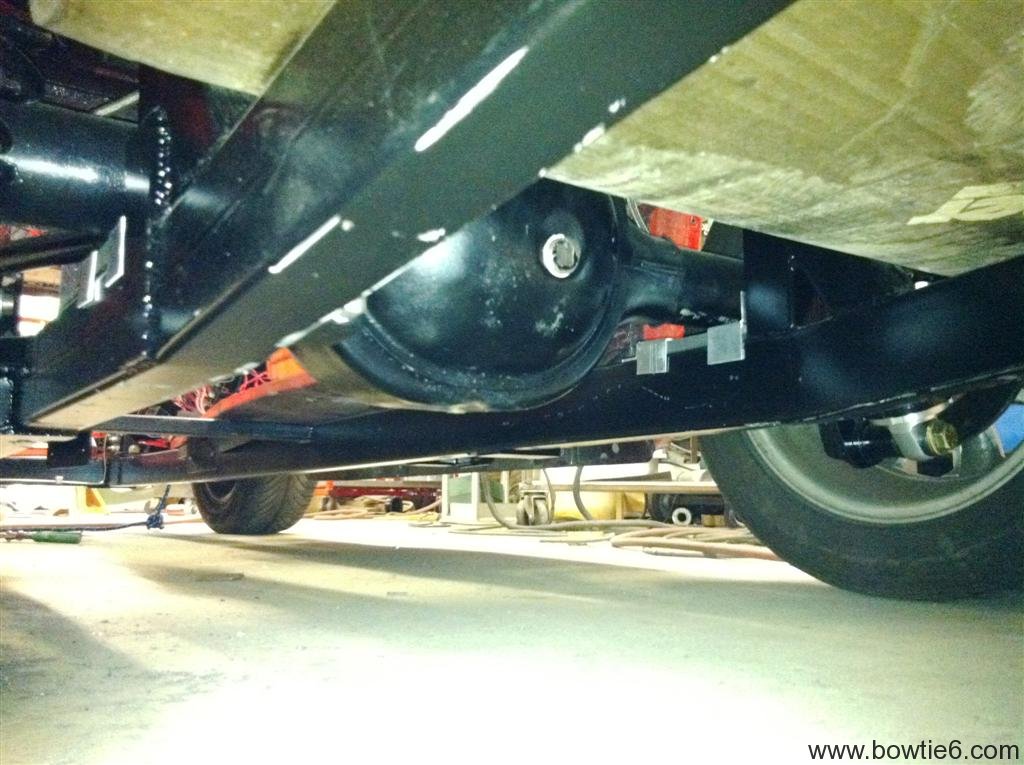
The following gallery show some pics of my coilovers mounted on the new frame.  There are some pictures of the front as well as the rear suspension, with the solid axle.  One interesting note:  Take a look at the frame:  there is nothing that hangs below the frame line.

Oh and the coilovers, yes, they perform as nice as they look!