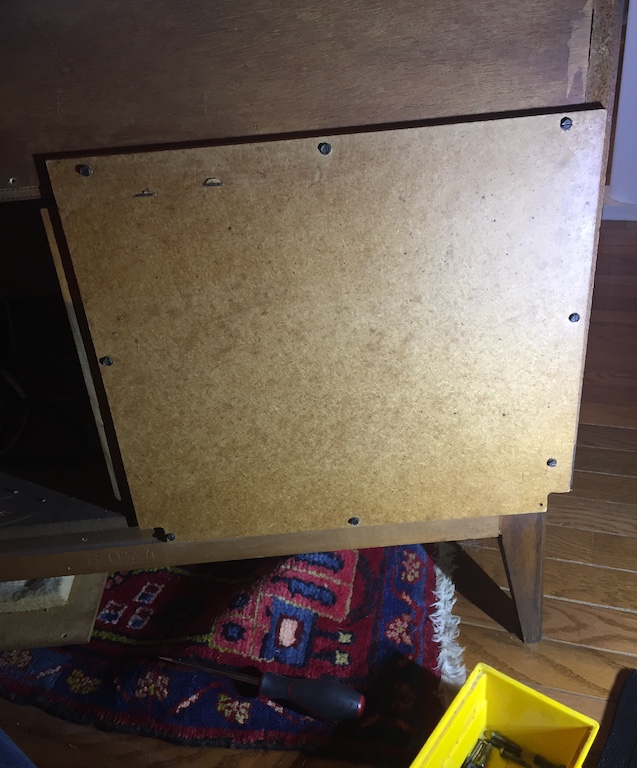
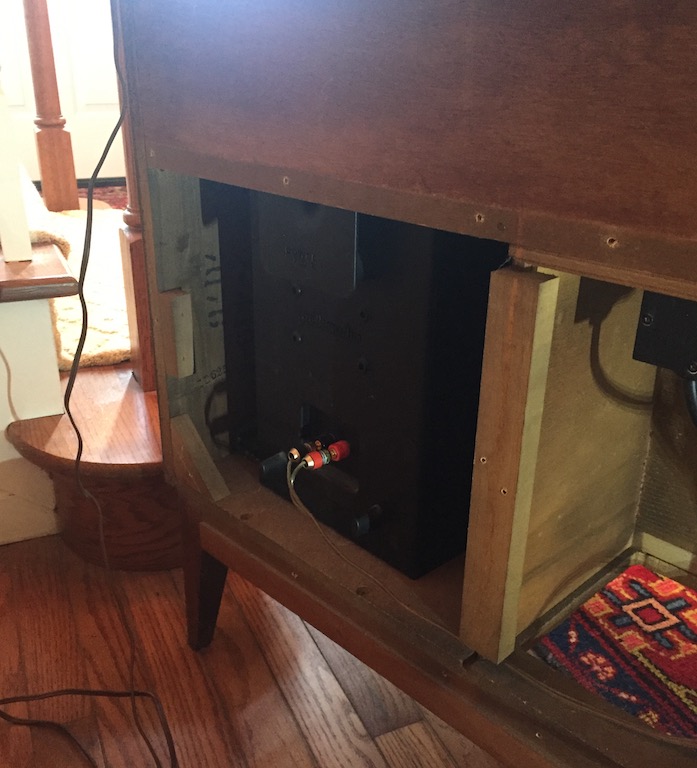
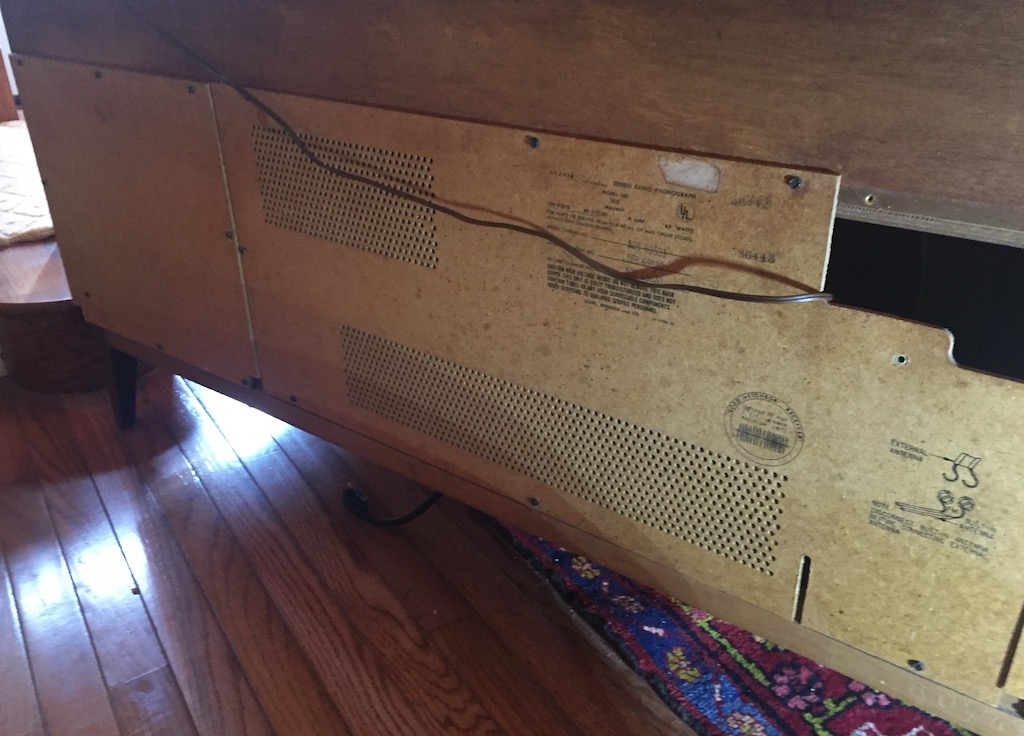
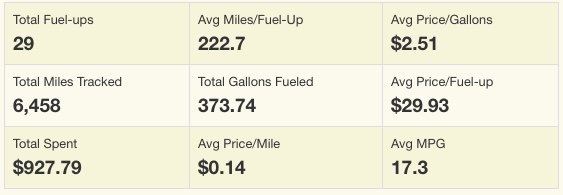
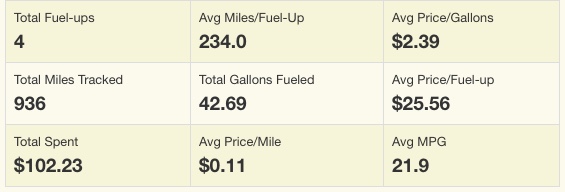
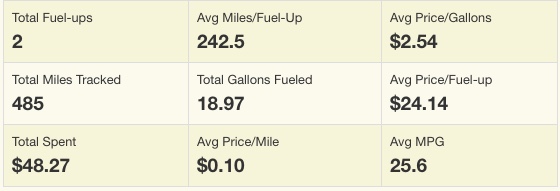
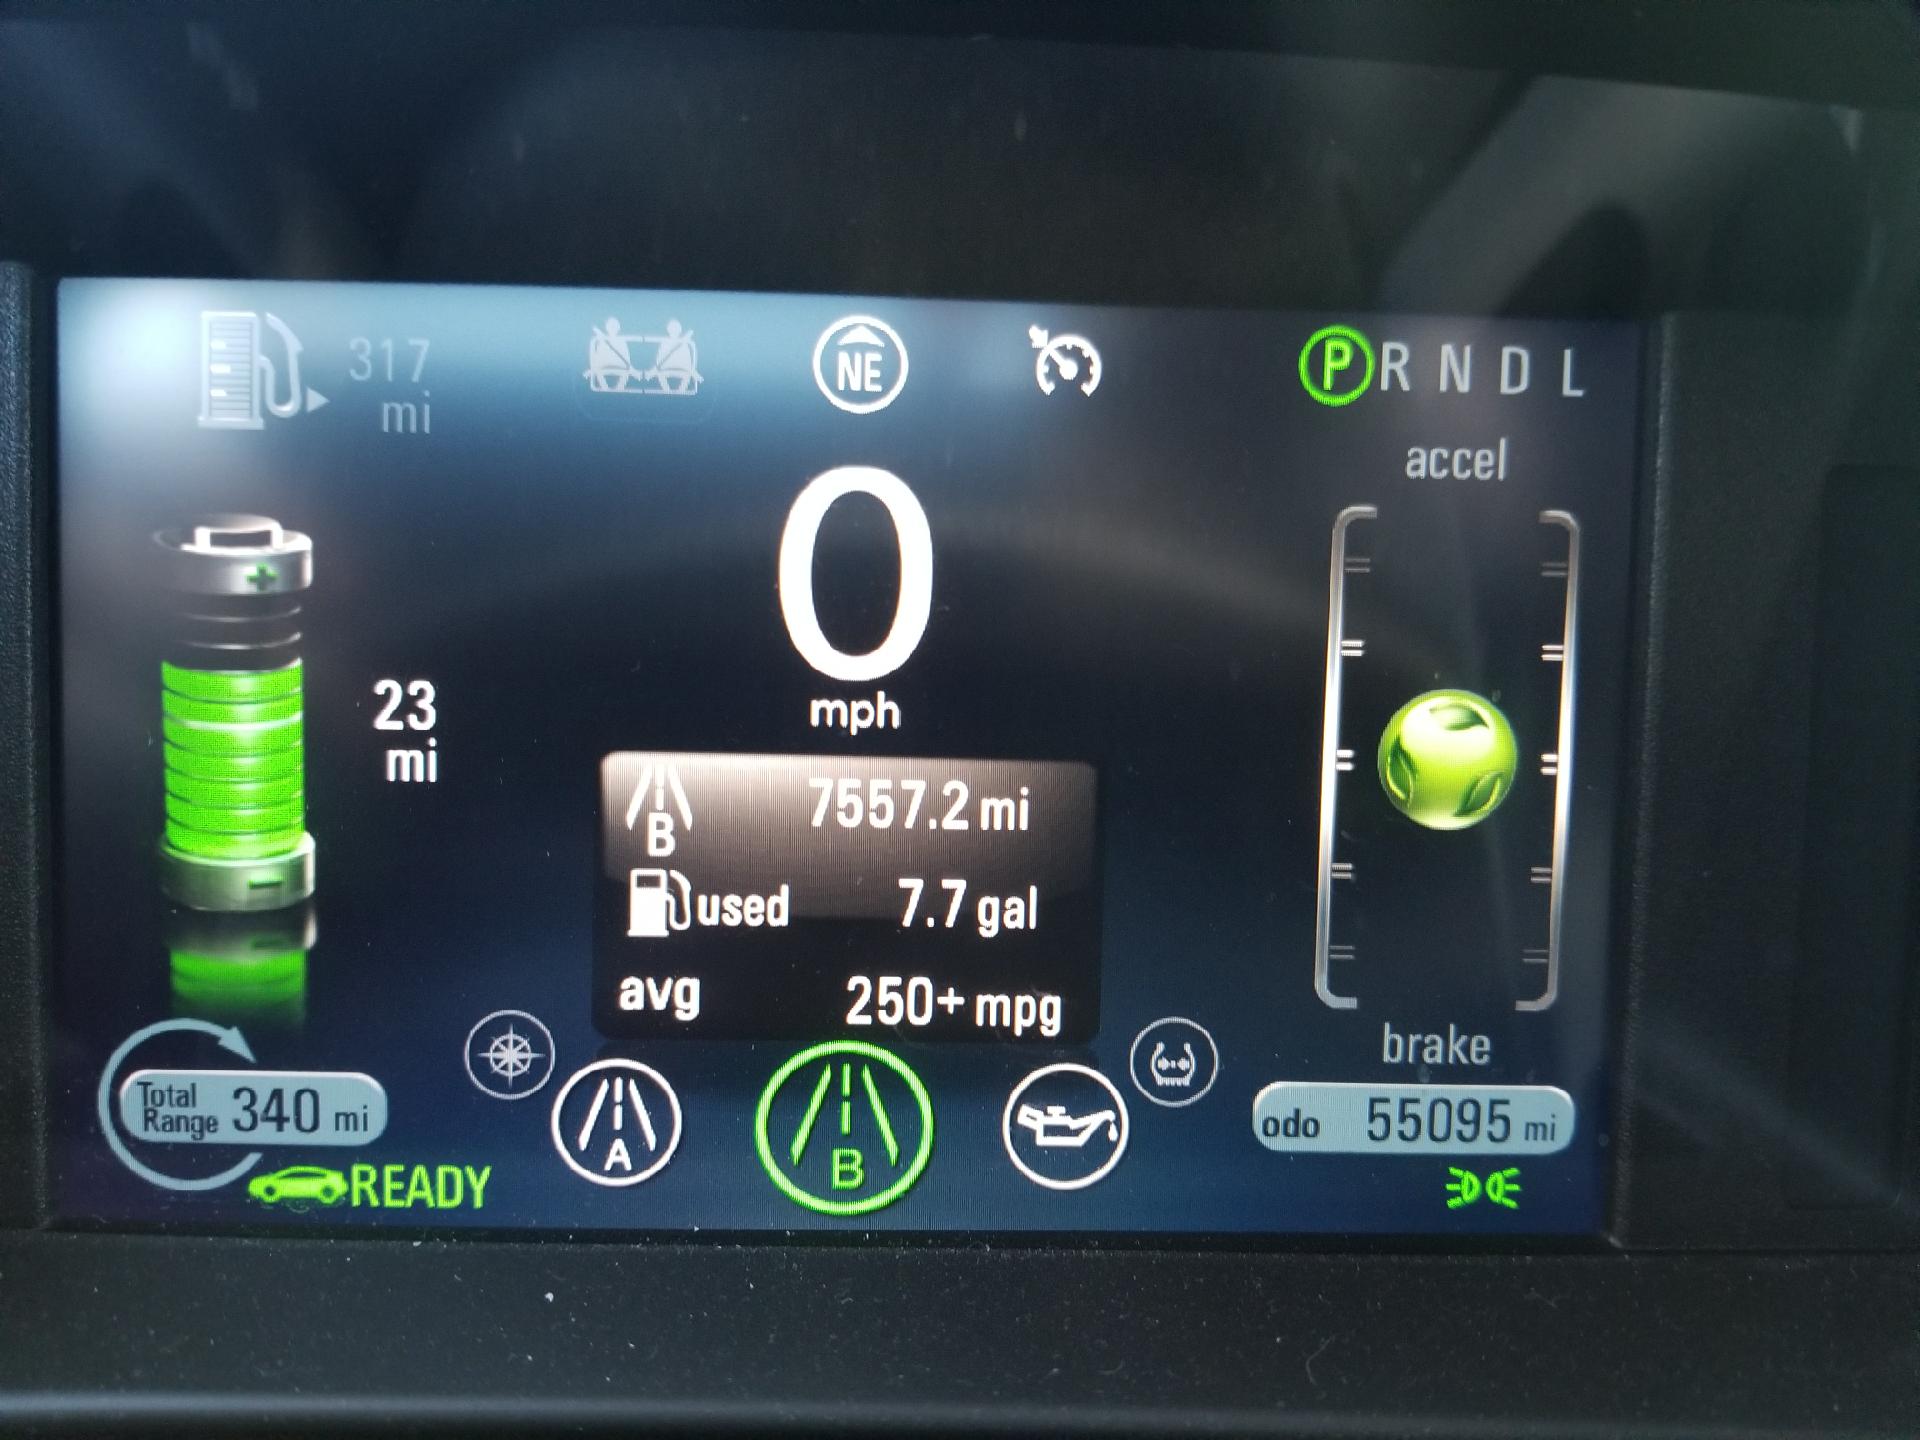
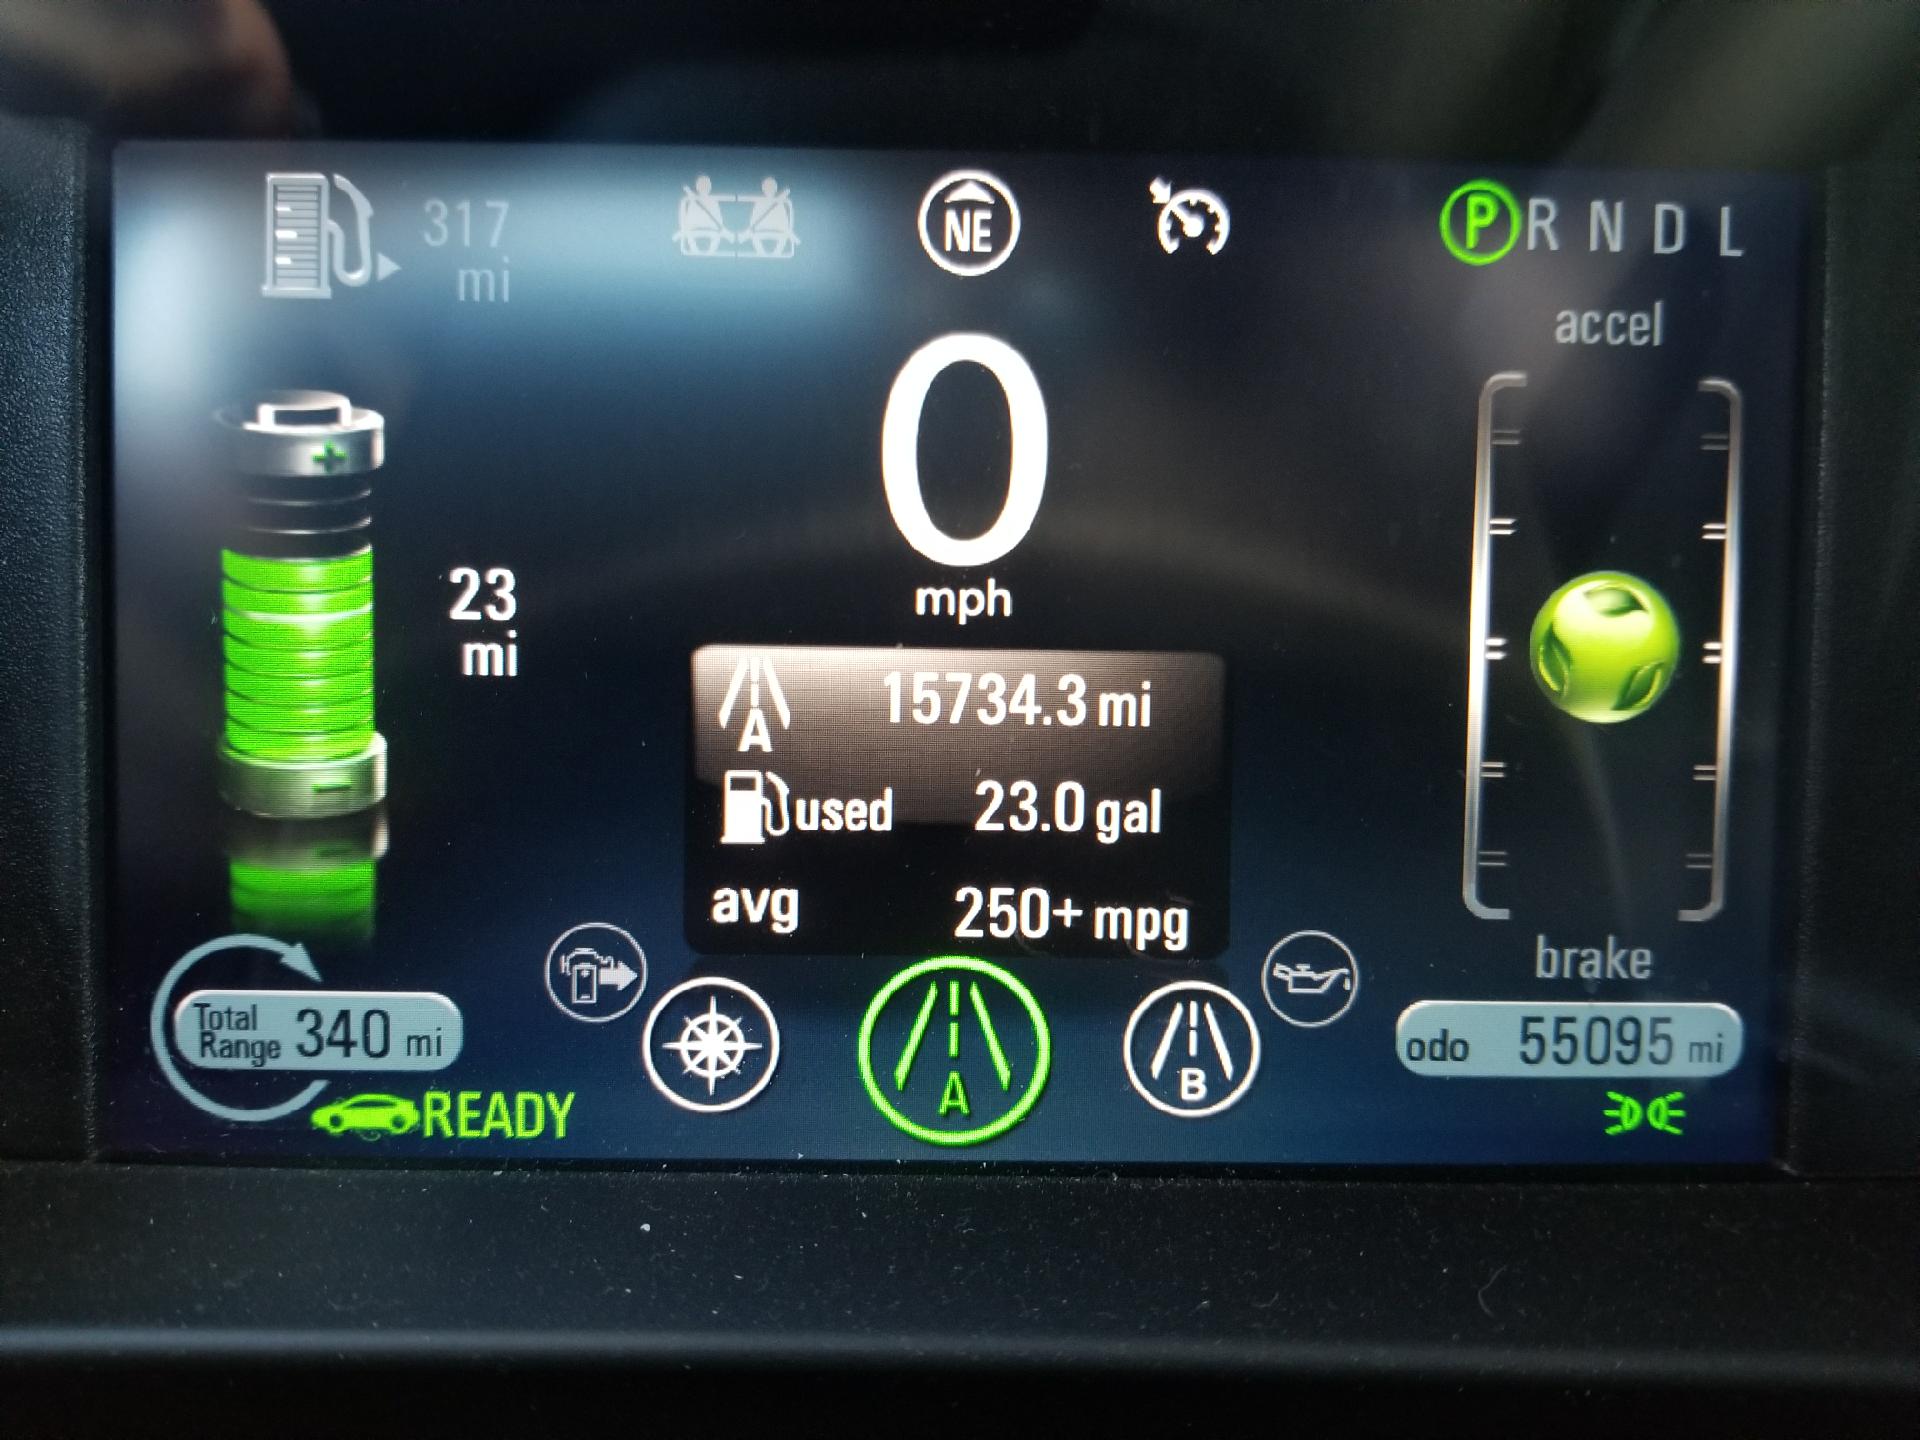
Category Archives: 7. Miscellany

Restored Vintage Stereo Console

The restored vintage stereo console is finally complete.  I’ve been working on this thing on and off for way too long.  I am very happy with the results and the console is working as it was originally intended albeit with much more modern components.  Let me show you what I’ve done…

If you are interested, click here for the prior article about the vintage stereo console.  But essentially that article talks about how I removed all the original components and ended up with an empty cabinet.

Speakers

The original console had raw drivers inside each compartment on either side of the cabinet.  I was going to try to source new drivers but instead, my friend Jeff gave me a pair of vintage Polk speakers he no longer used.  They took a little finagling to get in but they couldn’t have been a better match.

The speaker wires are cheap; this is not a reference system so I did not splurge on exotic oxygen-free copper wires with silver soldered ends.  However, I did get some nifty banana plugs from Amazon.  They have a screw-on design and worked very nice.  They were super easy to install, without the need of a soldering.  Those are two-way Polk speakers by the way.

And from the image above you can see I put the original backing material back on.  This did two things:  it improved bottom end on the speakers a little bit and it also makes the console look finished.  So both sides of the rear of the console are covered.  Here is the other side:

And the side and center back panels…

The Components

Now let me show you what runs the whole shebang…

I cut a piece of MDF to serve as the new shelf for all the goodies shown above.  I used MDF because it is cheap and I had some left over from when I built my new nifty worktable (i’ll have more about that in a later post).  There is a brace you can’t see in the photo above so the new MDF shelf had to be cut about 1/8 inch short on all sides in order for me to get it in the console’s cavity.  This left a rather ugly gap on each side, so in order to cover it all up, I just used adhesive-backed cork drawer liner.  I bought that from Amazon too and it worked out just fine.  It was easy to cut and since it bends easy, I could cut it as long as I needed.

The Power Supply

So what do we have here?  At the very top is a Furman power supply.  I wanted this to look as slick as possible and the Furman power supply does the trick.  On the back side of the power supply are a number of power outlets all fed from one heavy gauge wire that plugs to the wall outlet.  This way there is only one plug to deal with.  Another cool feature is the single power button that if needed, shuts power off to all plugs.  It is all fused and overall it is very well made.  Mounting the power supply required cutting a hole in the shelf and then sliding it in.

The Amplifier

Next is a Yamaha WXA-50 Wireless Streaming Amplifier.  I chose this because it has a built in amplifier, bluetooth, digital input, optical input, remote control and has its own app that can be used from an iPhone or iPad.  However all this does not come cheap.  The WXA-50 is rather pricey, but it is the perfect fit for what I wanted to do here.  The WXA-50 sits vertical as you can see.  I had originally mounted it flat but it took up too much space and did not look good.  To get the WXA-50 to stand vertical, I had to build a small box underneath the shelf.  This took some effort because it had to be done around the ventilation panels of the amp.  Once I figured it out though, the amp slid in place and all is good.

The Media Server

Finally, I have my old macMini acting as media server.  I have my entire music library stored there and it is accessible from either my iPhone/iPad or from my macBook via remote desktop.  This means that I can play my entire iTunes collection from the macMini through the WXA-50.  I suppose the macMini could have been installed underneath the shelf but that proved to be problematic in case I need to access it.  Plus it just looks cool in the current configuration.

Remember I said there is an app?  The app is called Yamaha MusicCast.  Once you get that all configured, you can link it to your SiriusXM account, play any radio station on the internet and many other sources.  The WXA-50 is a very nice piece of equipment indeed.

I had originally wanted to slide a vintage amplifier (say, something like an old Marantz) but there is just not enough space.  And, there would be no bluetooth, XMRadio, etc.  Instead, what I have here is just perfect.  The system is not overly loud and serves exactly what it was meant to be:  a very pleasant way to have background music playing in the background.

Finally, if you notice on the featured image above, there is a small framed key…  It is special and fits nicely with the mid-century theme going on…

This is a legit Playboy Club key that used to belong to my father-in-law.  Good times!

2017 Mileage Roundup

Time for the 2017 mileage roundup for the fleet.  I started this type entry a year ago when I summarized the mileage totals to start collecting history on mileage traveled.  I made it a point after acquiring RedRock to create an account at Fuelly.com and then installed the app on my iPhone.  With a little discipline, I’ve recorded every fuel-up and the results are interesting.  The website provides a yearly totals view and that is where these screenshots came from…

Here is my 2017 mileage roundup:

Totals for: RedRock

Totals for: S2000

Totals for: bowtie6

Comparing to the totals from last year, I must drive MORE!!!

Finally, like I did last year, here is a gallery of the three dashboards taken on New Year’s day, 2018.

Note:

This might be one of the few times I post a picture of the mileage on bowtie6.  It shows 23,519 miles and this is a bit misleading (adding this as a reminder to myself too!):

  • I’ve driven my 1972 TR6 for 23,159 miles since I put it on the road after the full restoration.
  • The first engine – a 3.4L V6 from a Camaro –  ran for 14,513 miles.  That is when we discovered an irreparable frame failure with stress cracks and my cousin Jim built the new frame from scratch.
  • The 2.4L Ecotec engine/gearbox came from a Pontiac Solstice with only 8 miles on the odometer.  This powertrain was then installed in a new frame built at Jim’s shop.  On October 15th, 2011, bowtie6 left Jim’s shop and has been a hoot to drive.
  • The new Ecotec powertrain has 8,998 miles so far.


Chevrolet Volt Fuel Stats

2013 Chevrolet Volt

My friend Lee purchased this 2013 Chevrolet Volt about 2 years ago.  Lee’s goal from the beginning was to achieve as much efficiency as could be obtained by driving as smooth as possible (more on this later, see below).  He has made it a priority to avoid gas stations!!

I’ve read much about hybrids and from my research there is a mind-shift one must make to meet the highest level of efficiency.  For yours truly, this would certainly be a steep learning curve but I digress.  Back to Lee’s Volt and the subject of this story.

You see, this week Lee texted me the following pair of photos when he filled the Volt’s tank with regular unleaded for only the third time since he bought the car!!  

Mileage since last fill up

This is the first photo of the Volt’s dashboard.  It shows mileage since the last fill up.  Lee explained he only resets the “B” odometer every time he fills up with fuel.  And here is the follow-up on the note in the first paragraph:  notice the indicator with the ball framed between the two brackets on the right of the picture.  Lee explained that is the indicator that helps you drive as efficient as possible:  the goal is the keep the ball in the middle the majority of the time.

Mileage since purchase

And this photo shows the “A” odometer, displaying total mileage since Lee purchased the 2013 Volt.  15,734 miles on exactly 23 gallons.

How the 23 gallons were used is an interesting story in itself.  Once the batteries are exhausted, the 4 cylinder engine kicks in and generates power to replenish the batteries.  During winter months, the engine helps provide heat and during summer months the engine provides help cooling the car.  The Volt’s computer also engages the engine when it “needs to run”.  On several occasions Lee has told me of the indicator that reminds the driver of this.  Pretty cool, huh?

Finally one of the neatest stories Lee has shared was shortly after purchasing the Volt.  You see, he bought the car in Asheville NC and drove around town a bit on electric power.  Then, on the way back to Greenville SC, the steep drive down I-26 provided enough braking (energy recovery) to recharge the battery almost to capacity.  Pretty cool stuff…

Needless to say, driving a Volt takes discipline.  Lee has proven with these results that a hybrid car is a very practical and real alternative.  I am a big offender because my Camaro is the complete opposite to the Volt.  It is downright embarrassing:  Lee has owned his Volt for almost 2 years and has filled up 3 times.  I have owned my Camaro 2 years (on the 10th of December) and I have filled up 70 times to travel almost the same distance.  Granted, we are missing the electric part of the cost of ownership but I think these stats are remarkable.

Thoughts?  Comments?

Can’t Fix Stupid

I am constantly amazed by the carelessness of drivers around me and in this particular case, that carelessness gets upgraded into the realm of “can’t fix stupid”.

Since I have had some issues with my internet service provider’s billing, I decided to stop by one of their offices.  Yes, I tried the phone but they were reluctant to help.  I thought a face-to-face visit might solve the problem, but no.  I was greeted by a very friendly person, but that is as far as it went.  The experience was a complete waste of time because the person on the other side of the counter gave me her minimum-wage’s worth of help.  But, I digress.

Back to my story…

On the way out of the internet provider’s office I noticed this parked sad and lonely SUV with a flat right-rear tire.  What struck me as odd was the ring on the sidewall showing evidence of severe wear.  It is very obvious, this tire had traveled a long distance completely flat.  So much so, that the sidewall material is showing through the rubber on the sidewall.  Just imagine how hot this sidewall got too!

Cord exposed on the tire’s sidewall due to severe under inflation

I suppose I am overly sensitive to stuff like this because I am very particular about the care of my automobiles.  However, in today’s world there are so many people who ignore the basics of automotive care.  Are drivers so oblivious they don’t notice issues with their vehicles?

Flat or under inflated tires are prevalent these days.  I’ve witnessed on several occasions SUV’s (driven by millennial soccer moms) with kids in tow and yet the tires on these vehicles are either low on air or past their prime (sometimes both!).  Then, I can just hear the conversations blaming tire quality when catastrophic failures like the one pictured above happen.

Can’t fix stupid.

Bedliner Clad Jeep

The other day, I walked to a little restaurant next door to the place I work at and in the parking lot saw this bedliner clad Jeep.  The olive drab paint job is indeed bedliner.  How cool is that!

I realize this is not something special.  This Jeep’s owner decided to treat this vehicle to an iron clad paint job that will quite frankly last forever.  Truth is to be told, I did the same thing (except in black) to the entire underside of bowtie6.

Think about it, this is one hell of a cool idea!  I walked up to the vehicle and touched it – the surface was far from “smooth”.  It was quite rough but looked awesome.  So much so, the material also covered all the emblems in such a way they could easily be read.

Pretty cool huh?