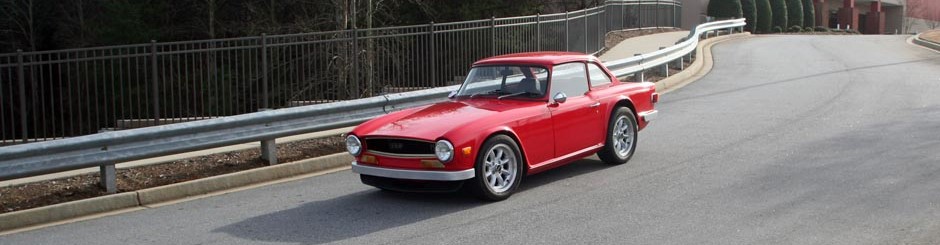
After nearly 25,000 miles on bowtie6 and countless number of rebounds the rear coilovers finally gave up the ghost; time for coilover repair. In order to get them apart, I had to do a partial rear suspension tear down. My cousin Jim designed all the mounts so they could be easily disassembled – “…remember, everything will eventually be replaced or serviced at one point or another”, he says; “…it doesn’t matter how nice it looks or how great it performs, if it is not easy to disassemble and put back together, it isn’t worth a damn!”. Wise man, my cousin Jim.
The last few times I’ve had bowtie6 on the road, the rear suspension had been a bit “soft” and the rebound a bit excessive. Furthermore, I have also noticed a few oil drips on the floor from the rear and I thought it might have just been the diff weeping some fluid from the overflow breather. Well, since I had to change engine oil and bowtie6 was already up on jack-stands, I decided to check the rear suspension. This is what I found:
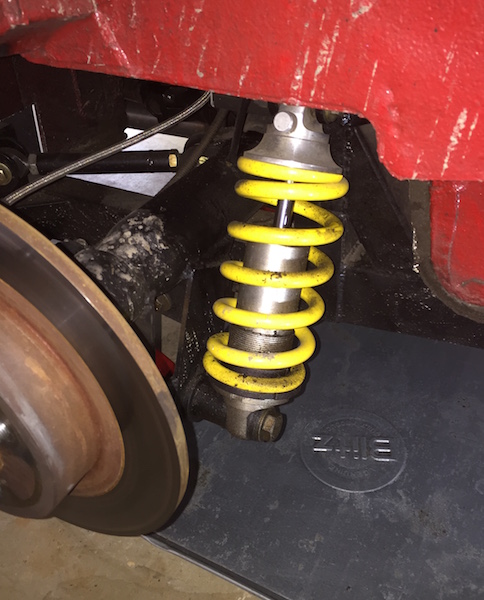
Driver’s side coilover & rear brake rotor
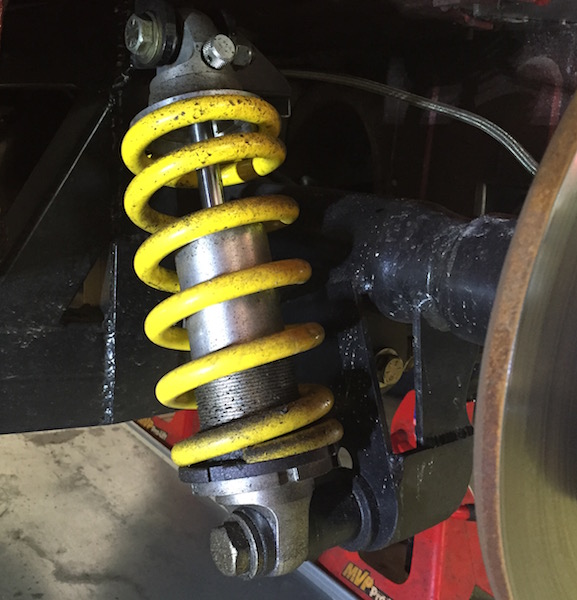
Passenger’s side coilover; note the rebound adjustment knob at the top
As you can see, the coilover and spring have a film of oil – actually, damper oil. Not good. The differential looked fine, so at this point I had confidence the origin of the oil stains on the floor of my garage came from the coilovers.
Before the coilover could be removed, I used a special wrench and loosened the lower lock-nut as well as the lower spring seat. Top on the list of the advantages of coilovers is that there is no need for a spring compressor. But I digress… The lock-nut and lower spring seat can easily be removed on a vise but I have found it is a bit easier for me to do the loosening in situ. Here is a closeup of what I am talking about:
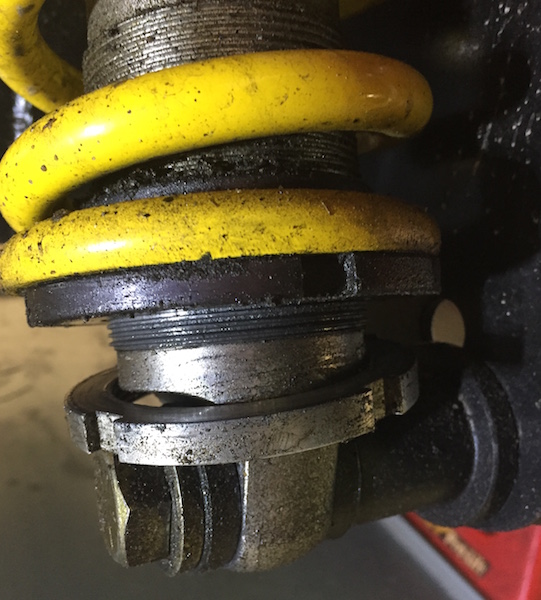
Yes, this looks nasty – the damper oil got all over the place!
And so, the bottom grade-8 bolt and locknut came off first. Then, the top grade-8 bolt and locknut came out and this freed up the coilover. Finally, I clamped the coilover in my vise and turn the last few threads on the lower spring seat until it released. Sure enough, I was able to compress the shock very easily. Time for a rebuild.
I say “time for a rebuild” because these coilovers are fully serviceable by the manufacturer. All parts are replaceable back to as-new condition. Yet another reason coilovers is the only way to go. So I packaged them back in their original box and sent them via brown-truck back to their place of origin somewhere in California-yay.
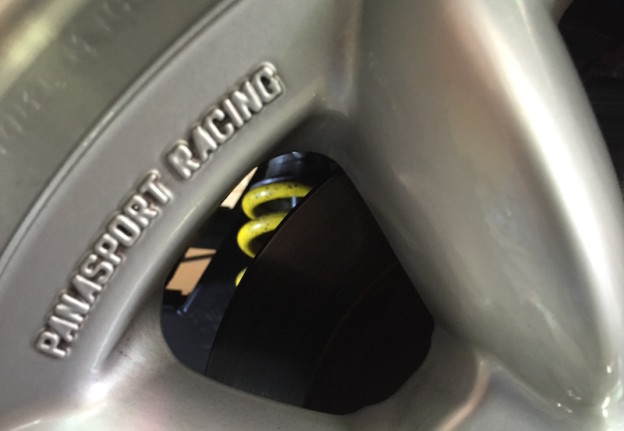
I have four of these coilovers (two fronts, two rears) and they are fully adjustable for rebound – accomplished with the little knurled knob near the top mount. Another great advantage of coilovers is the ability to fine-tune the spring rates. Springs come in a variety of tensions expressed in “lbs”, usually in 25 lb or 50 lb increments (ie., 350 lb, 400 lb, 425 lb, etc). It took some doing (and a few extra springs!) to finally dial in the exact rates I found the most desirable – fortunately spring sets are not too expensive. I say desirable because I did not want the ride neither too soft nor to hard. It is what suits me; I like the way bowtie6 handles and that ultimately is what matters the most. I have written about my coilovers before. If you like click here to read those earlier posts.
In retrospect I am not too terribly upset about this happening. Specialty parts like this are not meant to last forever and I suppose if this had not happened it would mean I am not pushing things hard enough.
And now some gratuitous eye candy…
Here are a couple of pictures of the rear suspension setup my cousin Jim built for bowtie6. This is a four-point-triangulated rear suspension.
- First, there are two outer control arms bolted on mounts to the outside edge of the axle and then bolted to the frame mounts on the opposite side.
- Then, we have two shorter inner arms mounted at an angle, bolted to another set of mounts on the axle as well as on the frame.
We sourced high-grade, adjustable rod ends for all four arms along with grade-8 hardware. Certainly pricey but this helps solve one of the disadvantages of a four-point suspension. Since this is where the horsepower meets the road, the extra cost is certainly worth it.
The rod ends are threaded and screwed into each control arm. This is all locked down with a nut and that tightens against each end of the control arm. This comes in very handy when having the rear suspension lined up.
One more bit of useless information: this rear suspension design comes in very handy when space is at a premium: there is no need for a Panhard rod.
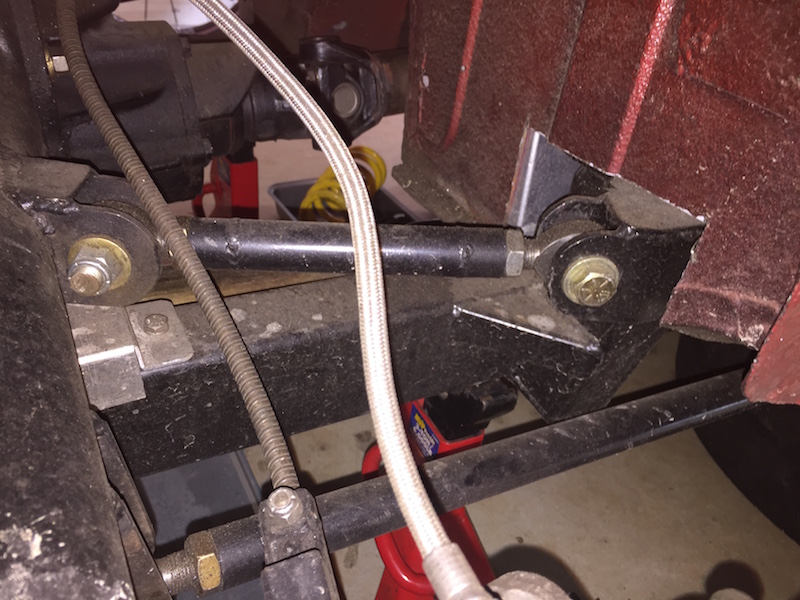 And since the devil is in the details, if you look closely at the image above, you can see the braided brake line feeding the rear passenger-side caliper. Finally, look at the silver “box” right below the rear axle: that is a small aluminum box resting freely on a rubber block. What is this for?
- It serves as a lower bump “stop”. This prevents the axle for over-extending the reach of the coilover and thus busting it. That can’t be repaired, BTW.
- Finally, it provides for a nice place for the axle to rest on for cases just like this. Built by design!
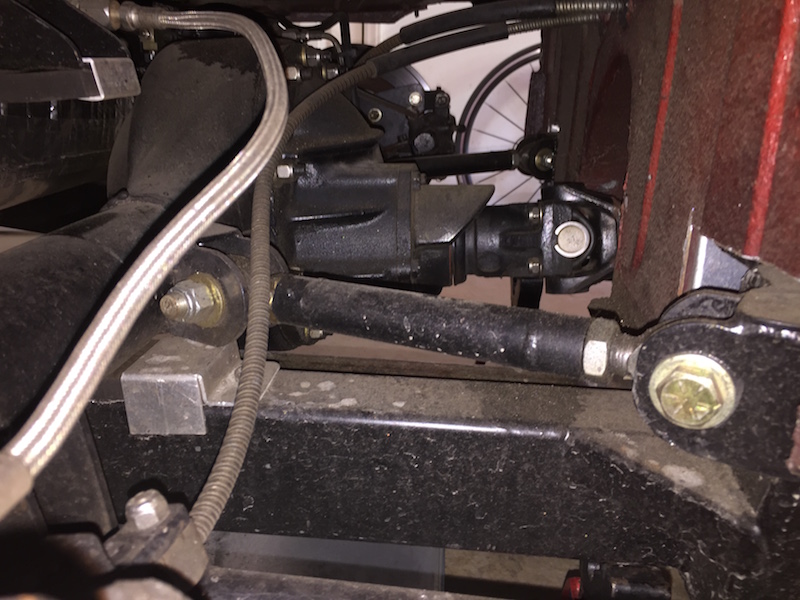 Another shot of the little bump stop on the bottom. If you look close enough, there is another bump-stop at the top! Just as before, that is there to prevent the axle from pushing too far up and again, busting the coilovers upon too much compression.
And there you have it… Now I anxiously await receiving the rebuilt coilovers . Oh yes, I have a lot of cleanup to do to remove all the oil residue… Oh joy! 🙂