Author Archives: bowtie6

Jim’s Garage Rock Crawler

LS3 powered Rock Crawler

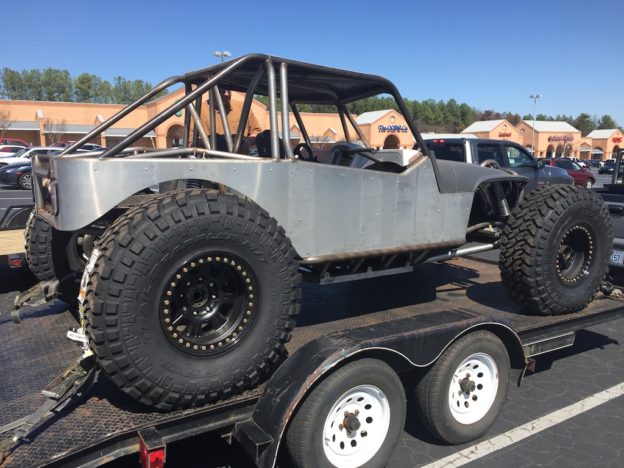
This past Thursday, I went to lunch with my friend Jeff to a local deli and on the way out, saw this Jim’s Garage rock crawler in the parking lot.  This is not something you see every day, so inquisitive minds wanted to “know”.  We walked over and found two gents discussing how they were going to unload the rock crawler and move it from one trailer to another.

After a few questions, we were able to ascertain the builder of the rock crawler was from somewhere in North Carolina while the owner of the vehicle was from somewhere in Alabama; I suppose they picked Greenville SC as a place to meet.  I asked if it would be alright for me to take a few pictures of the rig and they were kind enough to agree, so I started clicking away…
Not your typical Jeep!

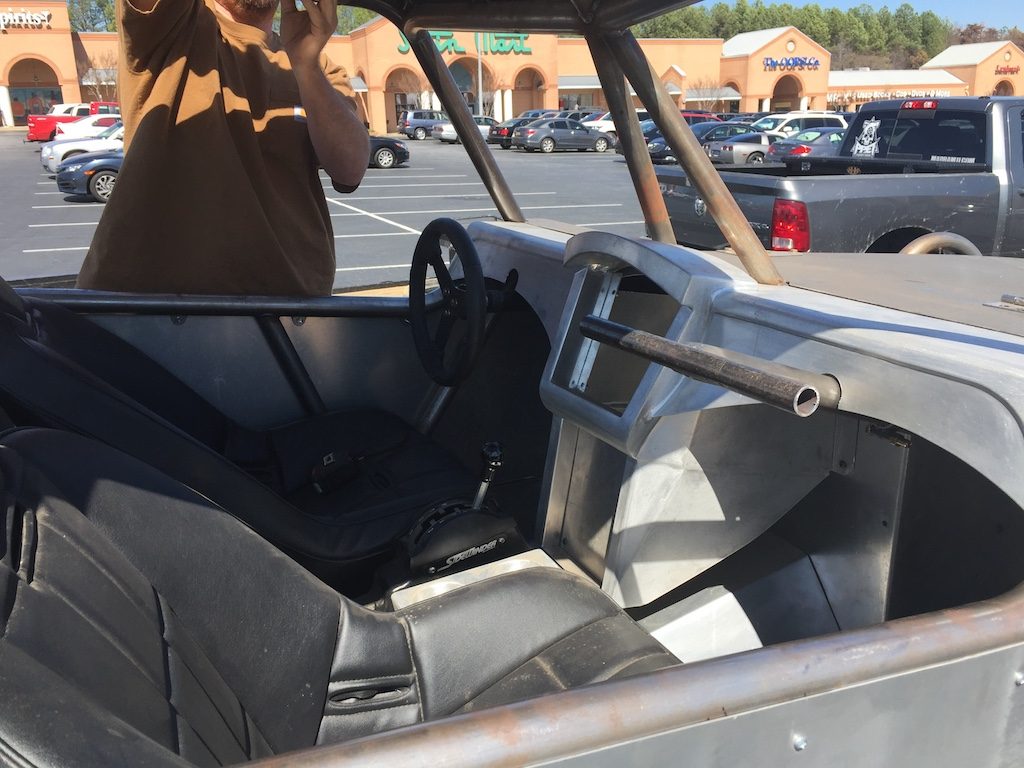
This is not exactly my cup of tea, but I appreciate serious craftsmanship when I see it.  This rock crawler is something else!  The builder said he put the entire frame together himself.  The center console and dash is all aluminum and I asked him if he had also worked on that.  He said that came from another fellow that made it special.  This is what the dash looks like:

Check out the “hold on for dear life” t-bar

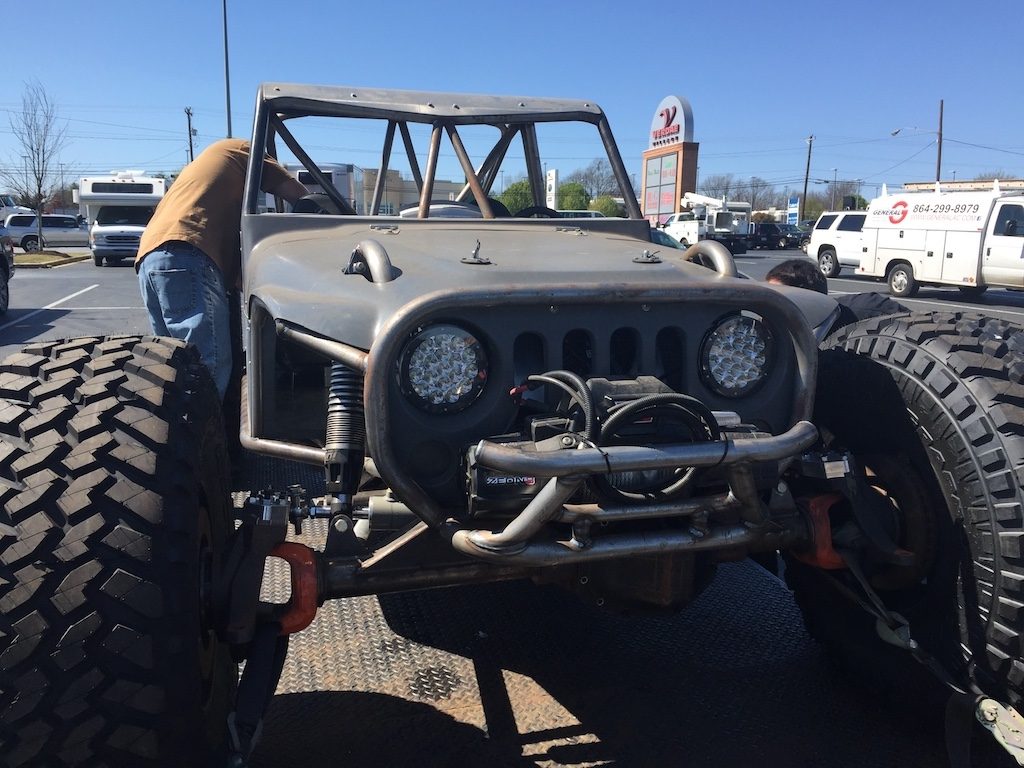
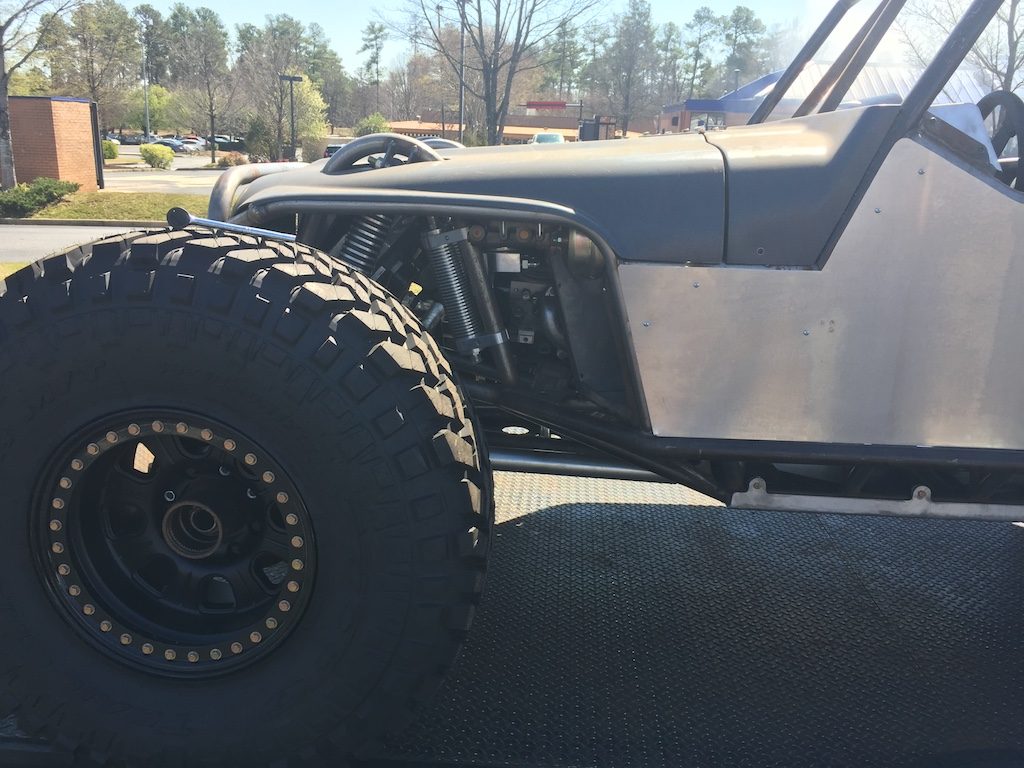
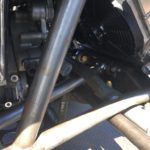
The rock crawler was pretty much complete, however it was not wired up nor painted.  The engine was not running as it had yet to be wired, plumbed, etc.  As you can tell, there is no instrumentation either.  I asked a few more questions about the powertrain.  This is where it got really interesting.  Lurking under all the sheet-metal and that awesome tube frame is a very low mileage LS3 from a C5 Camaro.  I asked about the throttle and the owner said is is a “fly by wire” unit.  I did notice none of the pedals were installed, however the owner said he had the correct electronic throttle pedal for it.  Wiring came from MAST and that included the ECU too.  The owner said the entire kit came tuned to match the hot cam in the engine.

Somewhere in there is an LS3

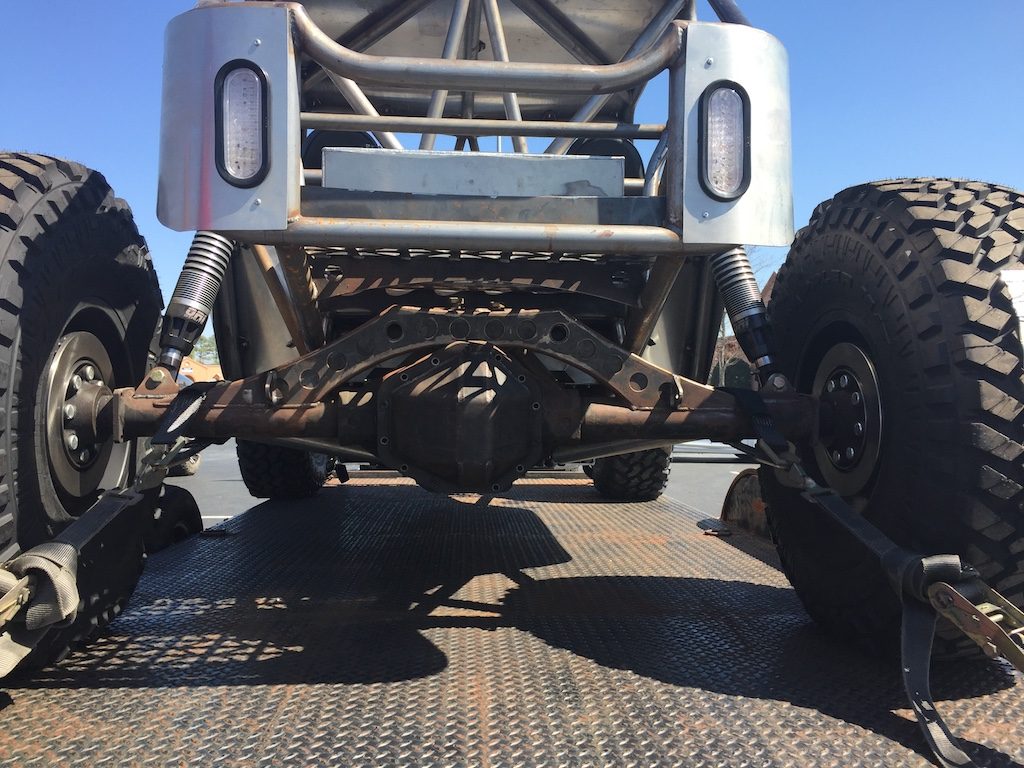
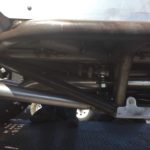
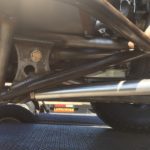
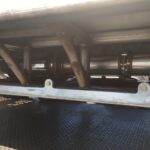
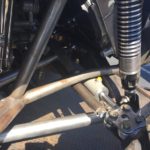
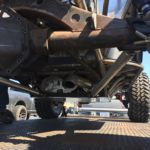
The rear suspension and axle are something else in order to stand up to abuse and the power of the LS3.  Unfortunately, I don’t have more info about all the components.  The two gents were really busy and I did not want to push my luck asking more than I should.  Here is that awesome rear axle and suspension.

Seriously beefed up axle

Somebody really did their homework on this machine.  The suspension is over the top, but anything else would be “uncivilized”.  As you look at each picture individually, notice the builder cut no corners:  the welds are impeccable and notice the generous use of grade-8 hardware.  Those end links are amazing.  Nothing is left to chance here – a truly purpose built machine.

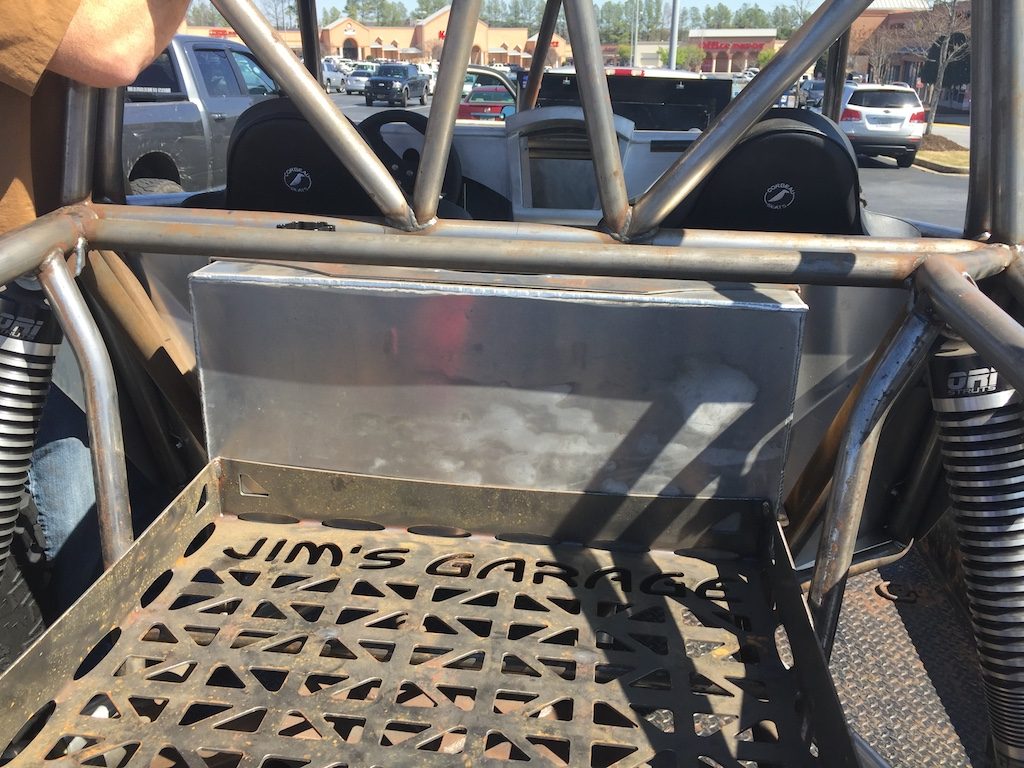
The fuel cell sits behind the seats and the floor above the rear axle is a very nicely made piece of cut sheet steel.  Very nice work indeed, with the builder’s name part of the pattern.  Matter of fact, I had no clue who the builder was until I went through the pictures and saw this detail!

Builder’s name… Spot on!

In closing, the owner told us he plans to take the entire rock crawler completely apart and ship the frame off to have it powder coated.  Then, the body panels will be wrapped in vinyl and then the fun part starts.  Assembling, wiring and getting this thing ready for prime-time will be one hell of fun job!

I can only imagine the large sum of resources invested in this rock crawler.  Having built and worked on many cars myself, I know this kind of stuff takes commitment and deep pockets.  However, when this thing fires up in anger and starts attacking off-road venues, man!  What an awesome ride that will be!

And finally, right before I left I told the owner his rock crawler reminded me of a similar vehicle used in the film The Man From U.N.C.L.E..  He told me he had never seen the picture but he was going to try to check it out.

Well, interesting thing YouTube.  Here is that final chase scene from The Man From U.N.C.L.E. – make sure you watch the part where the off-road vehicle skims the surface of the water (starts at around 2:35)…  Wonder if the Jim’s Garage rock crawler could do this?  Hehehe…  :mrgreen:

https://www.youtube.com/watch?v=4bMvly-5Xbw


Blog Performance/ISP Issues…

So far it has been an interesting week…  About a month ago, you might have noticed performance issues with this blog.  For example, pages were slow to render.

I called my ISP (Danica’s prior sponsor) and things did not go well.  After much back-and-forth, they agreed to “move” the site to a less crappy server.  Good enough, things worked as expected but this was short lived.  This week the problems returned.

As it turns out, the bowtie6 blog was running on sub-par equipment.  I was advised that for a price I could “upgrade” to a state-of-the-art SSD based hosting and all would be peachy again.  I realize this blog is far from anything of consequence but, hell…  I enjoy posting my little stories.  I upgraded and after a very painful ordeal my WordPress files have been migrated to a this new gee-whiz server.

Please let me know if you find any broken links or have any “issues”.  This new plan I bought is supposed to be the shit so if anything is not working properly, please let me know.  Gotta love technology!  🙂


S2000 Rear Spoiler

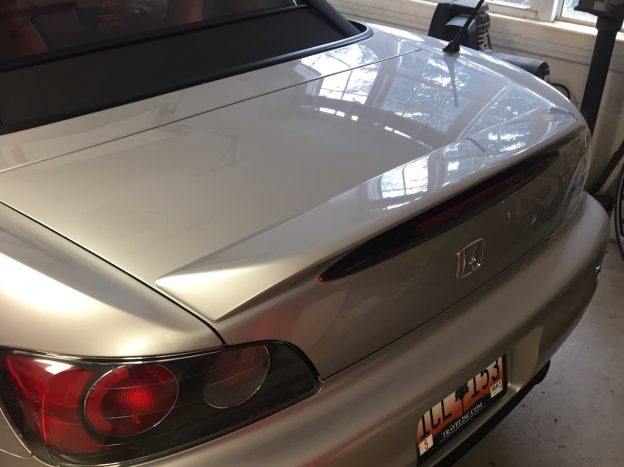
OEM Honda S2000 rear spoiler

I’ve always liked the look of the OEM Honda S2000 rear spoiler.  For me, the rear of the car just doesn’t look “finished” unless there is a spoiler there.  And as a bonus you get some extra aero grip to boot.  Can’t go wrong with that…  Yeah right!  😉

Just like the front air dam lip that I installed previously on my S2000 (Click here), the rear spoiler is a legit Honda accessory.  These accessories are rather pricey but they fit perfectly and come painted to match the body color.  The front lip is no longer available but the rear spoiler is – so I finally broke down and ordered one.  The rear spoiler mounts with 4 fasteners requiring 4 holes drilled on the trunk lid. 😯

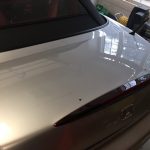
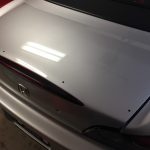
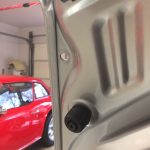
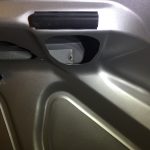
This part takes patience.  The outside holes get drilled from the inside of the trunk lid.  There are two small alignment marks that get center-punched and drilled.  This allows trial fitting the spoiler and marking the center holes with furnished adhesive discs.  This second set took some extra careful attention!

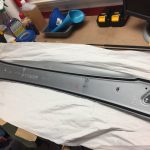
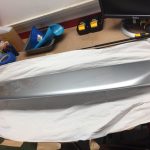
This is what the wing looks like out of the box…

And this is the mounting kit…

So after drilling the holes and some careful dressing with a fine file, I applied some touch-up paint to the edges of each hole.  For that I used this…

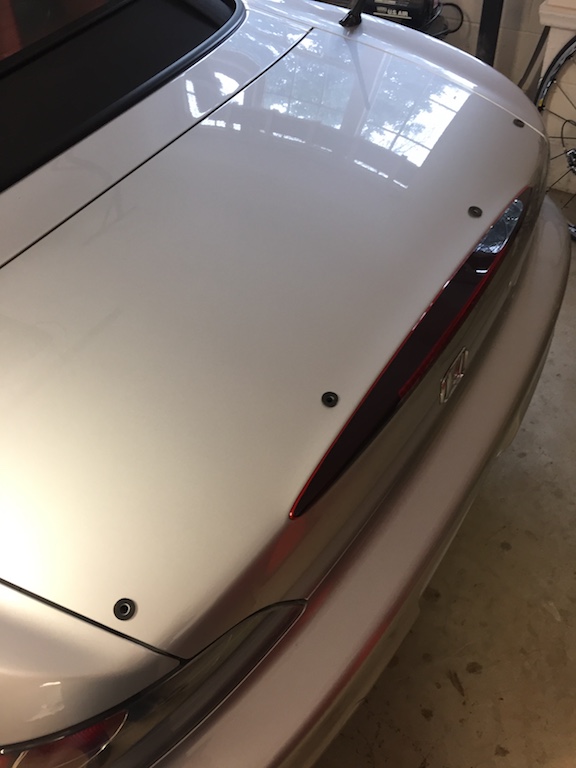
After applying the paint, I let it dry and followed up by adding over each hole a special rubber spacer included in the installation kit.  Ended up looking like this…

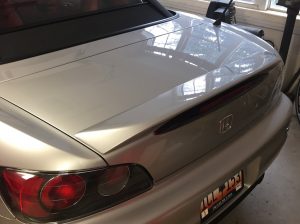
And then, the moment of truth.  Mounting the spoiler and tightening the 4 fasteners.  And this is what the wing looks like after I cinched up all four fasteners…

Looks pretty nifty, huh?

Oh and one last note…

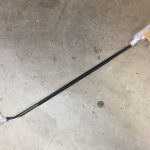
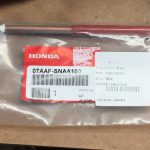
The wing kit comes with two replacement torsion bars (the springs) and an optional wrench to install them with.  The kit states the new torsion bars account for the extra weight added to the outside edge of the trunk.  I found this is not really a big deal.  So, I passed on the new torsion bar springs and will just hang on to them until needed.  This is what the springs and the tool look like..

And one more picture…

Current mileage after a fuelup, as of last week on my 2003 AP1 S2000…  She’s a keeper!

2016 Mileage Roundup

I’ve thought about a post summarizing the 2016 mileage roundup of the fleet.  Questions such as “who will read it?” or “who cares?” came up, but then I read a post on DriveToFive and I changed my mind…

So borrowing Tyson’s idea from his blog, here is my 2016 mileage roundup:

Totals for: RedRock

Totals for: S2000

Totals for: bowtie6

Moral of the story, I need to drive MORE!!!

The daily driver is RedRock (duh!) and it did very well considering a 6.2L V8 with 400hp is under the hood.  The Camaro really does well on the open road though with an all time best of 24 mpg.  The S2000 and bowtie6 get driven only when the sun shines.  Matter of fact, the S2000 has seen the rain on the road only three times since I bought it.  Poor bowtie6, it got neglected big-time!  New Year’s resolution is to do something about this!

In closing, here is a gallery of all three dashboards taken on New Year’s day, 2017.  Should be interesting to see how this compares a year from now…

Note:

This might be one of the first times I post a picture of the mileage on bowtie6.  It shows 22,612 miles and this is a bit misleading (adding this as a reminder to myself too!):

  • I’ve driven my TR6 for 22,612 miles since I put it on the road after the full restoration.
  • The first engine – a 3.4L V6 from a Camaro –  ran for 14,513 miles.  That is when we discovered an irreparable frame failure with stress cracks and my cousin Jim built the new frame from scratch.
  • The 2.4L Ecotec engine/gearbox came from a Pontiac Solstice with only 8 miles on the odometer.  This powertrain was then installed in a new frame built at Jim’s shop.  On October 15th, 2011, bowtie6 left Jim’s shop and has been a hoot to drive.
  • The new Ecotec powertrain has 8,091 miles so far.

Fixing a Leaking 9 Inch Ford Rear End

Note the grade-8 washers

I have recently noticed that the 9″ Ford rear end in bowtie6 has started leaking.  Nothing severe mind you, but just enough to make a mess of the garage floor.  So I jacked the car up and slid my new Race Ramps under the rear tires.  As it turned out, all ten nuts holding the third member in place, were loose.

But why?  Sure, wear and tear might cause things to loosen up.  Not wanting to leave this up to chance, I did a handful of Google searches and sure enough…  According to what I read on several websites this is a common issue on 9″ Ford rear ends.  The solution is to use copper washers on each stud.

In Search of Copper Washers

As you can see in today’s featured picture, we used grade-8 washers when we put the rear end together.  At the time, that is all we had available and after a short conversation with my cousin Jim, he told me he was not able to source the right copper washers.  Hmmm…

Two sets of Ford copper washers

So I searched eBay for some copper washers for a 9″ Ford and success!  I found a vendor offering “original” vintage Ford washers exactly for this application.  After reading the auction, I promptly clicked the “buy-it-now” button and ordered two sets for $6.00 per set of 10 washers.  Not bad.

Delivery was very quick:  the washers arrived in yesterday’s mail.  Cool!  Today, I lifted the car up again and crawled under to replace the grade-8 washers with the new copper replacements.  According to my research the washers are very soft.  As the Nylock nuts compress the copper washer they “seat” and this prevents the nuts from backing out.  Of course, this never happened with the hardened grade-8 washers.

Washers Replaced

So here is what the new washers look like.

The new copper washers are smaller than the earlier ones (see the featured photo for the “before” look).  The advantage is they have somewhat collapsed to take shape.  This is the same principle behind the soft aluminum washer on the oil drain plug on my Honda S2000.  Another problem solved!

Happy New Year

And so, I bid you all a Happy New Year.  I hope 2017 brings you great fortune and good health.  Cheers!