Author Archives: bowtie6

Iconic 1989 BMW M3

IMG_3577

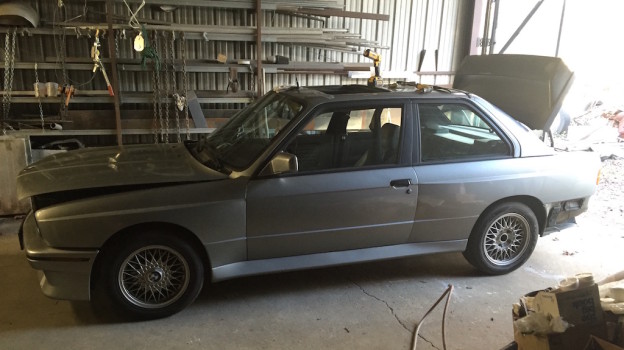
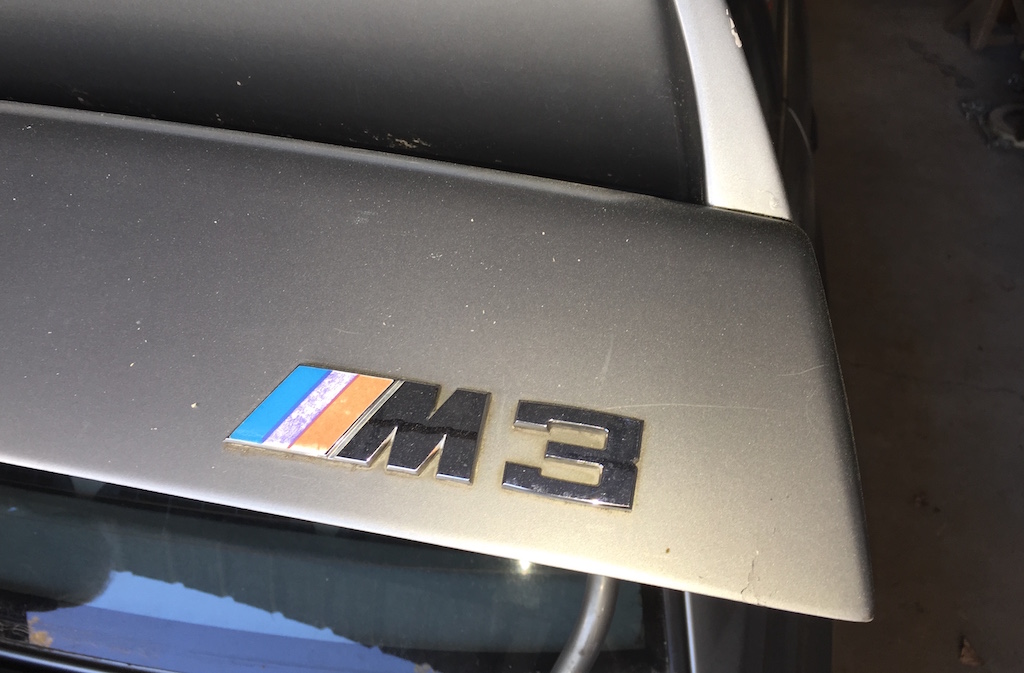
The real deal – an M3!

The latest vehicle to arrive at my cousin Jim’s shop is this iconic 1989 BMW M3.  For a 20+ year-old vehicle this one is in remarkable shape traveling (according to the odometer) slightly over 80,000 miles.  However, rust has no mercy and is relentless in attacking all sorts of vehicles regardless of their desirability.

The owner of the M3 brought the car to Jim in the hopes of having several rust spots repaired on the roof, in the area ahead of the opening for the sunroof.  In addition, the battery box – located in the trunk of the vehicle – has some rust issues also.
IMG_3564

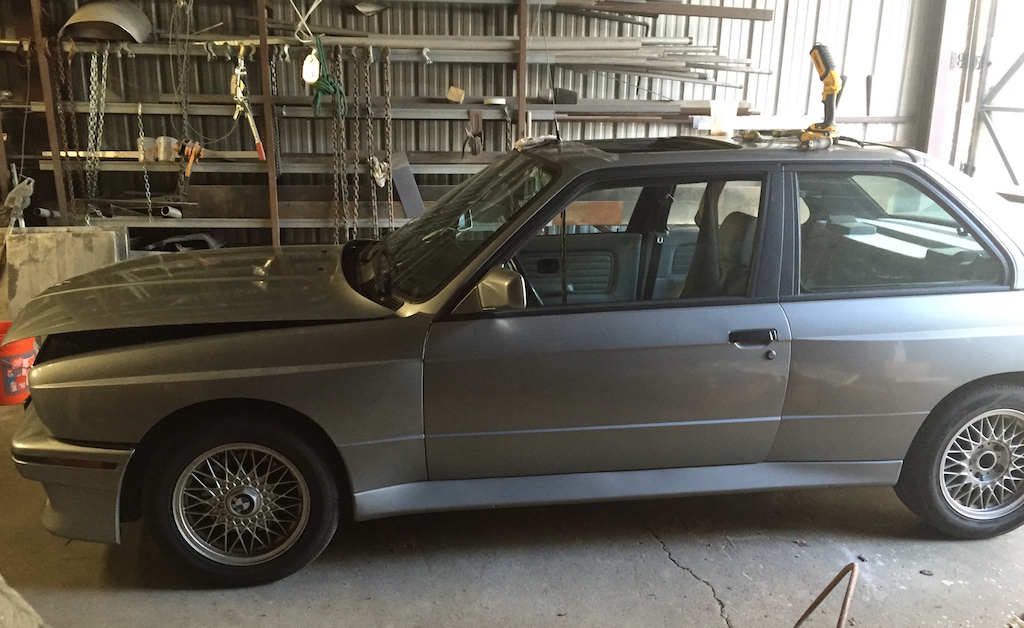
The iconic 1989 BMW M3 with its distinctive fender flares

So this is what the roof of he car looks like.

IMG_3566

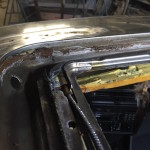
Rust damage ahead of the sunroof opening

By now you are wondering how would the roof rust in such unusual spot and with such weird pattern.  Turns out, if you zoom in on the picture close enough one can see the slight evidence from where one of those popular 80’s and 90’s sunroof wind deflectors touched the car’s roof.  Looking at the way pattern of rust holes, there must have been some sort of flaw in the way the wind deflector was installed and this caused the paint to wear down to bare metal.  Once that happened, moisture seeped in and the rest is history.  In addition, the area where the rust resides in is close to the sunroof drains.  This must have been packed up with debris at some point in time, and this also contributed to the vast amounts of rust.

Unfortunately, damage is not confined just to the top.

Rust formed on the inside seam of the sunroof as well as on the bottom of the sunroof tray, all located towards the front of the car.  This is going to be a difficult repair, because of the intricate shape and patterns that will need to be made to make the new repair patch panels.

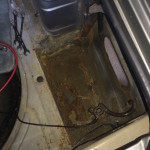
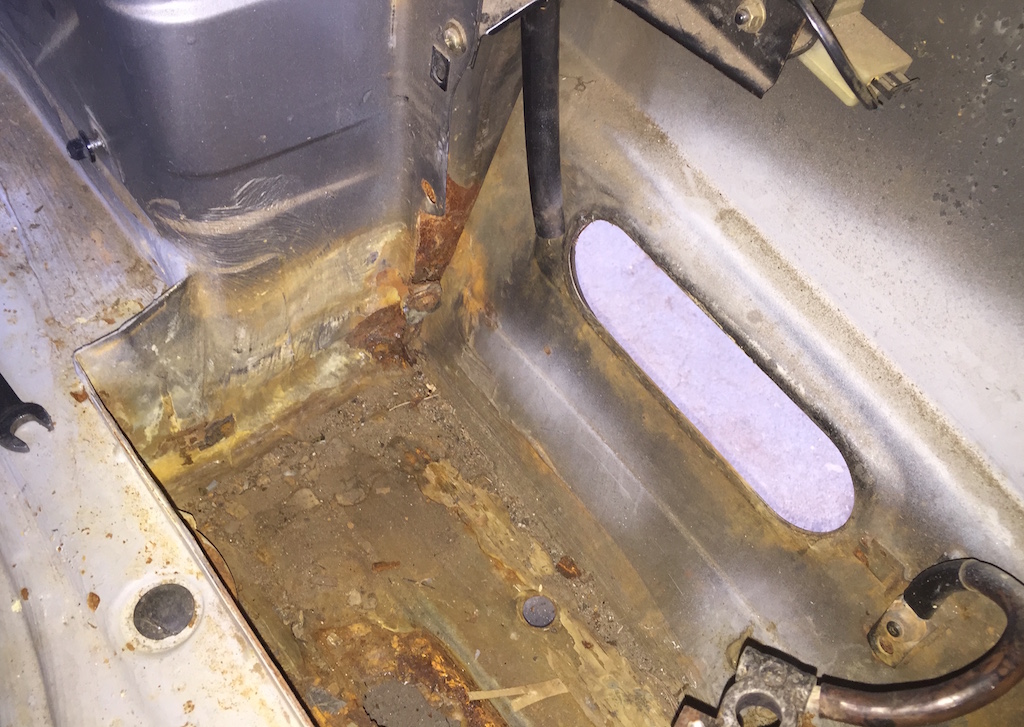
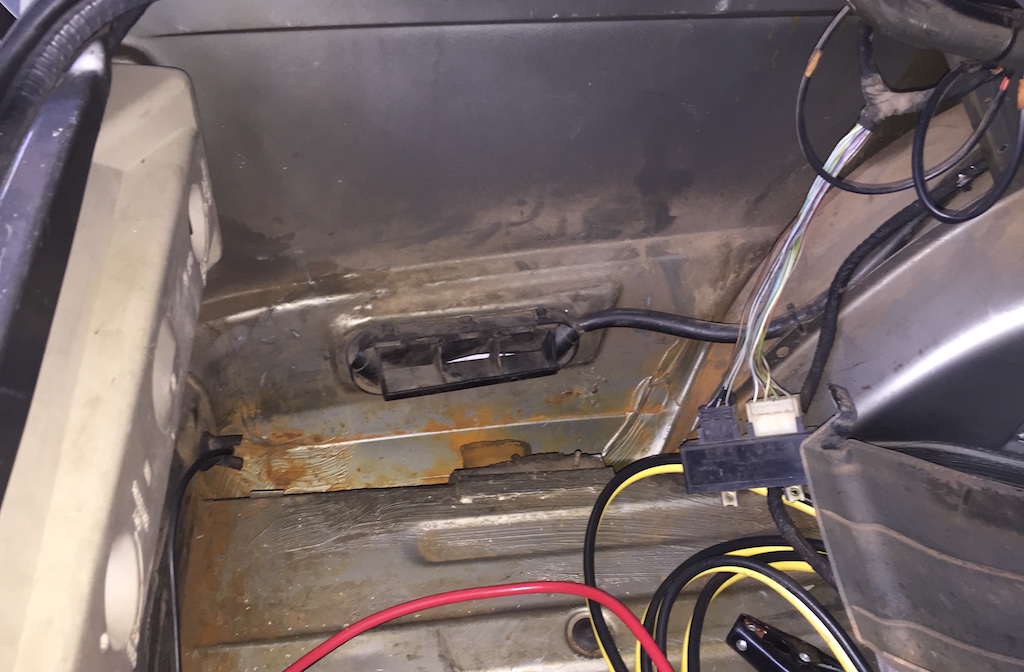
Next, we have the battery box, and this one is indeed interesting!  Here are a few pictures…

As you can see from the pictures above, there is a fair bit of damage.  To make things worse, the owner had cut a piece of plywood and had glued it to the rusty floor. This only trapped moisture even more making things that much worse.  So, how did so much rust accumulate on the floor of the battery box?

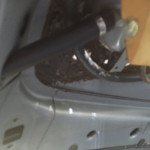
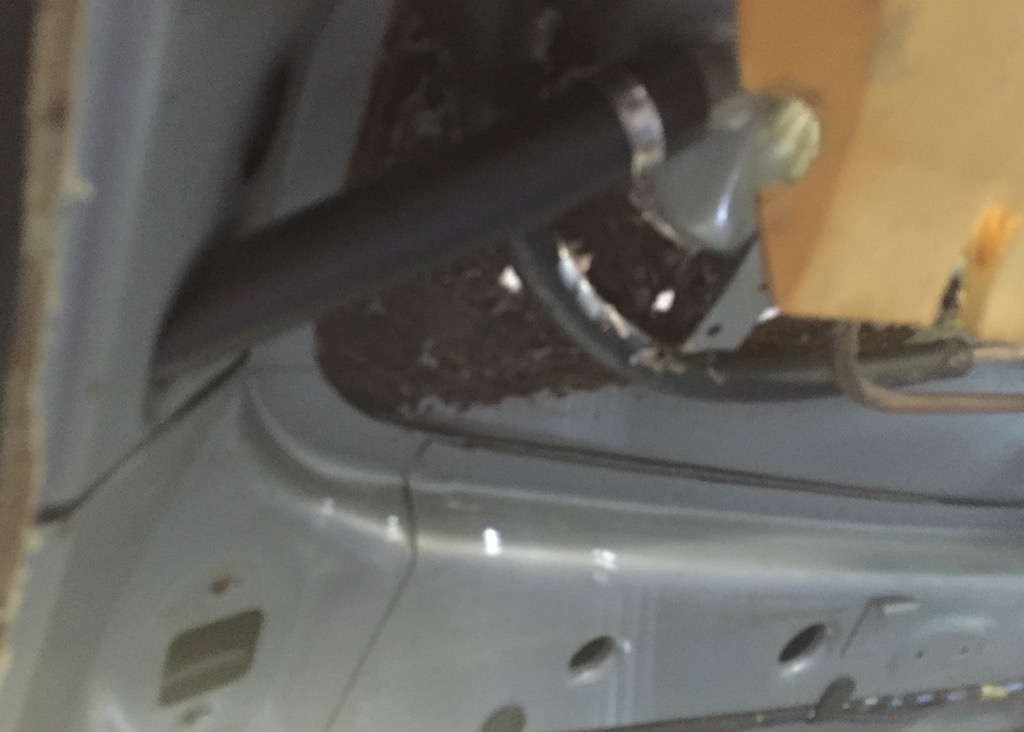
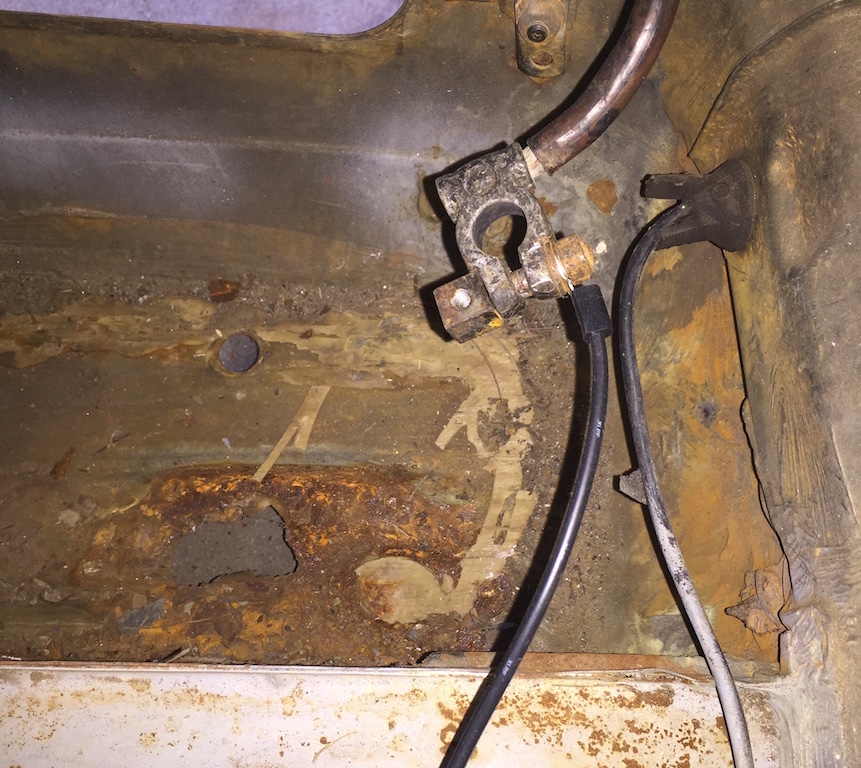
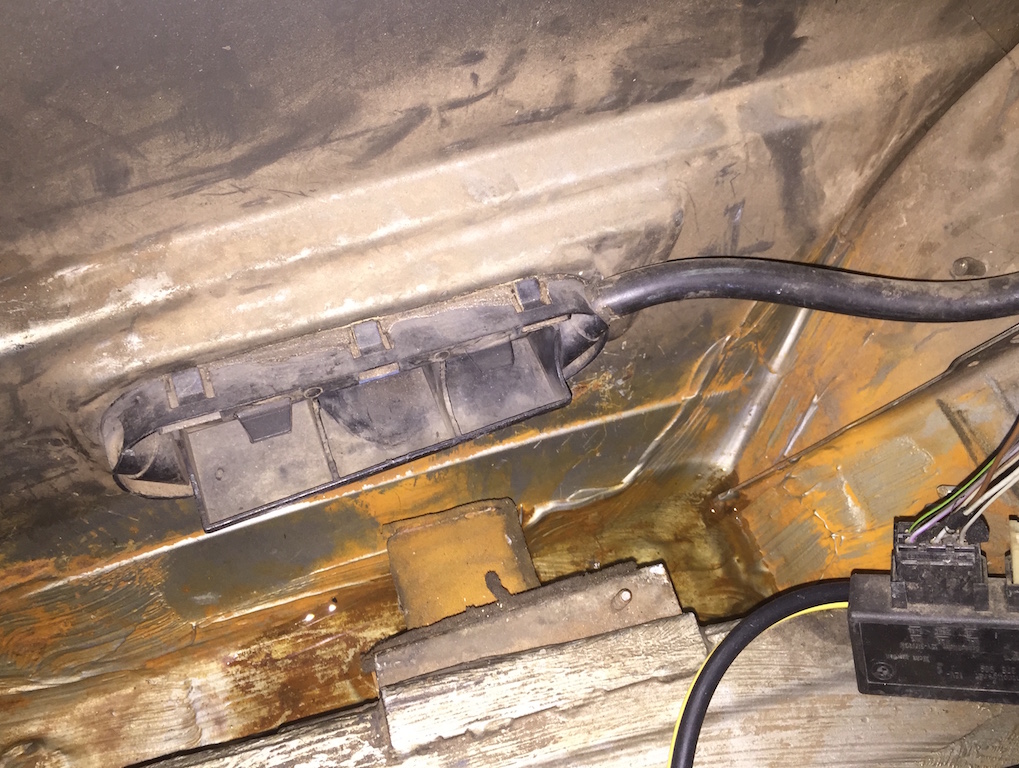
These two pictures are from the driver’s side area behind the rear wheel.  This is basically the same place where the battery box is on the passenger’s side.  As you can see, there is a trim piece still in place and it has a rubber hose attached to it.  That is the drain for the sunroof channel.  All sunroofs have at least one.  As advanced as the engineers were that created this “ultimate driving machine”, the completely missed creating a backup plan.  Yes, a backup plan.

If you look very close at the photo on the right (see above), you will see there is water in the floor of that cavity!  So, even with the drainage hose properly attached, there is a place for water to accumulate and what is deplorable:  there is no drainage hole for the water to escape out of.  Very poor design indeed.

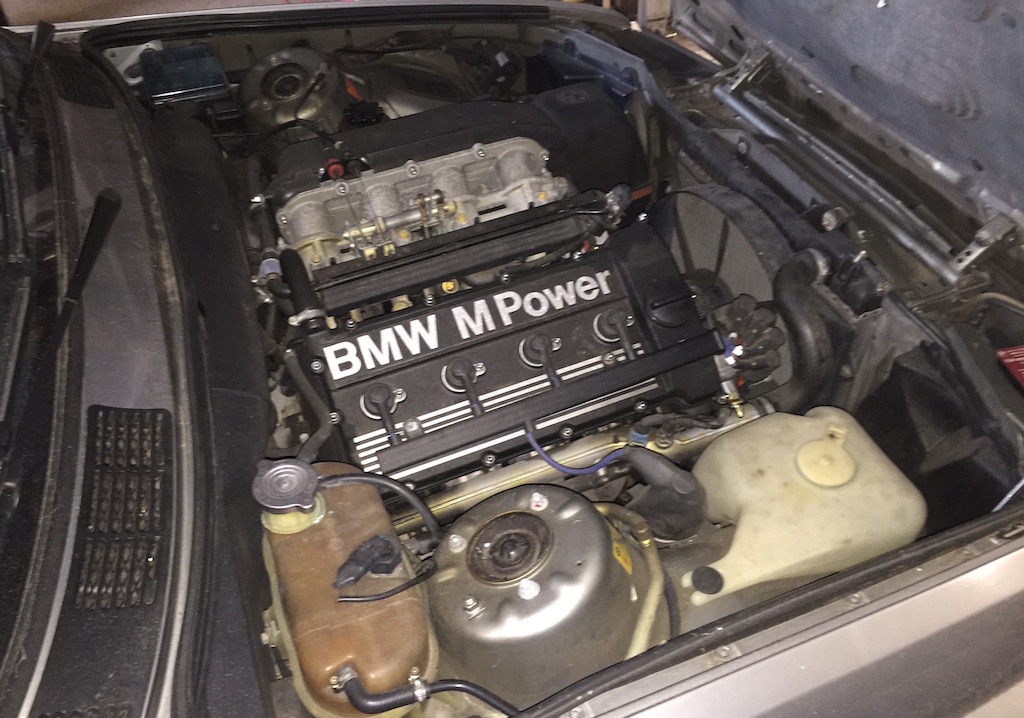
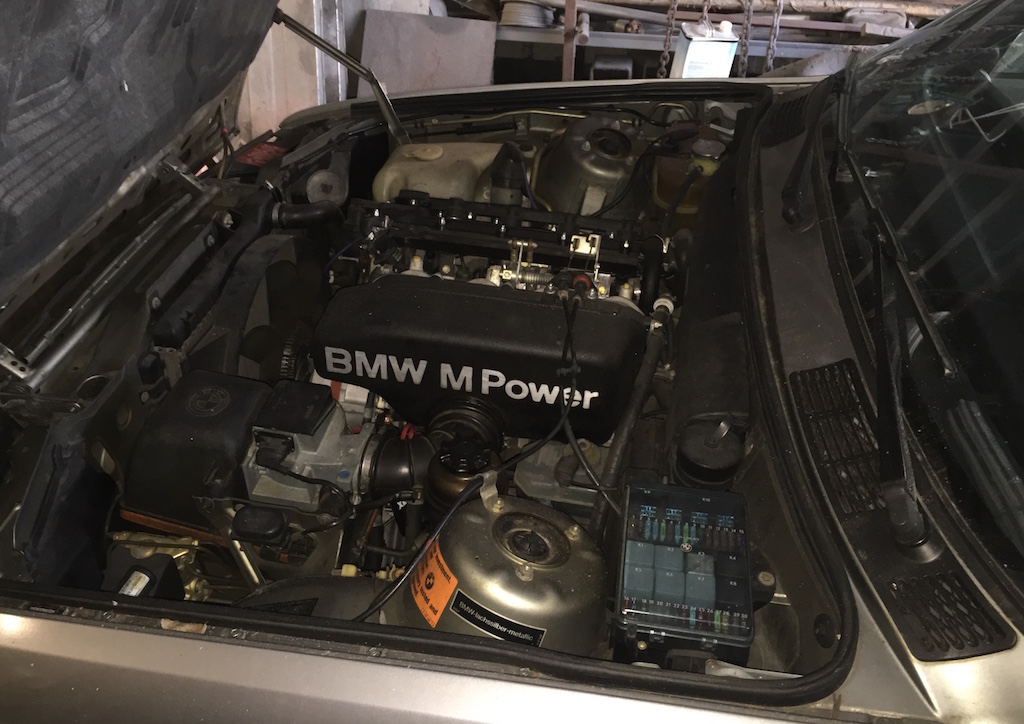
And finally, a couple of pictures of the 4 cylinder engine everyone gets a hard-on about…
 

The Jim Ladd Show

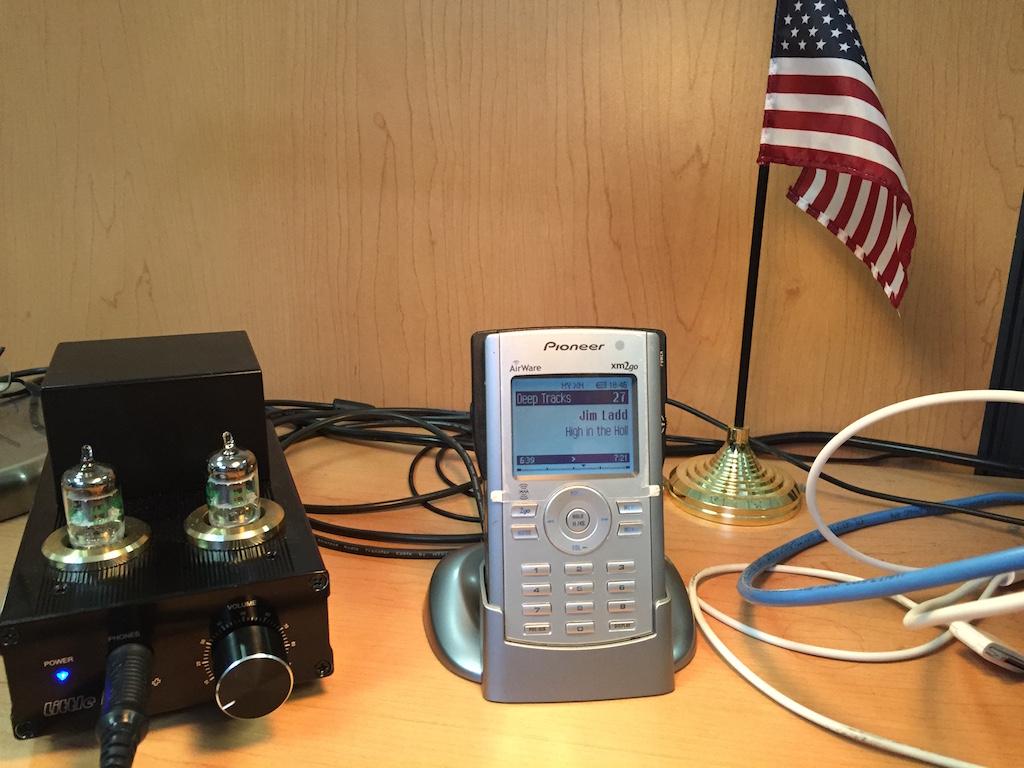
IMG_3583

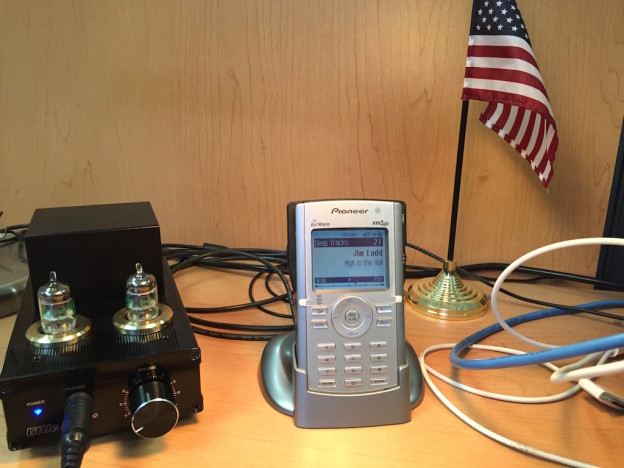
My XM Radio and my old-school headphone tube amp tuned to The Jim Ladd Show, LORD HAVE MERCY!!

The Jim Ladd Show is broadcast every day on XM/Sirius satellite radio on Deep Tracks, channel 27, from “high in the Hollywood hills”.  If you have never heard it, you need to.

The format of the show is free-form and during the four-hour show, you get to hear some amazing stuff.  Very obscure “deep tracks” with great commentary.

Well, yesterday was the 1,000 installment The Jim Ladd Show.  There were many phone calls and many stories mainly of how the show started and so forth.  Here is a shout out to Jim – amazing show Jim!!!

Camaro Strut Tower Brace

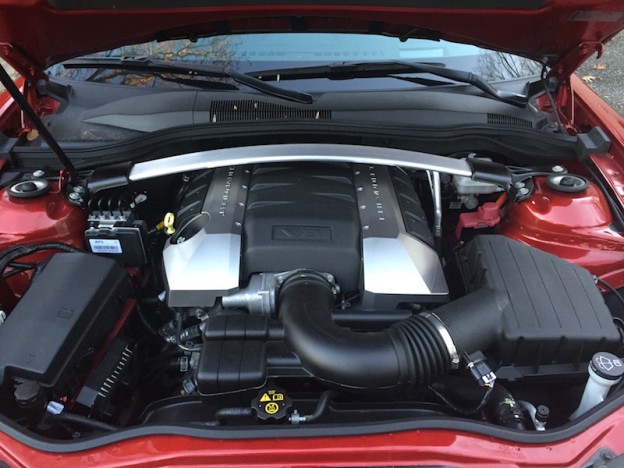
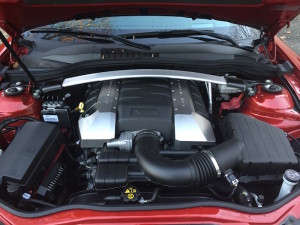
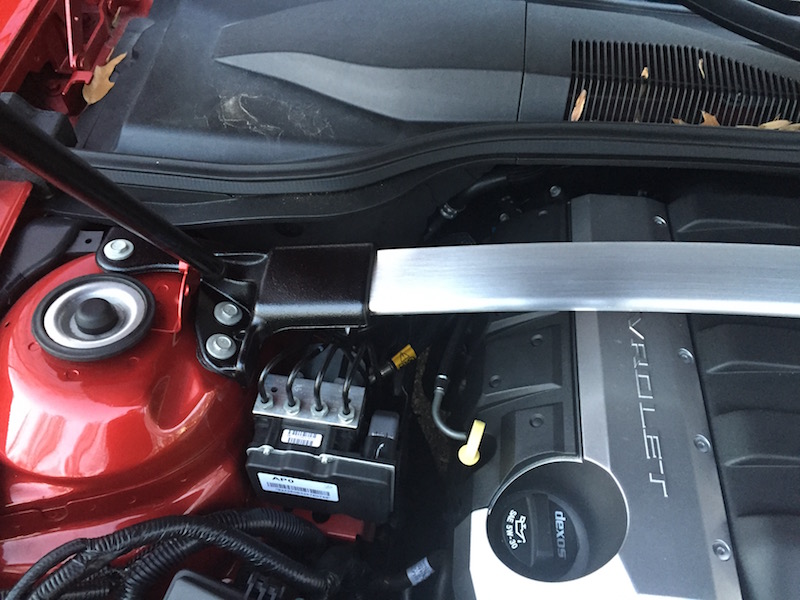
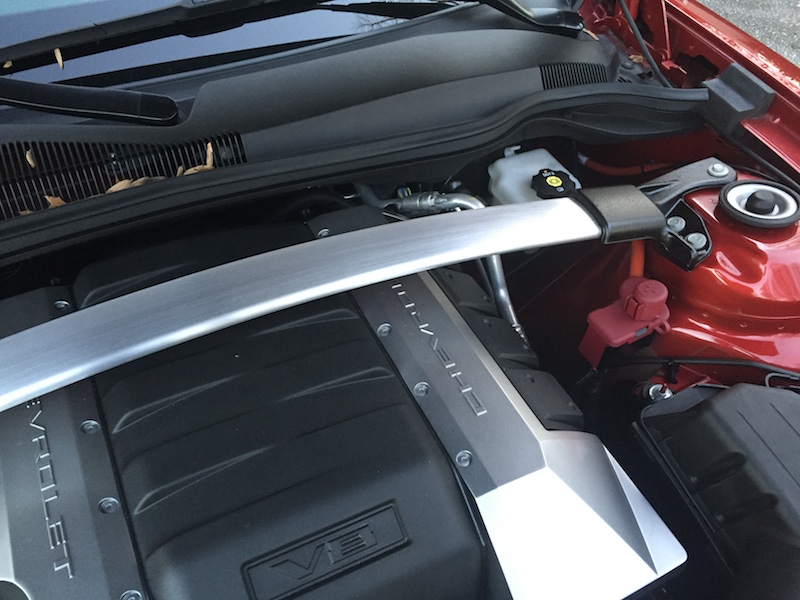
IMG_3316For RedRock‘s first modification, I ordered a OEM Camaro strut tower brace.  The strut tower brace comes standard on the 1LE and Z28 versions of the Camaro, installed at the factory.  Since this is an easy non intrusive bolt on, I thought why not.

The brace is all aluminum.  The two ends are rough cast and the brace is hallow aluminum stock bent in a curvature clearing the engine cover.  The kit comes with all necessary mounting hardware.  A quick trial fit revealed everything lined up perfectly.

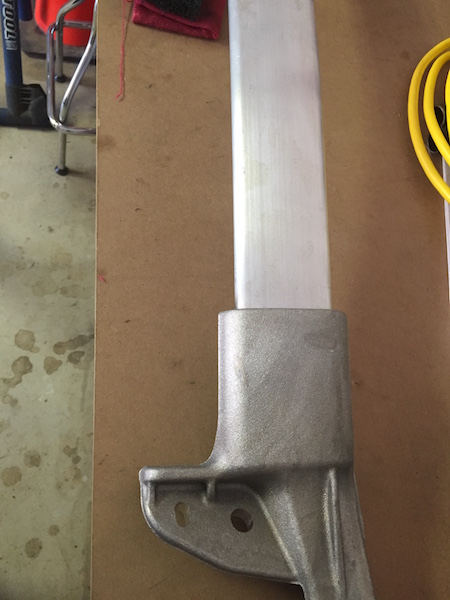
IMG_3312aAs nice as the strut tower brace looks though, it needed some extra work.  The cast aluminum mount pads needed attention.  Each pad has three bolt holes (see picture on the left) and each bolt hole is machined on the back side so the pad fits flat against the strut tower on the body.

Around each bolt hole though, were many burrs and sharp shavings left from the machining process.  This would cut into the paint on the strut tower and lead to corrosion.  Easy fix:  I grabbed my Dremel tool and used one of the metal brush wheels to remove the burrs.  Problem solved.

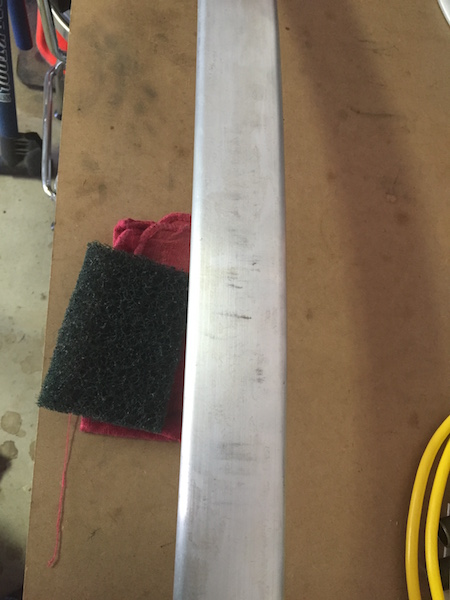
Next, the curved brace showed some scratching from shipping and machining as well as light staining.  I’ve learned from my cousin Jim that ScotchBrite can be used to give aluminum a nice finish.  The trick is to slide the ScotchBrite pad in the same direction so the pad polishes the surface.  The result is a laid down “matte” finish that complements the silver finish on the engine cover.

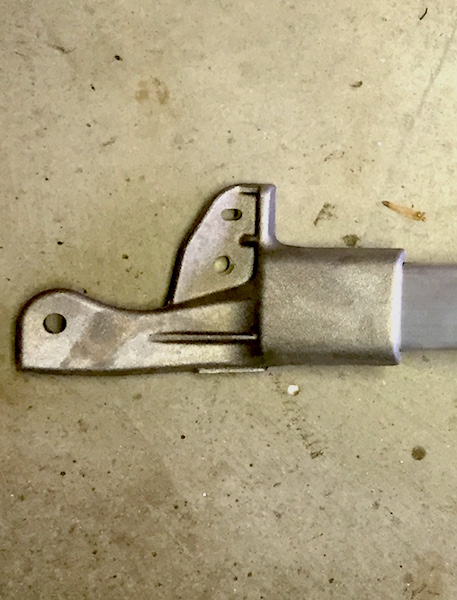
After polishing, I masked a few inches on either side with tape.  Then cleaned the cast mounting pads free of any oils and used some semi-gloss black paint from a rattle can of High Temp Engine Enamel.  Quite a number of coats later, the cast surface looked much nicer.  In the meantime while paint dried, I punched some spacers out of a sheet of flat rubber I obtained from my cousin Jim’s machine shop.  I decided to do this to prevent damaging the paint on the strut towers on the car.

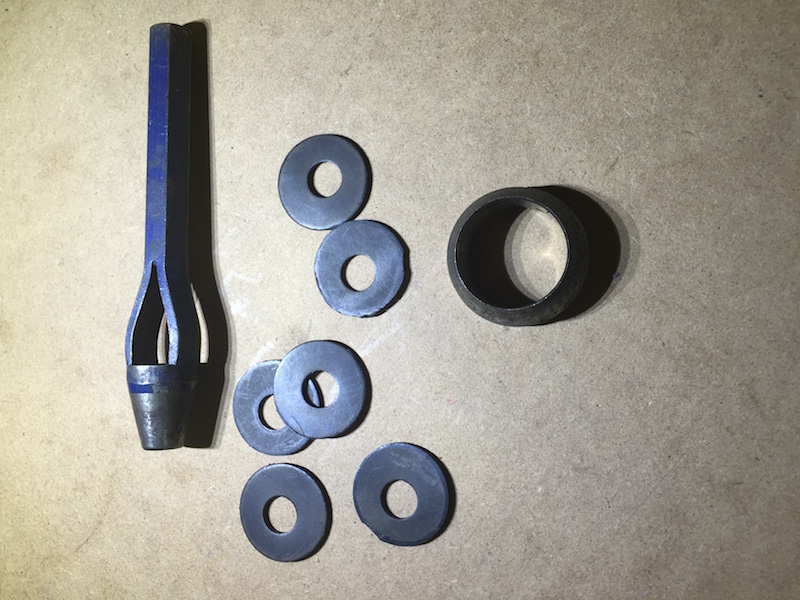
IMG_3314I used the tool on the right to punch the discs out of a sheet of rubber.  They are about 1/8 inch thick.  The punch to the left was used to take out the center hole.  The result is a rubber washer made to fit the spot on the mounts where they contact the struts on the car.

I realize the benefits of the strut tower brace might be questionable.  However, I like the way it looks and given it is OEM, why not?  When the weather turns a bit warmer, I’m thinking about getting a custom rattle can of paint in Red Rock Metallic and paint the black ends so they match body color.  But, for the time being this looks nice enough for me.  The mounted strut tower brace turned out very nice!  :mrgreen:

First Road Trip in RedRock

IMG_3357Yesterday (Christmas day) was my first real road trip in RedRock.  I left early in the morning for a 2.5 hour drive to my mom’s house in Aiken SC.  We had a great deal to be thankful for this year:  my nephew Chris graduated last week, from Louisiana State University with a degree in Industrial Engineering.  Uncle Joe (that would be me) is extremely proud of him:  he has accepted a fantastic job offer with NISSAN at their Canton, Mississippi plant.  I could not be more proud.  I suppose my eldest nephew will be a gearhead, just like me…  😉

So back to RedRock:  As you can see in today’s pictures, RedRock achieved 22.5 miles per gallon on this first road trip.  This was done by sticking to Interstate travel instead of the usual secondary roads and setting the cruise control to 75 mph.  I would have tried a little more, but I just did not have the stones to tempt fate and get a freakin’ ticket.  The SCHP was thick as flies over fresh roadkill yesterday.

At any rate, I think this result is remarkable…  A 400hp 6.2L V8 3500lb muscle car producing this kind of efficiency is amazing.  My old Z28 would be lucky to break the high teens, then again… It was 21 years old.  Don’t take me wrong, the last thing I worry about is fuel – after all, this is why one owns a muscle car, right?

I hope Santa has been good to you and your family.  Peace!  😀

And… One last picture.  Here is my sister and her two boys, Chris and Andy.  Andy is currently in his second year at Colorado State University in Ft Collins CO.

It is a hard rule of this blog to keep things car related, but rules are meant to be broken.  Today, the rule is broken:  I am VERY PROUD of Sis and her two boys.

IMG_5862

GO TIGERS!!!!

RedRock at 5,000 Miles

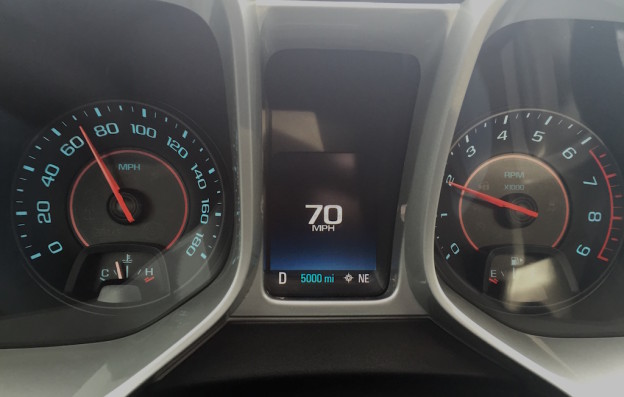
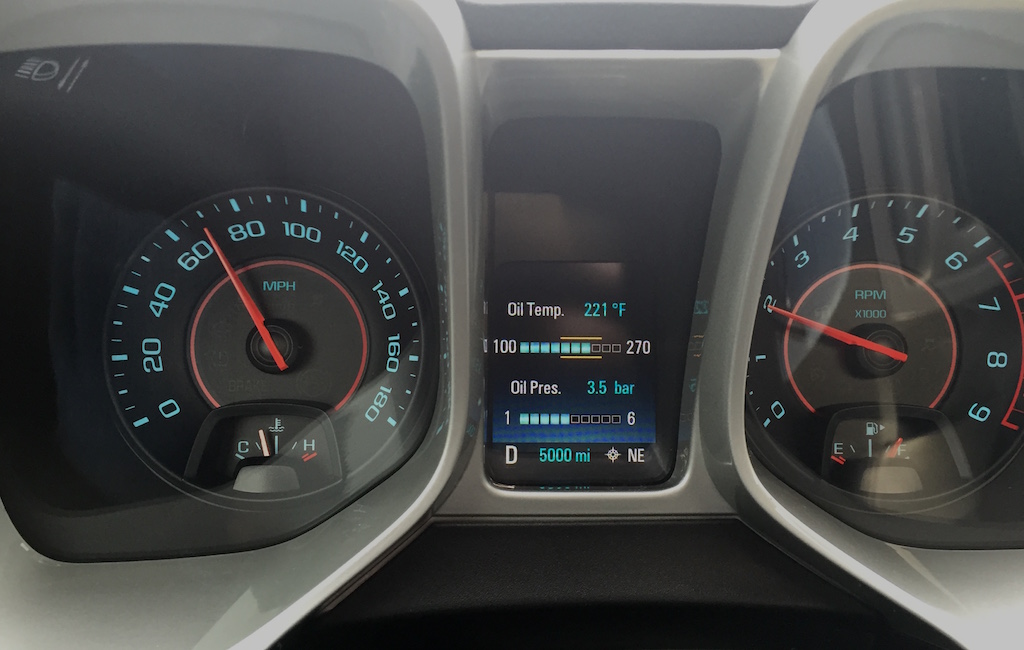
RedRock hit a milestone yesterday at 5,000 miles on the odometer.  Only happens once…

IMG_3327

Barely broken in…

The event happened on the way to a local Chevrolet dealer, where they were kind enough to download and re-flash the firmware on the MyLink entertainment center.  Nothing wrong mind you, I just wanted to make sure we had the latest and greatest.  All is good…

While at the dealership, I saw this:

IMG_3330

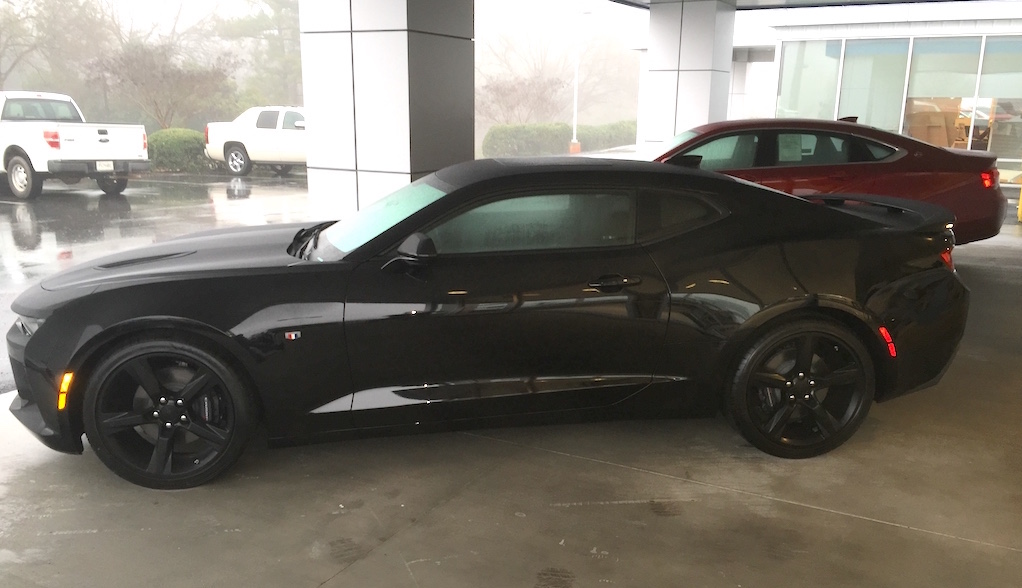
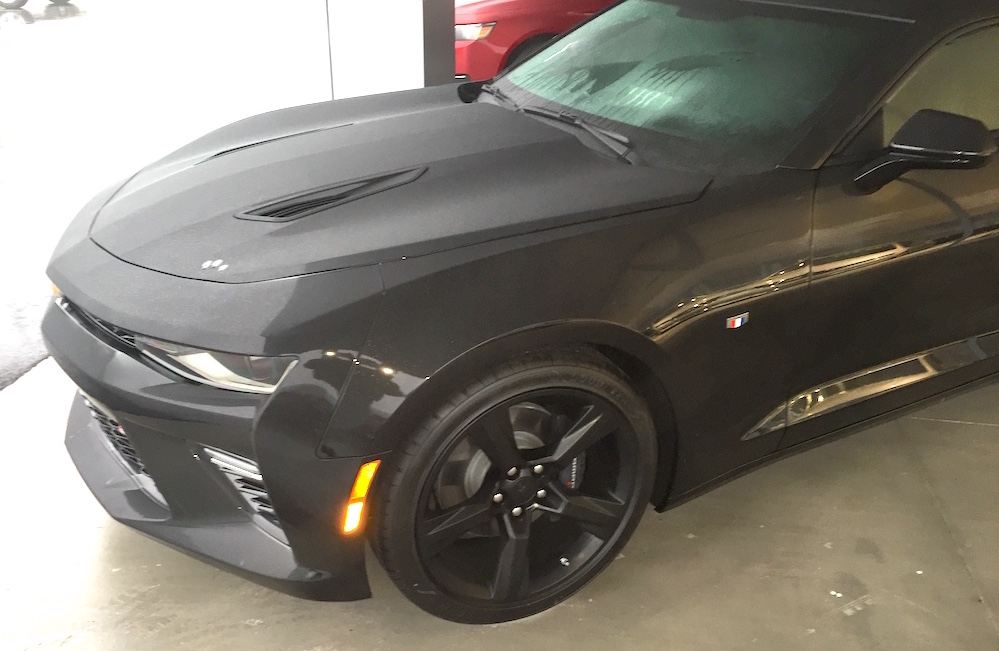
2016 C6 Camaro SS

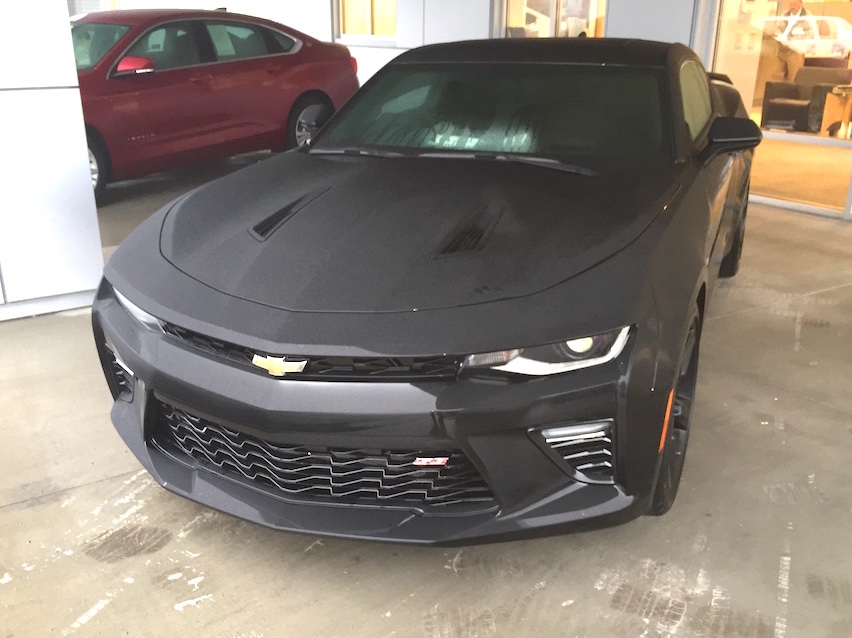
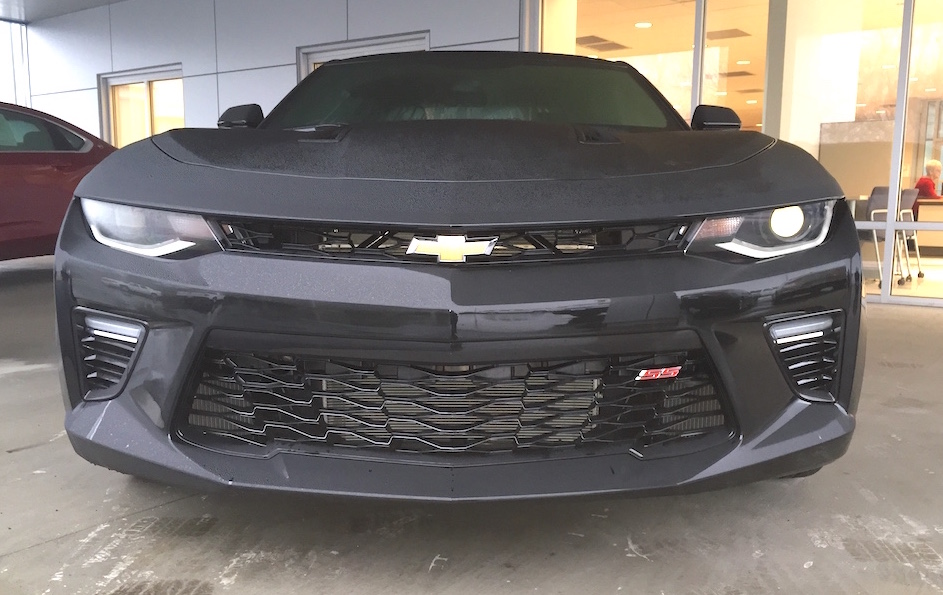
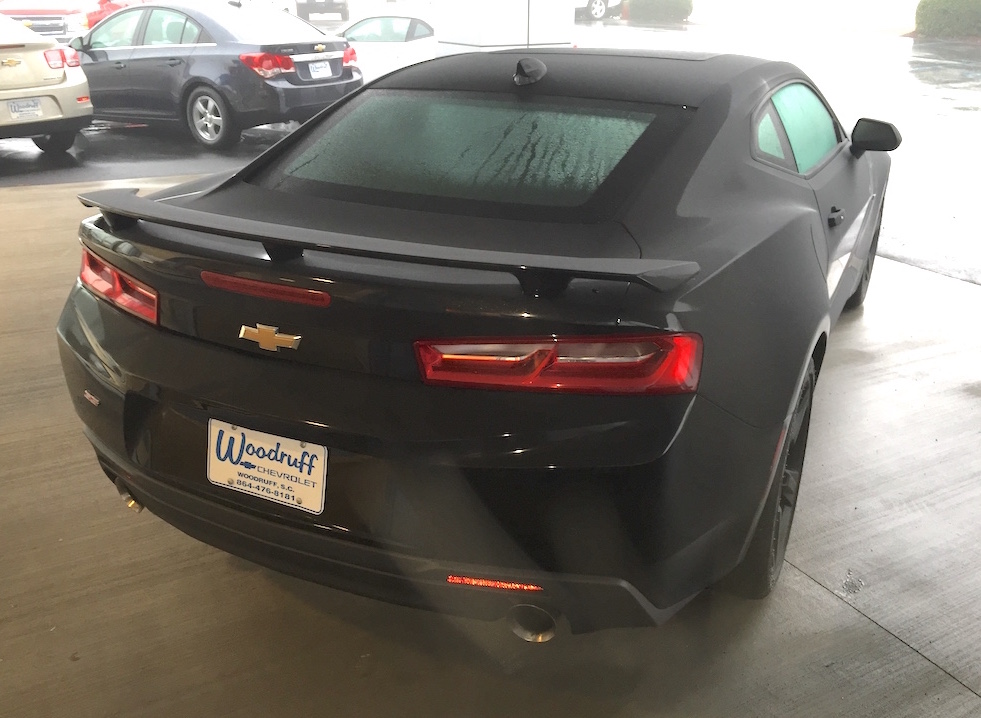
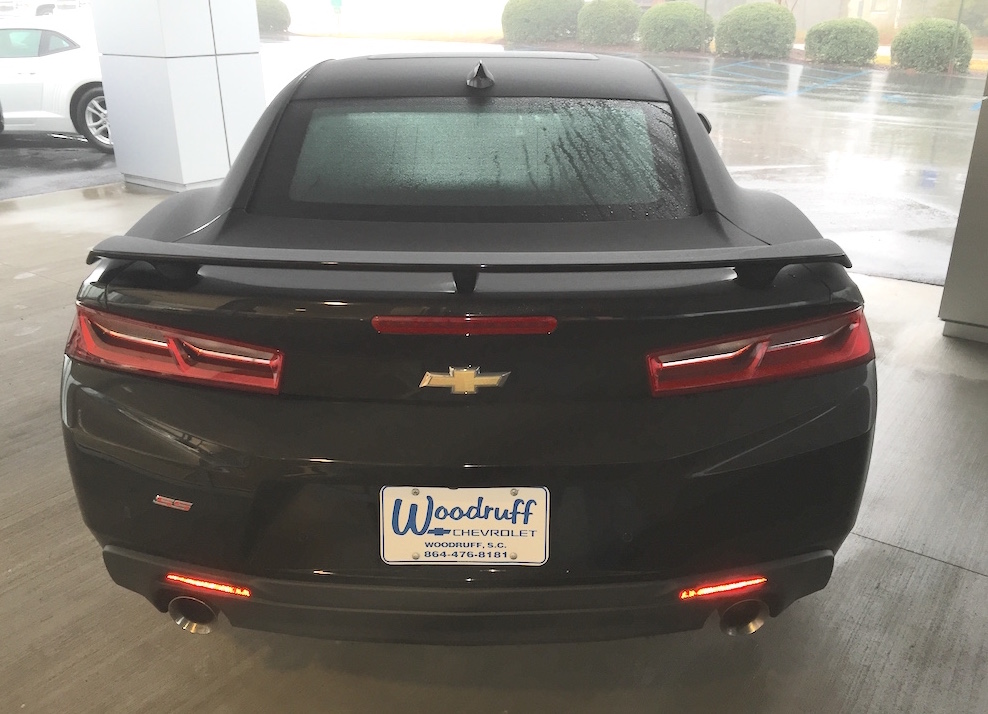
This is the first C6 2016 Camaro I have had a chance to check out up close and personal.  Compared to mine, it is a bit smaller, lighter and more “refined’ if you will.  It is going to take some time to get used to it.

The magazines say this is an evolution of the concept and not a full re-write.  The body is certainly different, take a look at the following photo gallery:

Some thoughts about the new Camaro:

  • Sticker on this SS (it was an automatic) was $45,780.
  • The interior is very nice indeed. The door cards have a different lighting affair and so do the thresholds. It feels “smaller” inside. Instrumentation and AC vents are completely different. The center console is weird! The lid is narrow and long.
  • Front looks nice – I prefer my 2014 better.
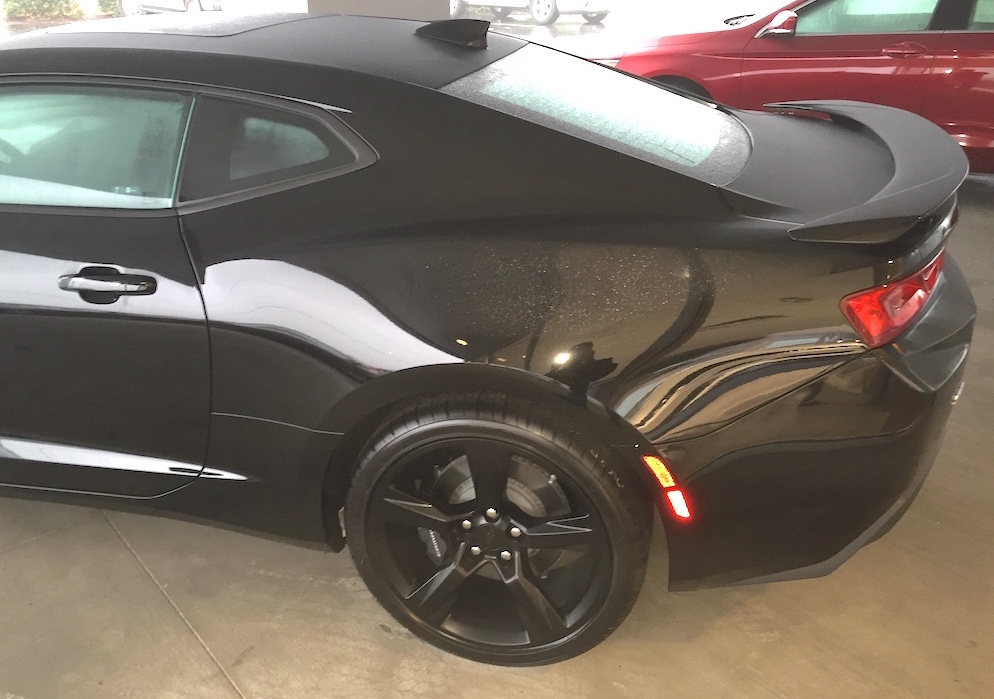
  • The rear quarter panel looks out of proportion. Probably the least favorite part.
  • The lower rear bumper is not as big as the C5 – again I prefer my 2014.
  • Finally, the rear fender bulges are different. The C6’s are more “rounded”; I prefer the looks of my 2014.