UV and heat will destroy an automobile’s interior very quickly especially if it is leather in direct Southern sunshine. In the case of my Honda S2000, not only is there plenty of leather but the interior dash, trim, door panels and carpet are all red. So to prevent it all from eventually becoming “pink”, I purchased a rather pricey custom-fit sunshade from Covercraft called the UVS-100.
I’ve been very pleased with the material, workmanship and overall the sunshade has a been a very worthy investment. The way I see it, I rather sacrifice a sunshade for the sake of preserving the interior.
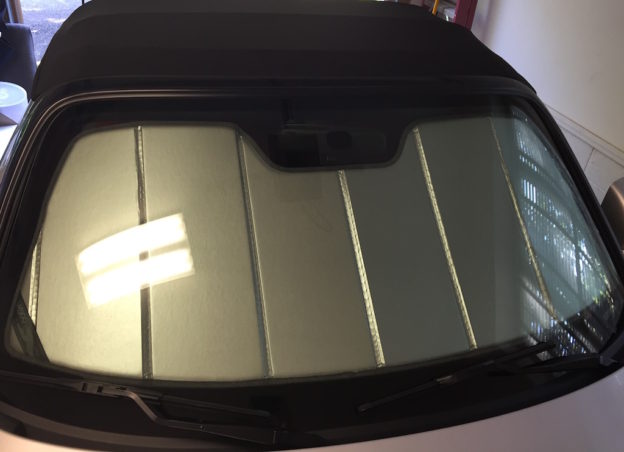
As you can see in today’s featured image the sunshade fits the windshield opening of the Honda S2000 perfectly and the only cut-out is on the top edge and that is to allow room for the rear-view mirror. All edges are perfectly hemmed with a very soft material and the stitching is flawless. So far so good.
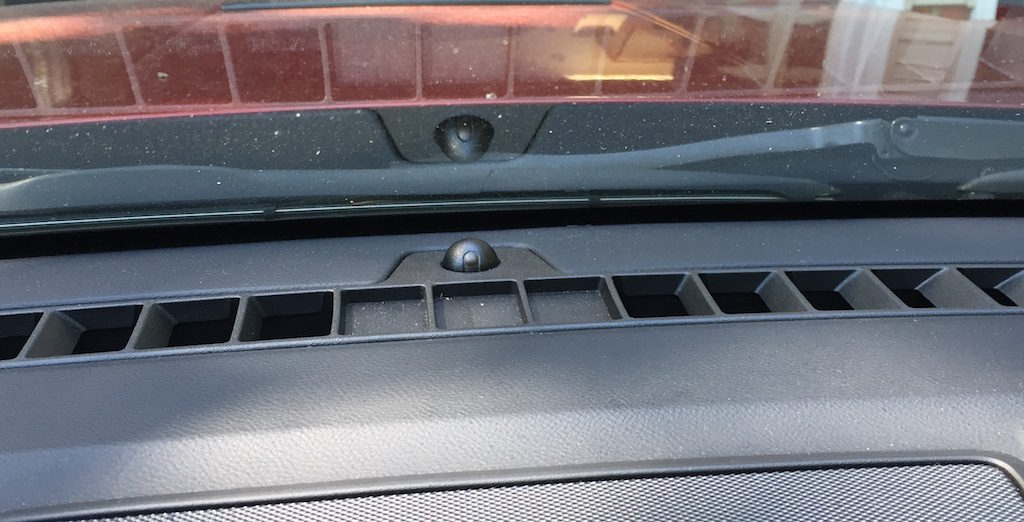
Well, when I purchased RedRock (my 2014 Camaro SS), the first thing I ordered was a custom-fit CoverCraft UVS-100 sunshade. The sunshade arrived and as expected, it fit perfectly. However, I soon discovered a problem. You see, the Camaro’s dash has one of these little doo-hickies:
That is the dome over the light sensor the BCM uses to turn on the automatic headlights when the sun sets. Unfortunately the good folks at CoverCraft did not account for this little device being in the way when deploying the UVS100 sunshade. I had to be very diligent not to accidentally hit the little dome over the sensor with the sunshade. Needless to say, it would be my luck that the entire dash would need to be pulled out to replace the dome if it became damaged by the sunshade. And I am very convinced, to boot, the good folks at GM would immediately dismiss any warranty work on this kind of claim. Since this is not something I would be looking forward to experience…
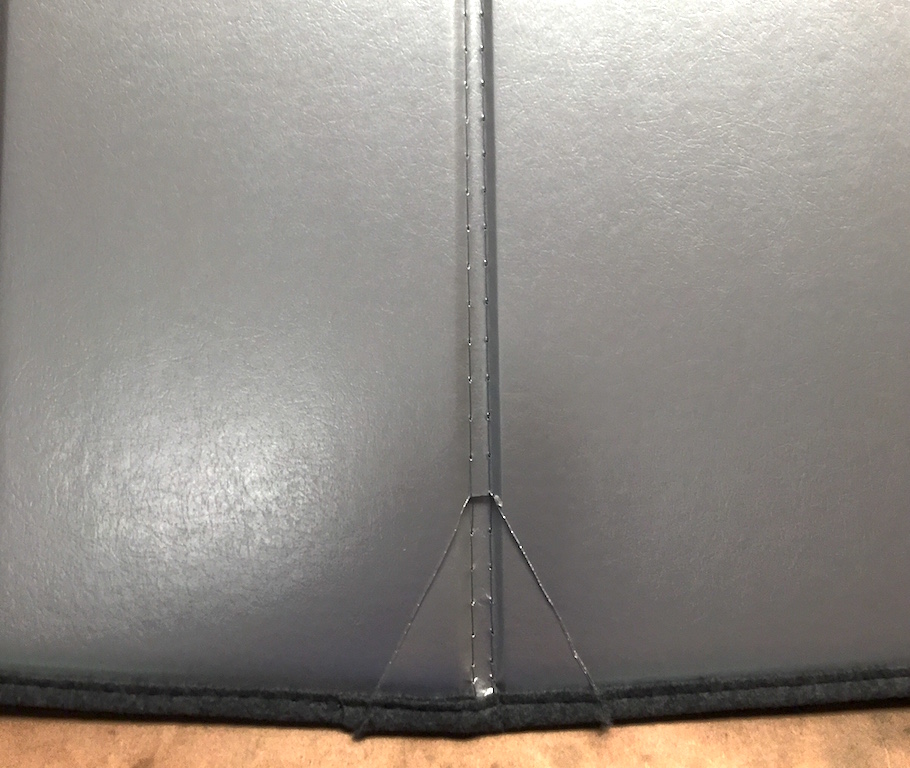
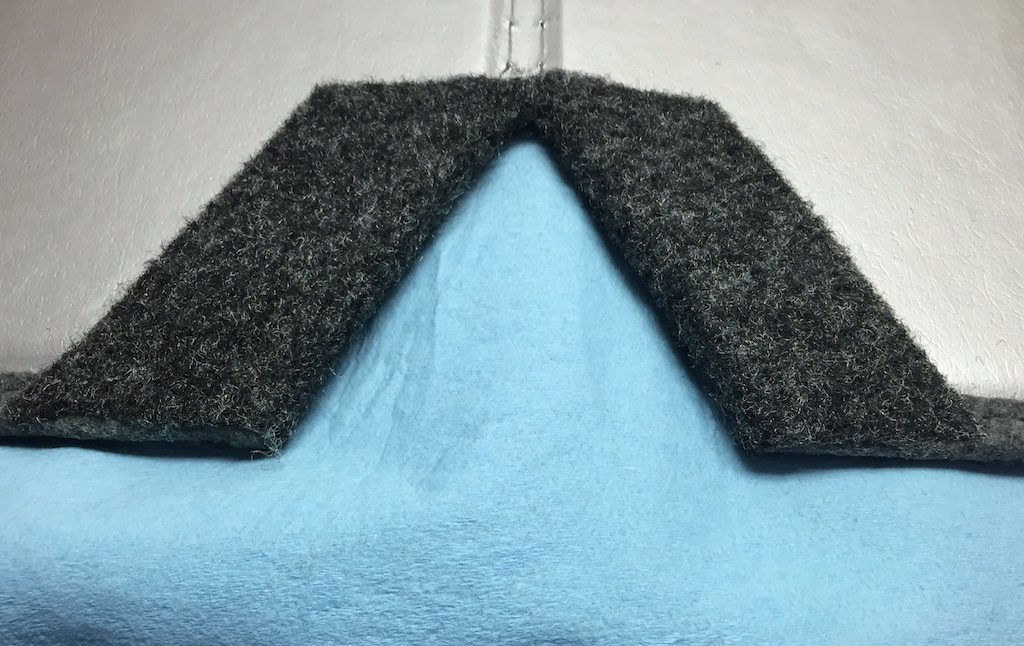
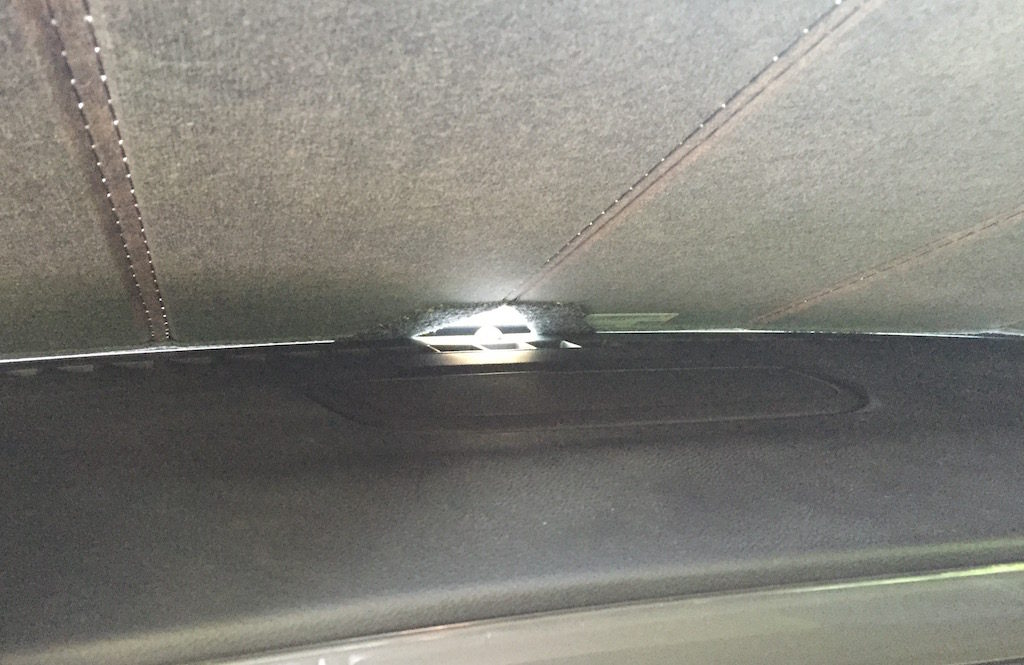
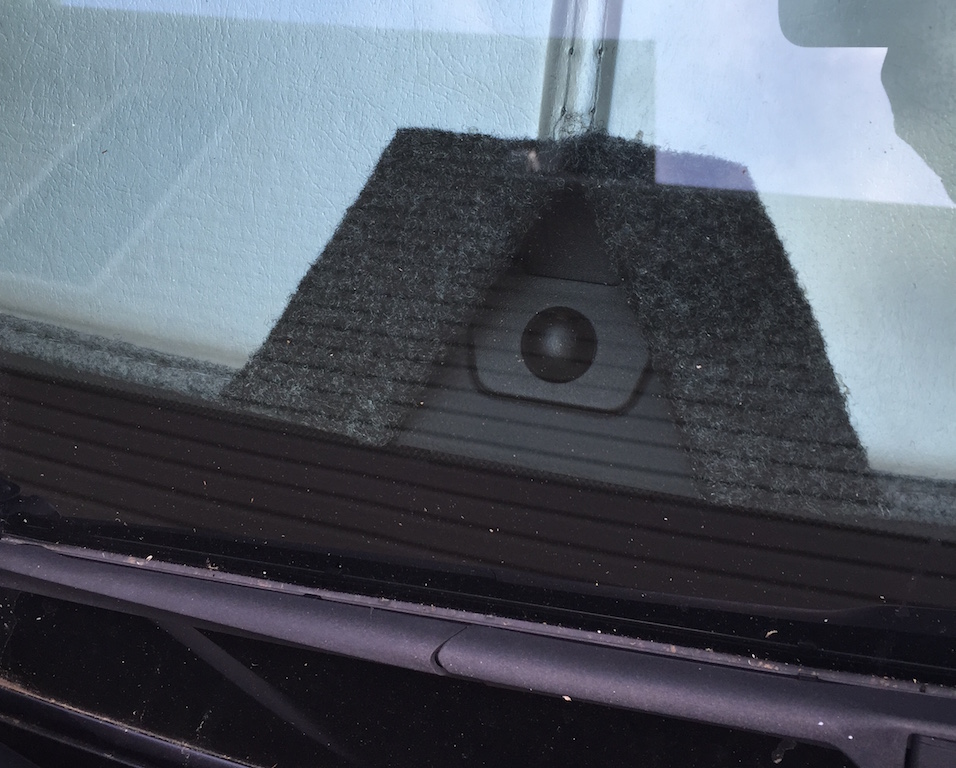
I decided to do a little surgery on my $60 CoverCraft UVS-100 sunshade. I made a few measurements and with the aid of a fresh (and surgically sharp) X-Acto blade, did a little “alteration” as so:
I removed the excess material after cutting it, however this left the edges exposed and they needed a little dressing. Since I did not want to leave them exposed to wear-and-tear (I don’t have a sewing machine like the one CoverCraft uses), I looked around and found some leftover scraps of headliner material used when I restored the hard top on bowtie6. After fiddling with this for a while (damn, took longer to cut this than to alter the sunshade!), this is what it looks like now (I know, it is not perfect but it is better than the alternative)…
In Summary
I really like the way this looks now. I wish there were an option from CoverCraft to allow for this, especially since they do such a nice job at dressing all the edges on the sunshade. I suppose this would not take much effort, especially since they accounted for the opening for the rear view mirror.
And so, a couple of advantages from the alteration I made:
- The little dome will not become damaged in case I forgot to hold the edge up.
- The automatic headlights won’t turn “on” during daylight hours due to the sunshade covering the sensor preventing wear and tear on the electrical system.
Overall, the CoverCraft sunshades are a good value. I have not financial gain from this review, but I just wanted to post this in the hope it might be of interest to anyone using these shades.
The alteration I made, does solve the problem of a possible costly damage to the light sensor dome.

