Author Archives: bowtie6

TR6 Front LED Bulbs

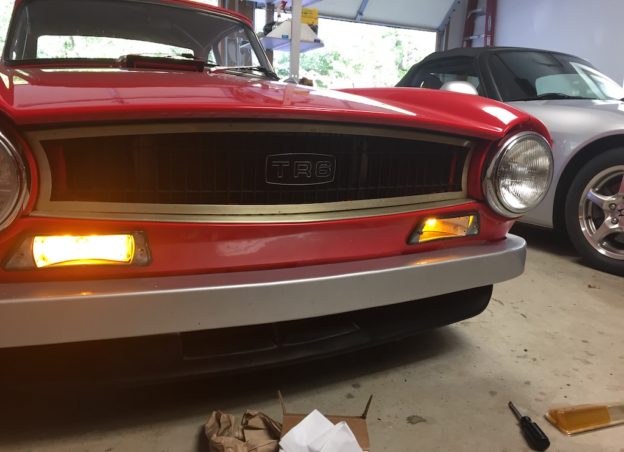
img_4070The missing Triumph TR6 front LED bulbs came in this week.  I say missing because the “kit” I bought included the wrong front LED bulbs:  for the 1972 TR6, the bulb must have two “filaments”.  In other words, these bulbs double as parking lights and turn signals.
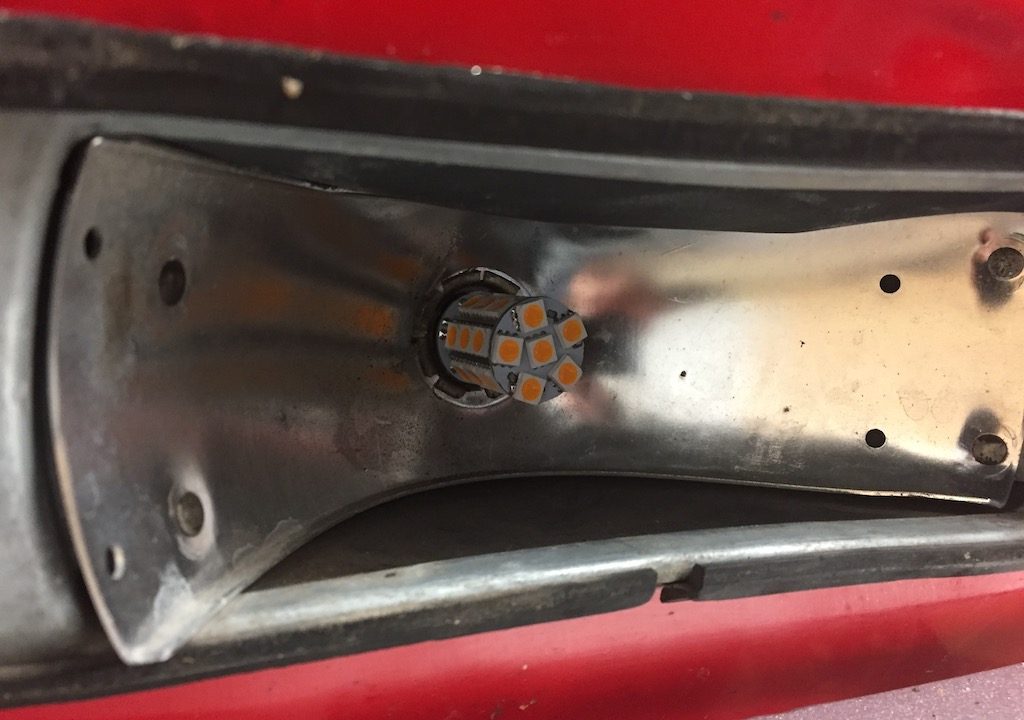
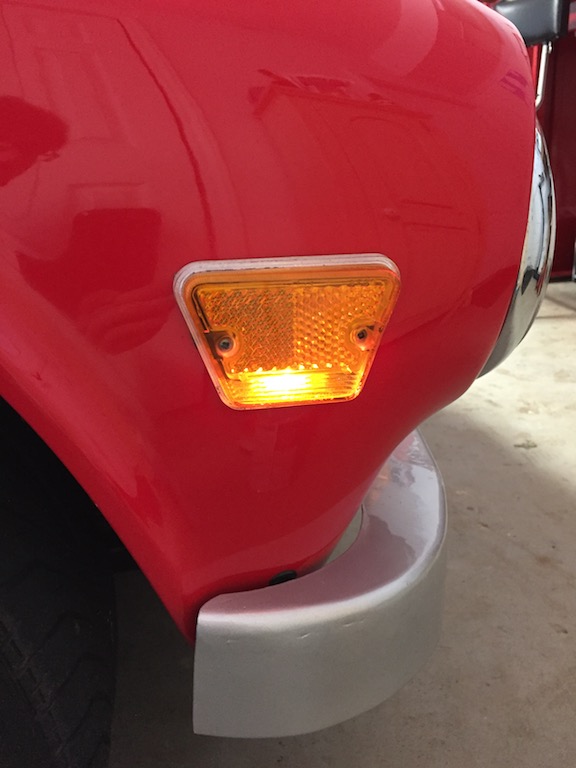
Today’s featured image shows the bulbs installed and in their “park light” mode.  I left the lenses off to show off the amber color and just how bright hey are!

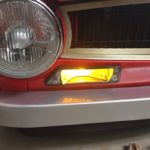
And one more picture, this time a closeup showing all the little light emitting diodes and why the coverage is so great.

img_4074

Multiple rows of LED’s providing full coverage


LED Lights for a Triumph TR6

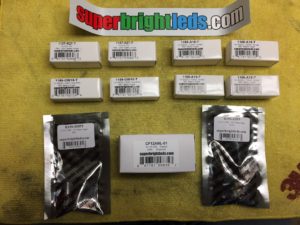
img_4055Today, I installed a long overdue improvement on bowtie6: a set of LED lights for a Triumph TR6.  The “kit” consists of all new 360 degree replacement LED bulbs.  This means, the new bulbs have diodes on all sides and give a much brighter beam compared to the traditional bulbs.

The advantage is obvious:  a much brighter indicator with little or no heat dissipation.  I’ve seen the effects of traditional bulbs on the TR6 tail light clusters:  damage can occur and this replacements are expensive.  The downside is this improvement is a little on the pricey side.  I’ll explain shortly…

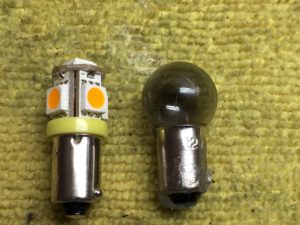
img_4057This picture shows on the right, a traditional front side-marker light bulb as fitted to a 1971 Triumph TR6.  The bulb on the left is the LED replacement, with amber light emitting diodes.  Yes, the replacement bulbs are available in different colors depending upon their intended use.  As you can see, there are four diodes around each side and one on the tip.  This provides the 360 degree coverage.

All bulbs in the kit came individually and carefully packaged in a box.  Shipping was not too bad, however the kit was $125.00.  Yes, rather pricey but worth it.

img_4053By now you are asking for proof.  Well, take a look at the following pictures.  The first picture shows the “stock” front-side marker light:

img_4058Followed by this picture, showing the replacement LED bulb in action:

img_4059The difference is noticeable and I must say, the picture does no justice.  In person, the LED replacements are much brighter.

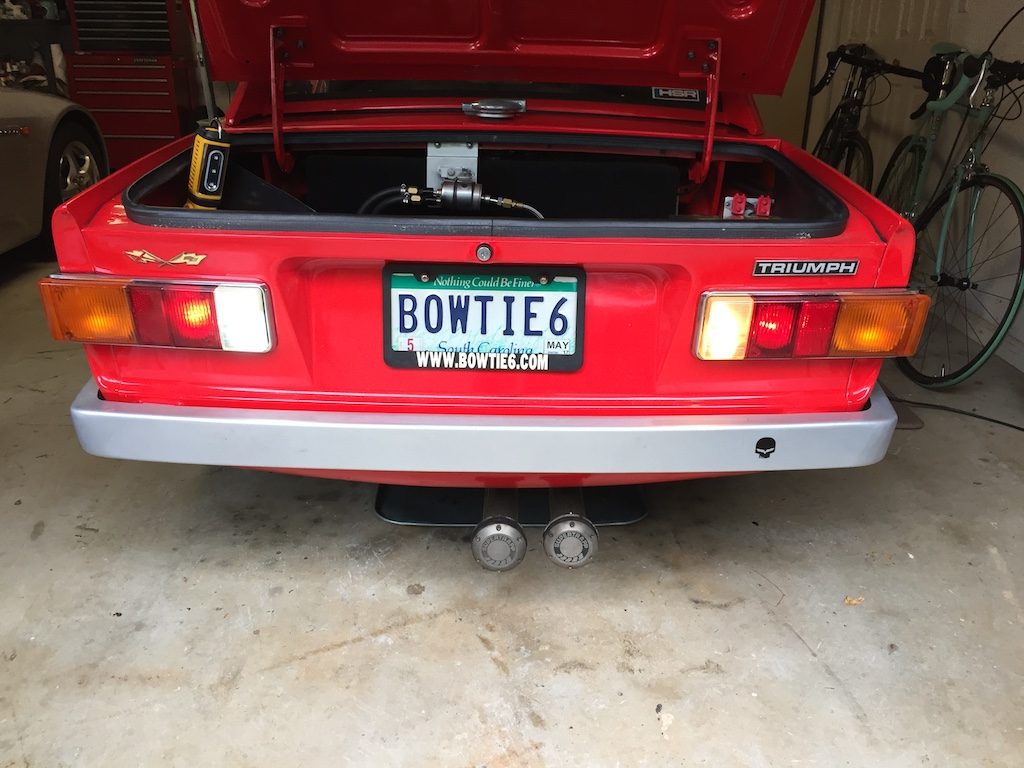
Moving along to the back of the car, this picture shows the new LED bulbs on the left and the traditional bulbs on the right:

img_4064The picture shows the red “running” lights and the white back-up lights in the “on” setting.  Each LED replacement is much brighter with a richer light beam and full coverage.  The amber turn signals are not “on” unfortunately, but believe me they are very bright now!

Here is a close-up of the rear running lights with the LED bulb on the left and the traditional bulb on the right:

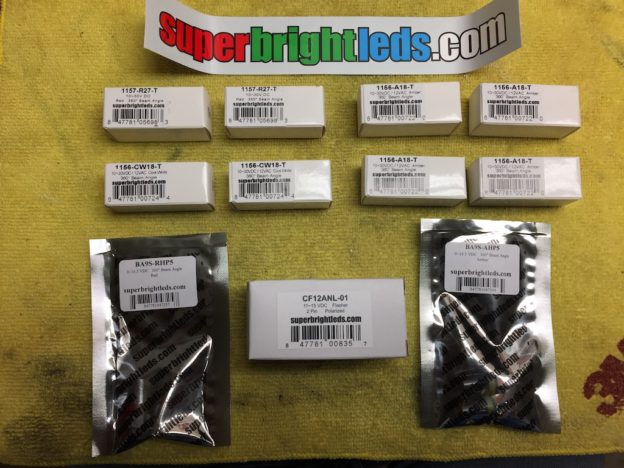
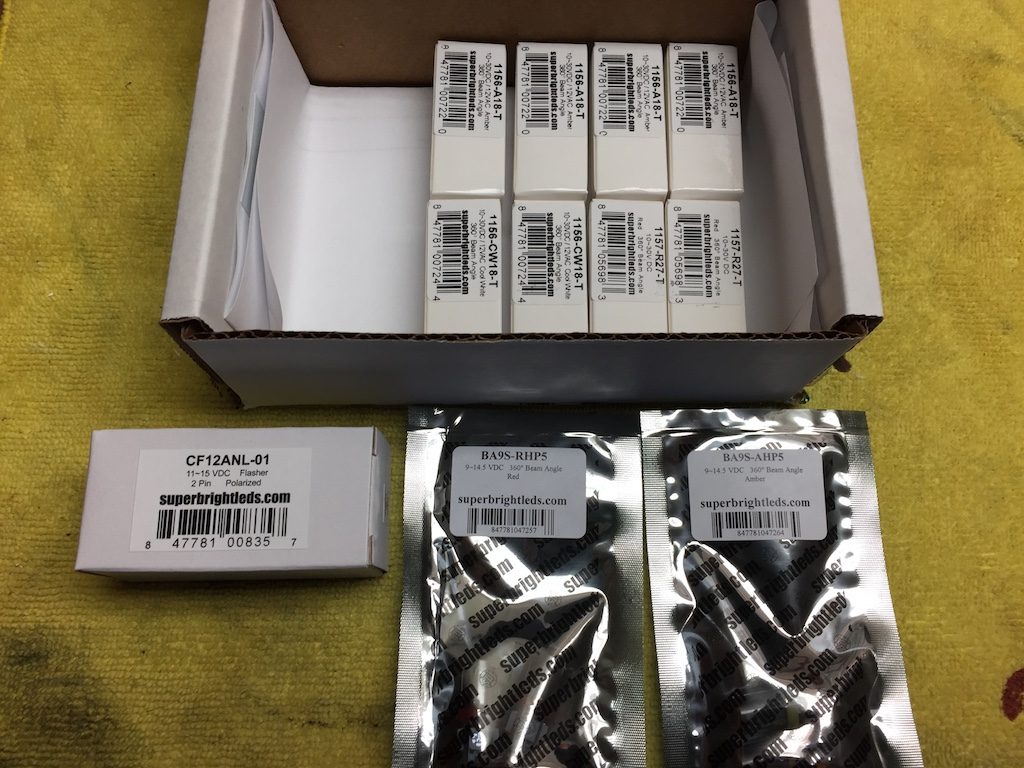
Finally, if you decide on getting one of these LED kits let me save you some aggravation.  The manufacturer’s website has a mistake on the bulbs required.  The front turn signal bulbs need two “filaments”.  The website has the replacements are only one “filament”.  As a result, I will need to order the a pair of two “filament” amber bulbs.

Also, don’t forget the resistance of LED’s is different from tradition bulbs.  Therefore you must change the flasher to one compatible with LED bulbs.  Otherwise, the “blinking” won’t happen properly.

Here is the corrected list of bulbs if you wish to know:

  • 1156-A18-T in Amber – required 2 for the rear turn signals
  • 1157-R27-T in Red – required 2 for the rear running/brake lights
  • 1156-CW18-T in Cool White – required 2 for the rear backup lights
  • BA9S-RHP5 in Red – required 2 for the rear side marker lights
  • BA9S-AHP5 in Amber – required 2 for the front side marker lights
  • 1157-A27-T in Amber – required 2 for the front running/turn signal lights


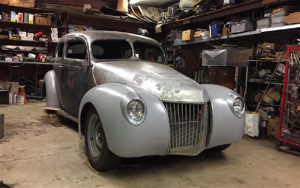
1940 Ford Taking Shape

img_4019

Jim’s 1940 Ford Standard

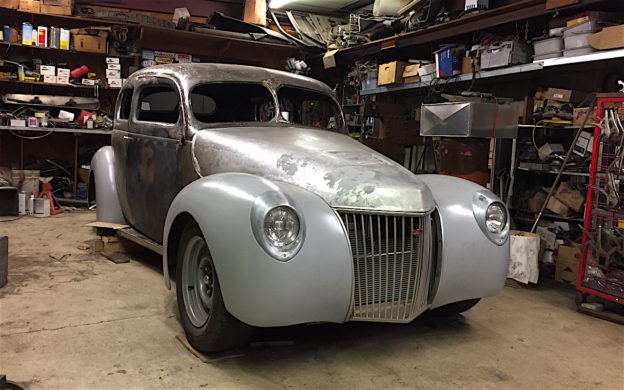
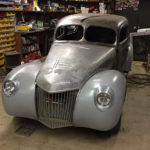
Today, I stopped by Jim’s shop – as I always do on Saturdays – and found the 1940 Ford taking shape, essentially fully mocked up.  My cousin Jim has put a lot of effort into his latest creation.  So I took a bunch of photos so this blog post would show off the current progress.

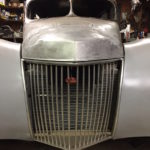
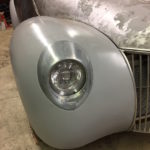
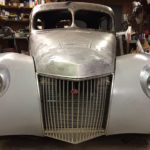
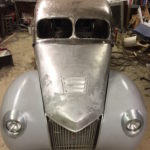
So the following pictures show the front of the car.  I’ve talked about the aluminum hood before because, well…  It is just awesome.  The heat extractor comes right out of the pages of the sales brochure for the 2014 Camaro SS (like mine).  This aluminum hood is light as a feather too.  But…  The hood is not the only remarkable detail.  Take a look at the grill, the “Ford” emblem latch release and the frenched headlights…

Pretty nifty, huh?  Well, there is more…  Next, let me show you how the doors are shaping out.  There has been a huge amount of work done here:

img_4004

Check out the door/body tolerance…

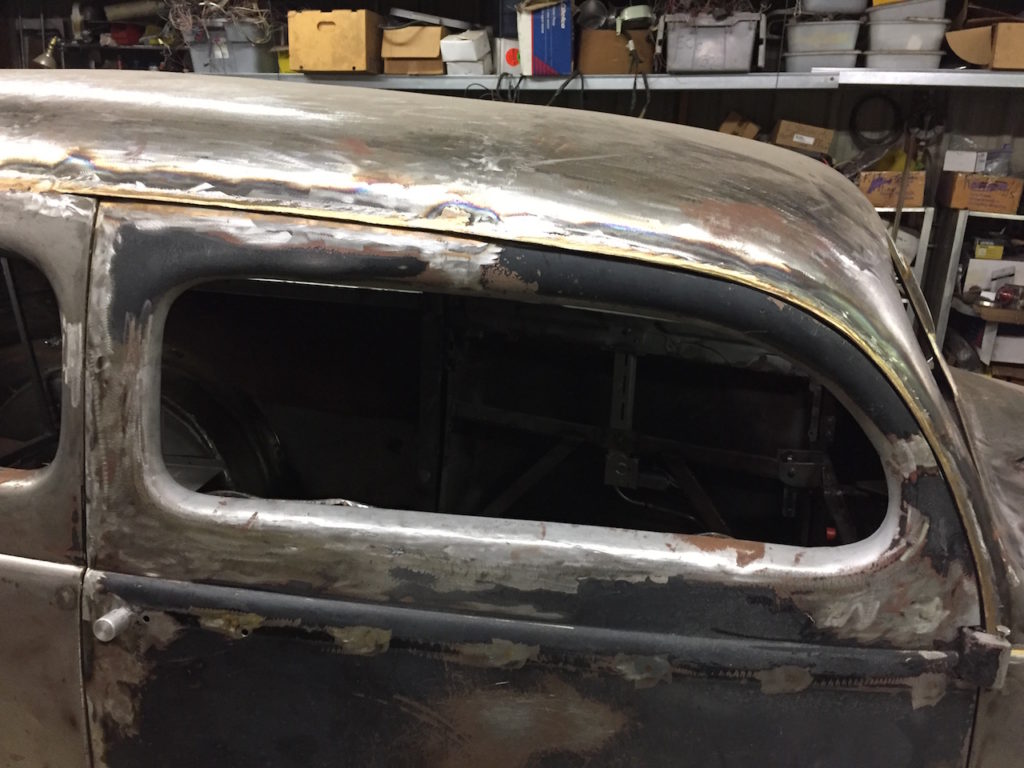
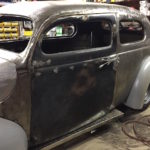
In an earlier article, I wrote about how Jim had chopped the top on the 1940 Ford.  It required not only cutting the posts, but also adding material to stretch the top to compensate for the change in the roof’s geometry.  This change also forced alteration of the rear windows.  The next challenge required altering the shape of the doors.  As you might have imagined, Jim had to cut and add material to the doors so they would fit properly.  And if you haven’t noticed, check out the precision in the door/body gap.  It is very tight.

Artistic Features

Jim builds cars to suit him and by definition this means some features might make sense just to his tastes.  “Must be nice”, huh?  I call these “artistic features” and the 1940 Ford already has several…

Trunk Hinges

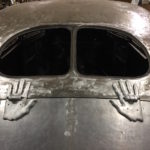
Here is the completed trunk hinges shaped to match a person’s hands.  The aluminum hinges are made from a milling machine, files and an air powered engraving tool – that is all!  Before you say “Nah!”, ask yourself how you would craft this from a thick chunk of aluminum?

Door Handles

Jim’s skill are once again showcased in the door handles for the 1940 Ford.  Take a look:

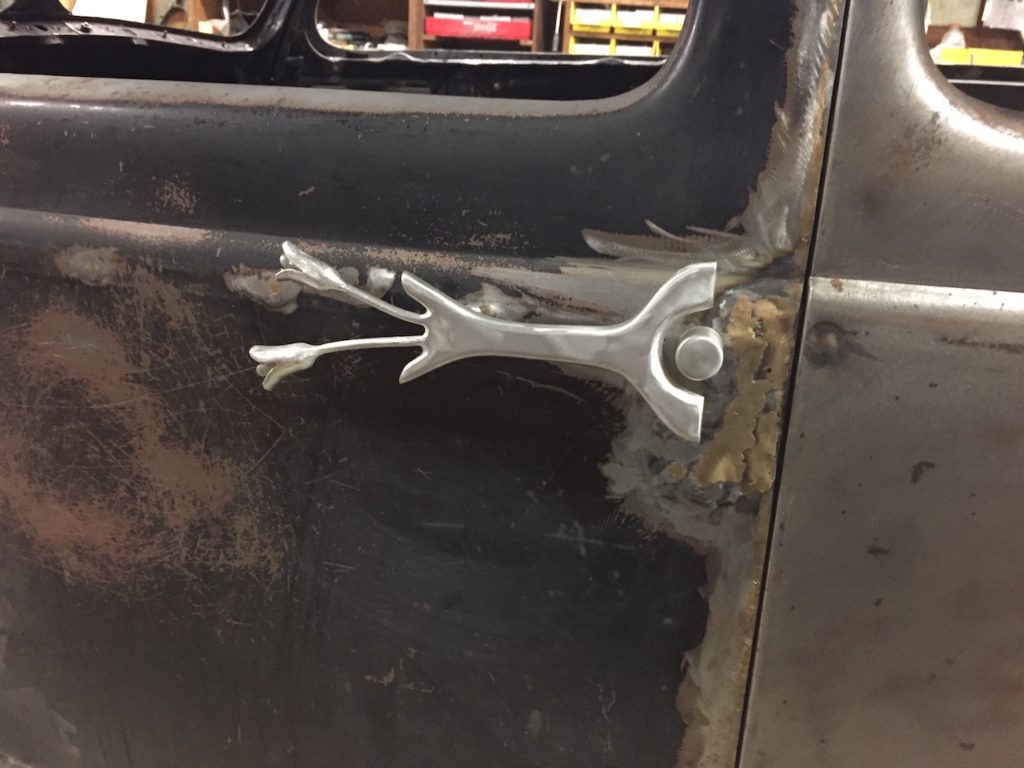
img_3997This door handle is made, not bought.  I asked Jim about it, and he said in his mind it represents a vase with two rose buds in it.  The rose buds have petals and yes, this is all hand-made from aluminum.  The button operates a latch mechanism of Jim’s own design (more pictures later).

Here are a couple of pictures showing the door handle from a few a couple of feet away:

Running Board / Exhaust

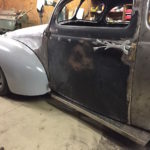
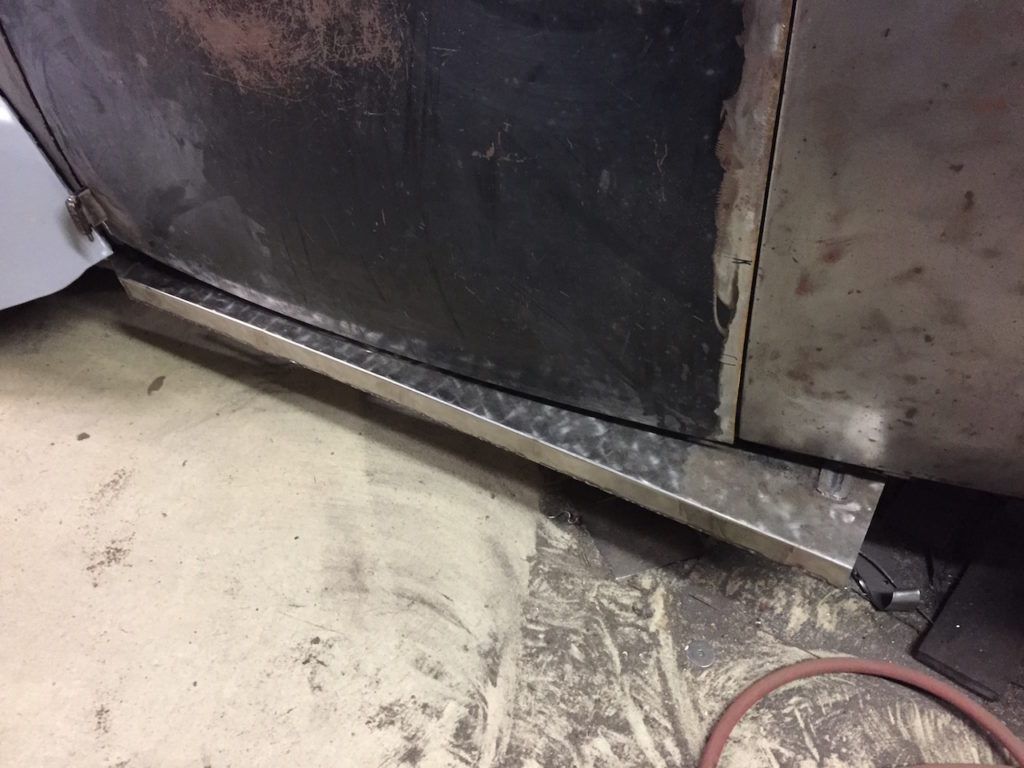
Because Jim wanted to keep things simple under the frame, he made the running boards serve two purposes:  a) finish the look below the body and b) exhaust.  Yes, these running boards serve as exhaust pipes.  You can see this in the two pictures in the previous gallery and in the next photo:

img_3990

Back of the Car

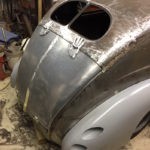
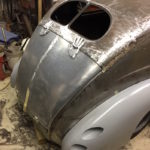
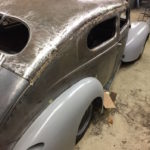
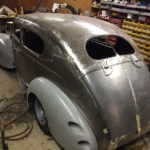
From the back of the car we can see the recessed tail lights.  You can also see the scars on the roof of the car from the welding of more panels used to solve the missing material from chopping the top.

The Engine

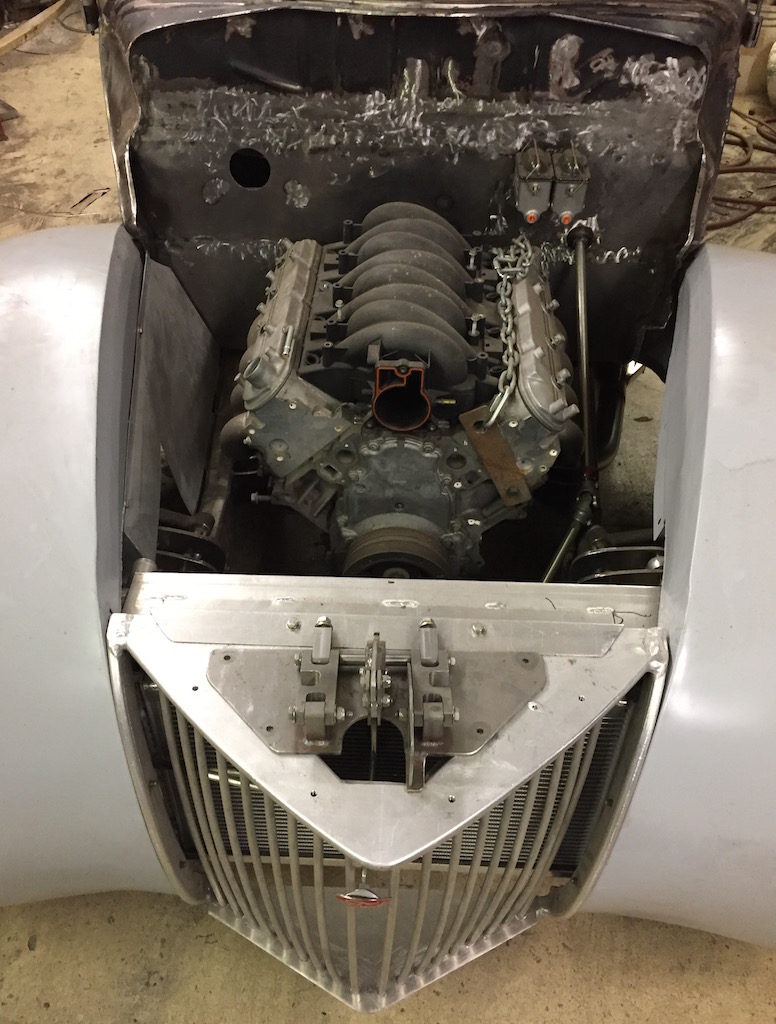
The 1940 Ford has been designed to use a Chevrolet LSx engine…

img_4015And as a bonus, you can see what the hood latch mechanism looks like.  Yes, this is yet another bit of Jim’s handy work.  The latch has been made from scratch and features a hinge for the hood, opening forward.  The “Ford” emblem (seen below the “V”) is attached to a rod that actuates the latch release.

Doors

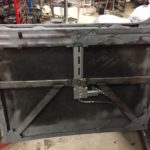
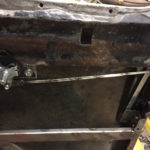
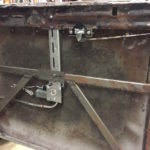
Here is the inside of the doors.  This looks very simple but it shows the door latch release mechanism and the power window actuators.

A great deal of time and engineering went into this effort.  You see the rods that actuate the door latch from the inside have to clear the window runners.

Summer Sabbatical

img_3955

Red-hots and habanero peppers from my garden

After a summer sabbatical of sorts, I’m back.  I have not forgotten about my blog, instead for some reason the spark to write has not been there so I decided on some time off.  I know, it’s not like I have a huge following – so who cares, right?

During my time off the F1 boys took their summer break, and have returned to the second half of the season (should be exciting – Lewis or Nico?)…  The whole entity of F1 is in the works of changing ownership…  The English Premier League is back and Manchester City has started a fine season undefeated (so far)…  I just hope the change of leadership for F1 is as good as it has been (so far) for MCFC (time will tell)…

And last but not least… We find ourselves on the eve of the first of the “debates” that will showcase the best that our two major political parties label as “presidential candidates” (yeah right) which incidentally, isn’t much – scary shit indeed.

Goodies from my Garden

Today’s post tells the story of my latest “experiment”:  as you can see in the featured photo it shows just a small sampling of this year’s bumper crop of hot peppers from my little garden.  My garden is not elaborate, just a couple of planter boxes with some good soil and several tomato plants with some habaneros peppers, red-hot’s, Tabasco brand peppers and serranos for good measure.

img_3840 The tomato plants consist of three Roma tomato plants which have produced some awesome tomatoes for pasta sauces (Wifey has made some amazing dishes with the Romas!) and two other plants yielded some great tomatoes suitable for awesome Caprese salads with my own grown basil.

Good times.

img_3957

Weapons grade spirits…

So back to the hot peppers…  Many years ago, I lived in Aiken SC.  Not far from Aiken is “The Garden City”, the home of The National: Augusta GA.  One of the specialties of one of my favorite restaurants in Augusta is a “Cajun martini”.  Their trick was to let hot peppers infuse in vodka.  So, I went to Costco and purchased some Kirkland brand vodka – the bottle said it is made in France but the price was good so I figured why not.

Half the bottle of vodka went into a Mason jar and I added the habaneros.  The rest of the vodka remained in the tall bottle (pictured left) and I added the red-hots in there.  After a couple of days, I took a whiff – yikes!  Good stuff!  Today, I poured the liquid in some saved bottles and placed them in the freezer.  I’ll add a post later with taste results.

img_3958

Weapons grade pepper flakes…

Finally, my friend Thom was kind enough to take several Ziplock bags full of my hot peppers and prepare them in his food dehydrator.  And of course, I now need to shop for a dehydrator – so if you have any recommendations please let me know in the Comments section at the end of today’s post.  Amazing thing these pepper flakes!

I’ve been adding this extra condiment to pretty much everything!  The heat is not unbearably toxic, instead it is very tasty indeed but not for the faint-of-heart.  One thing though:  even after being dried and chopped the fumes are still there.  I’ve had several episodes of sneezing during dispensation.

Other Stuff

Nest Thermostat Review

Several of my friends at work have been telling me about their Nestthermostats and how much they like them.  I’ve stayed away from the Nest devices because they are a) rather pricey and b) I already had a programmable thermostat.  But, I decided to do some research…

As it turned out, Nest had price reduction this summer and I took the plunge.  Against my better judgement, I ordered a thermostat from the Nest website rather than from Amazon.  Yes, I would have received it free of shipping charges and with 2 day delivery, since I have Prime but I figured I’d order from the factory, and hopefully get a latest version of the thermostat.

This order was doomed from the start.  It appears that there must have been many folks just like me on the fence about the price and they too, ordered thermostats taking advantage of the price reduction.  After a couple of weeks I started calling Nest customer service and as expected the other side of the phone call was answered in some foreign land with reps that have a very poor command of the English language.  Eventually after many attempts, I finally spoke with someone in the continental USA and they explained demand went through the roof and inventory went the opposite direction.  They asked me to be patient and that they would knock off another $25 plus reimburse shipping in return of not cancelling my order.  After a few more days I received my Nest Thermostat.

The device reminded me of unpacking my iPhone and iPad.  The thermostat is exceptionally well made, impeccably packaged and well documented.  It even includes a very nifty screwdriver with a very comfortable handle.  Installation was a breeze and this thing just plain works.   After a “learning” period the thermostat has settled and the one thing that stands out is how constant temperature is maintained.  My old thermostat just did not have this level of accuracy.

The thermostat can be controlled from an iPhone as well as from the device itself.  And I must reiterate the app is very handy.  Now I can control the thermostat away from home and best off all Wifey has the app too – so she can adjust the device.  Happy Wifey, happy life.

Roku Review

And another cool toy purchased lately was a new Roku 3 device.  With all the awesome content available for streaming I figured I’d give one of these a try.  This time I did order from Amazon at a good price and in 2 days I had the device at my doorstep.  The device is really nice and as advertised it powered right up and immediately started working with very little fuss.

Unfortunately due to the way my house is designed the wireless signal did not prove to be strong enough for the Roku.  I don’t have any issues with my other devices (even the Nest thermostat) but for some reason the Roku just could not lock in a strong enough signal.  So, I crawled under the house and ran a physical wire between the router to a switch that allowed me to finally hard wire the TV, the Roku and the DirecTV receiver.  Amazing how well all this works with a wired signal.

Streaming is awesome.  So much available content and all with flawless performance.  A real gem this Roku device has turned out to be.  My favorites so far:

  • Netflix streaming is great.  I changed my DVD subscription and the streaming version is a must-have.
  • Amazon Prime offers video too.  Awesome content there too.
  • FilmOn – this is free and is simply amazing.  Basically you can watch live British TV.  It is soooo nice to be able to watch F1 races on the British feed and not have to put up with Leigh Diffey’s annoying voice and idiotic commentary on the NBCSN broadcast.  Incidentally, the British version of the coverage is superb.  Much more insight and certainly not “dumbed down” as is so much the norm on NBCSN.

And I guess I have tried to cram way too much in today’s post.  Sorry about that…

Hot, Damn Hot…

The last few days here in the Upstate of South Carolina the weather has been HOT, DAMN HOT.  I mean Summer in the South – gotta love it baby!   And it ain’t no “dry heat” so don’t start with that crap.

Add to this,  today the HVAC system at the office had “issues”.  And by this I mean, as I drove up this morning and exited RedRock, in the parking lot I could hear one of the units broadcasting that special sound bearings make when there is no more “bearing” left.  You know, that dreaded sound of metal-against-metal.  From my vantage point, it appears the bearings gave up the ghost several days ago and of course…  Things quickly went down from there.  Reminds me of the day the wheel bearing went bad in bowtie6 but not quite:  the bearings on the AC unit were playing a serious symphony of sorts.  As we say in the South, “bless their heart”…

So the temperature in the office proceeded to get rather “toasty”.  My buddy Jeff felt the “warmth” too and proceeded to pull up that glorious video from “Good Morning Vietnam” on his iPhone, where the sorely missed Robin Williams talks about things being HOT, DAMN HOT.  Yes indeed – today felt exactly like Roosevelt E. Roosevelt said…  HOT, DAMN HOT.  You have to watch the video…

Yes indeed!  HOT, DAMN HOT!!!  And as Martha Reeves and the Vandelas said, “There ain’t no where to run” in this heat.  If you don’t “get it”, watch the video.

Oh, and many thanks Jeff for the video…