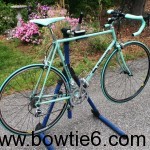
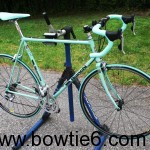
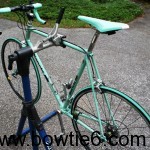
Ever since I started the sport of cycling back in the 80’s I always dreamed of owning an Italian Bianchi frame. I remember back then these frames – just like today – commanded a high price which was way out of my budget. It took a few years, but I finally got my wish! The photo above shows the finished product: a vintage 1984 Bianchi Limited frame fully built with nothing less than Campagnolo components. However, it took an obscene amount of work and effort to get it this nice. This is the story…
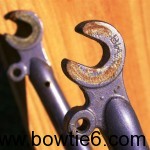
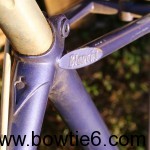
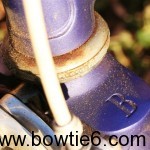
The following photos show what the frame looked like when I bought it. The frame was listed on Craigslist of all places, missing many pieces and painted an ugly Grapette purple from a rattle can instead of the classic celeste.

Purchase price on the frame was quite cheap – an example of a prior owner not knowing what they had! The frame and fork are Bianchi with lugs stamped with the Bianchi logo.
After carefully removing all components, I had a local media blaster remove the old purple paint. This was very carefully done because of the thin tubing. I then shot the frame with a light coat of epoxy primer and started sanding. A few small imperfections required a small dab of automotive body filler and then covered with another thin coat of primer. After another light sanding, the frame was ready for paint.
This is where things got interesting! After all, it is not like you can walk up to a store and buy Bianchi celeste paint and paint away. To get the correct color I bought a little bottle of Bianchi celeste touch-up paint. Then, I used an airbrush to paint a small square of primed sheet metal. Once the paint dried I took the sample to a local automotive paint store and had it scanned in a spectrometer. Needless to say, the folks matched the paint perfectly. By the way, this is the non-metallic, basic celeste shade.
This is my first attempt to paint a bike frame. It took some doing! I ended up using a small paint gun normally used to paint jambs on a car. Since the tip is fully adjustable painting horizontally and vertically (and everywhere in between) is no problem. Finally, the paint I used is single-stage acrylic and this required no clear coat. The trick is to apply several light coats, building up to a high gloss.
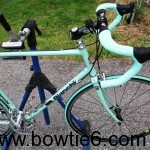
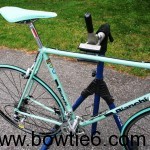
Since the frame is Italian the groupset had to be Italian also: a 2008 Campagnolo Veloce with Campagnolo Chorus shifters. I did not like the feel of the Veloce shifters, so I bought a set of carbon Chorus shifters and changed the levers to match the silver look of the rest of the components. Why? Because I can! Wheels are Mavic and the celeste tires are Vittoria. Saddle is a special celeste Fizik.
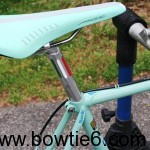
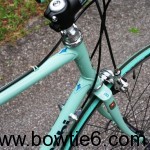
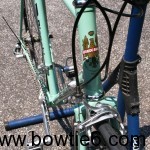
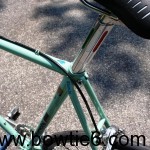
The pictures above show some extra work I did on the little details on the frame. These were carefully filled with blue paint to accentuate the “Bianchi” and “B” engravings on the lugs. Finally, the seatpost has three flutes which I filled with green, white and red – the colors of the Italian flag. I know, this is overkill but then again I really wanted to make the old bike look the part.
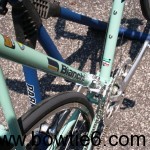
Decals were all sourced from a fellow in Australia. They were not cheap, but they are period correct and add pop to the frame.
How does it ride? It is not super lightweight but it has a fantastic feel. After all it is a vintage steel bike. However, this was “the real deal” back in the 80’s and is all I ever wanted in a vintage Italian Bianchi. All the work, effort and time sure made for a nice looking bike.
Update: I have written a new article with more details about the build – CLICK HERE to jump to that article.




Incredible bike and outstanding job. Just yesterday I rode my 1986 Fuji Allegro 12 speed on a 50 mile loop. Had forgotten how buttery smooth and soft it rode compared to aluminum & carbon frames. Only thing I missed were the gears that are in between the 2×6 vs a 2×11 crank x cassette. Any way to upgrade that ?
Thank you for your comment! Much appreciated. Indeed, a nice steel bike is indeed smooth sailing compared to carbon or aluminium.
Regarding your gearing, I have no clue. I am sure there is a way to upgrade it, perhaps you could check with your local bike store…
That is a really sweet job you did on it… Cheers, Mike
Thank you Mke – much appreciated. Bike rides as nice as it looks!
Never heard about a ‘Spectrometer outside Star Trek. Must look into that. Why doesn’t Bianchi just sell cans of celeste paint ? BTW Great Job !
OK – “Spectrometer” – my bad! I suppose it is called a “colormeter”? At any rate, it is a device the automotive paint shop uses to scan a sample painted in whatever color you want and this is used to determine a formula to make the desired color. It works too!
As far as to why Bianchi won’t sell cans of paint… Well that is a mystery to me, however the touch-up bottles are available: CLICK HERE.
Thanks for the comment Captain Kirk! 🙂
Hello,
Where did you buy the decals?
Available on eBay. Might want to do a search. However, they are not cheap. The better quality ones (like the ones I used) were about $50 for the set.
You can’t rely on two different pictures taken at different angles to try and compare dimensions. Yes – you do have a problem.
I rest my case. Thanks Michael.
i have a problem. the said before frame is a much much larger frame than the one shown finished. theres alot of space in head steer tube in lenhth. it cant be same frame.
Of course they are the same! I did the work! Why would I want to show two exact frames, one painted purple and another restored to the right colour? Perhaps you can’t do this type of work? Well I can and the pictures are true to the work I did.
Nice work Joe!
🙂