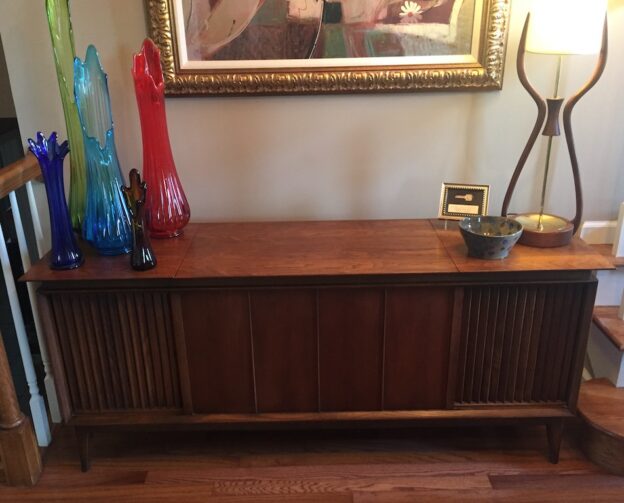
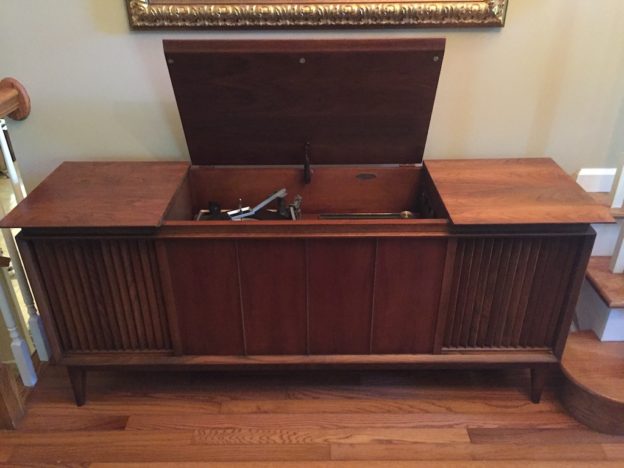
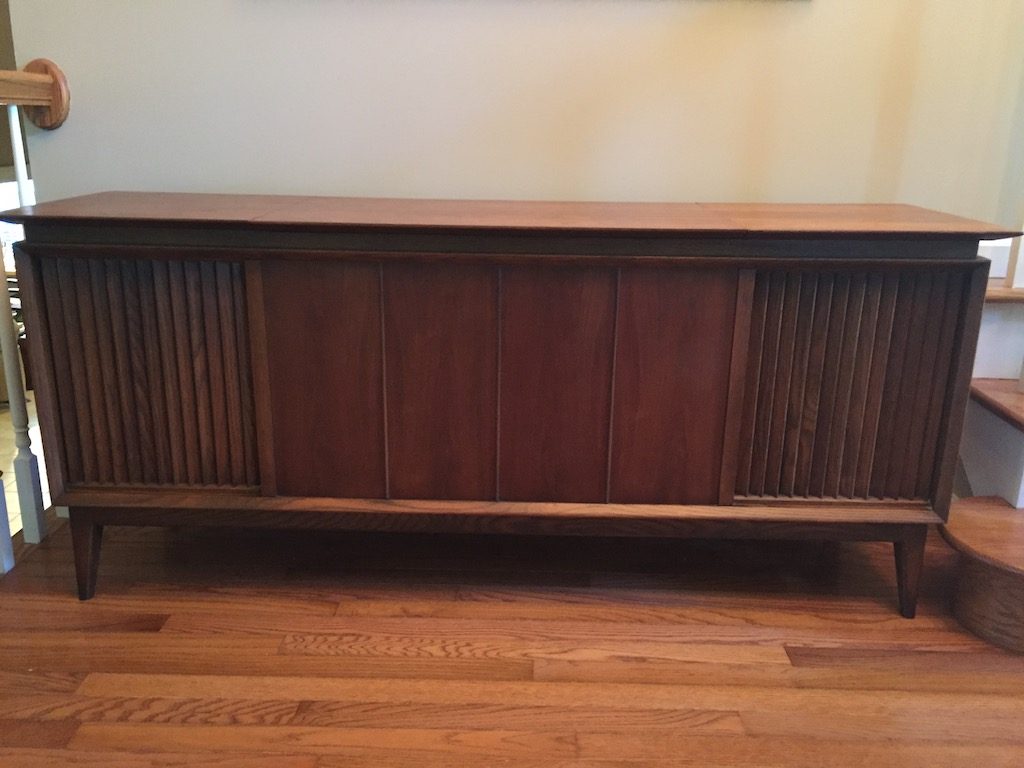
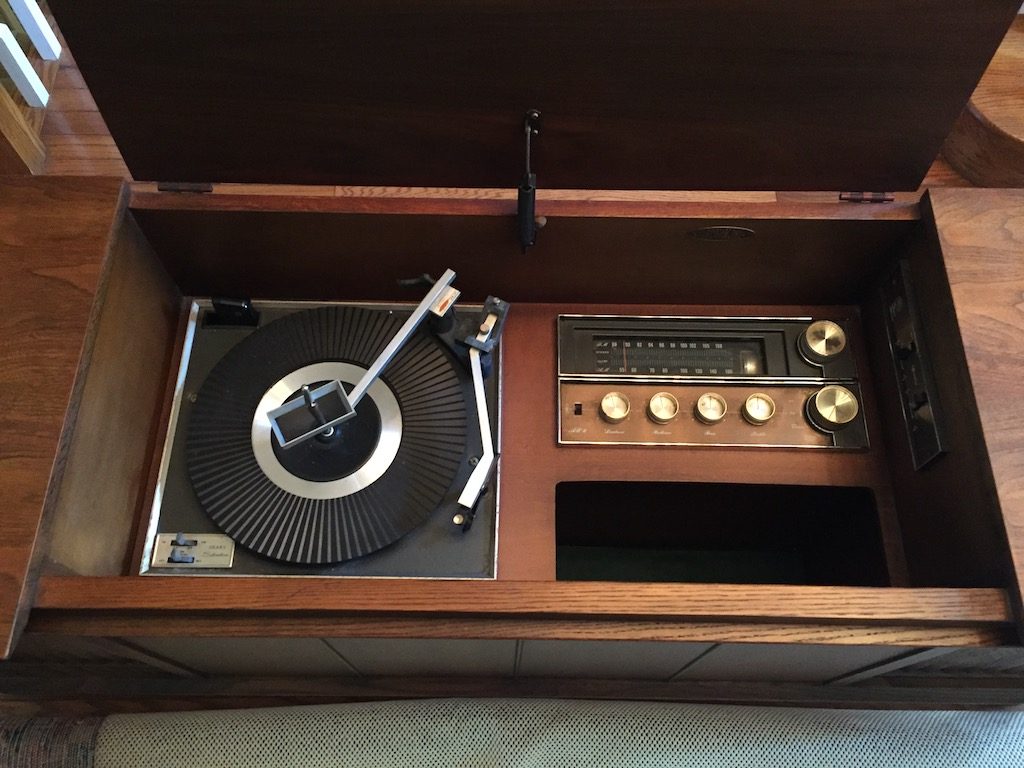
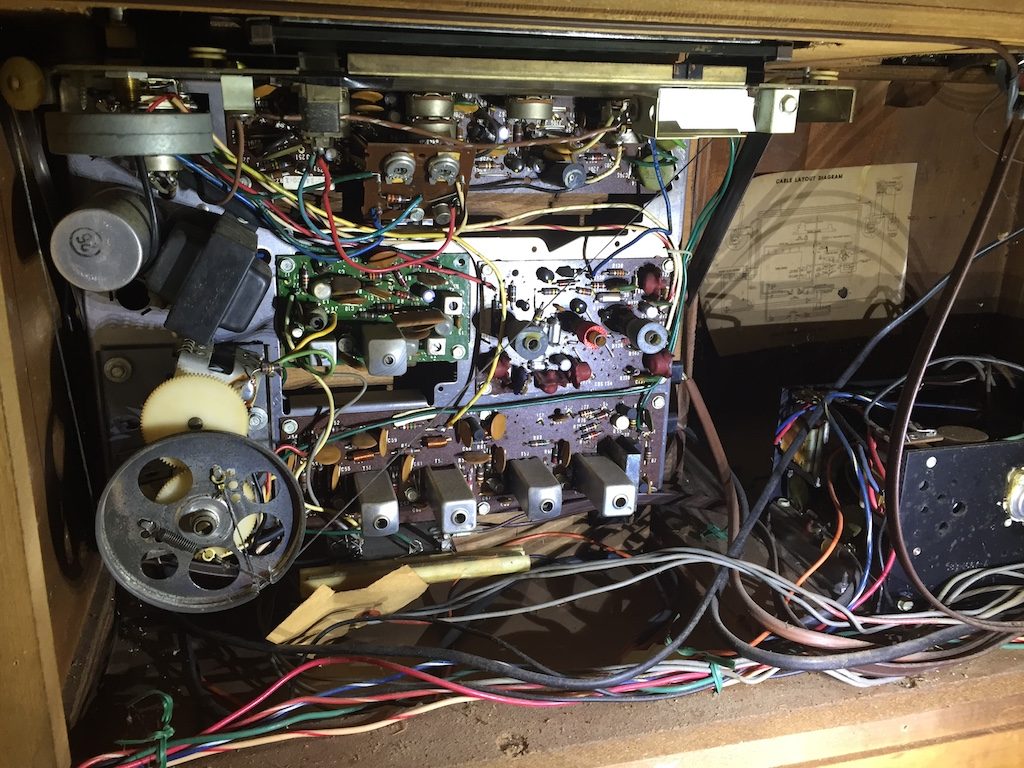
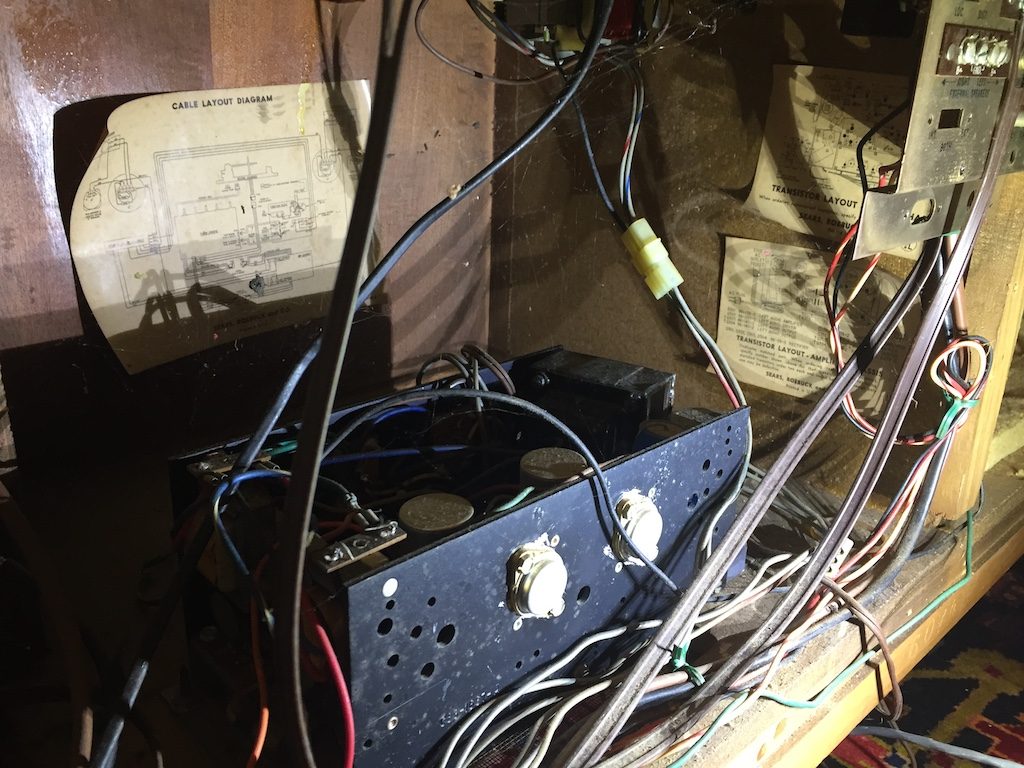
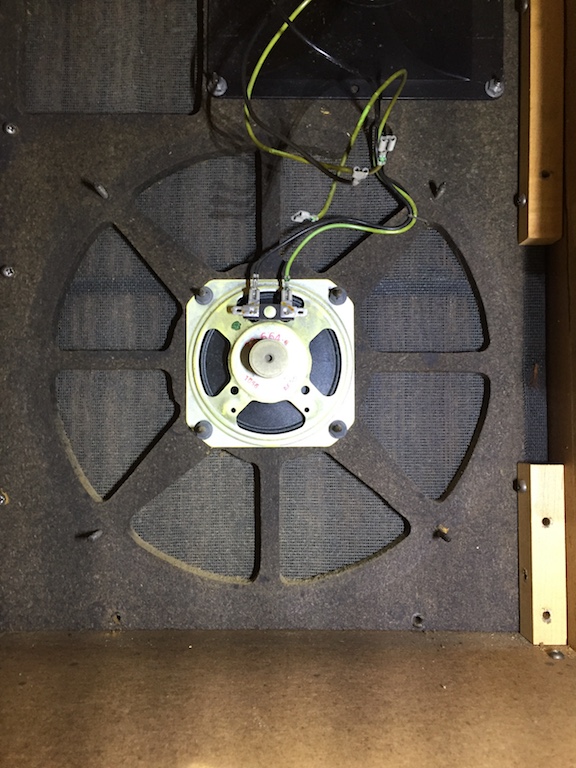
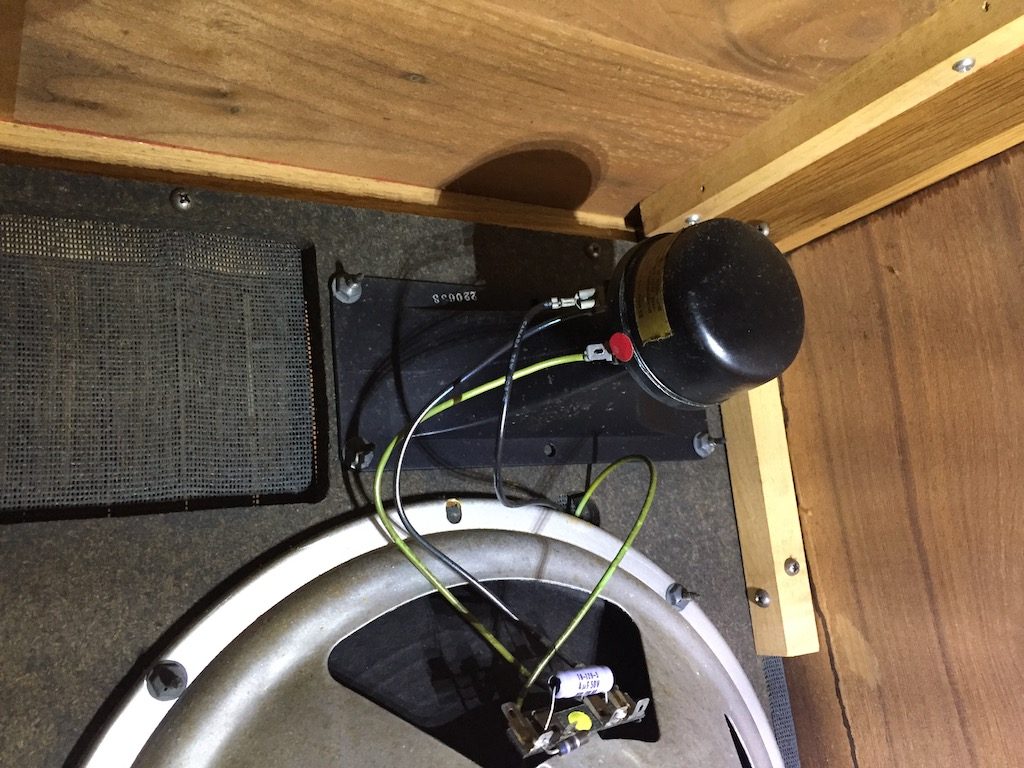
The restored vintage stereo console is finally complete. I’ve been working on this thing on and off for way too long. I am very happy with the results and the console is working as it was originally intended albeit with much more modern components. Let me show you what I’ve done…
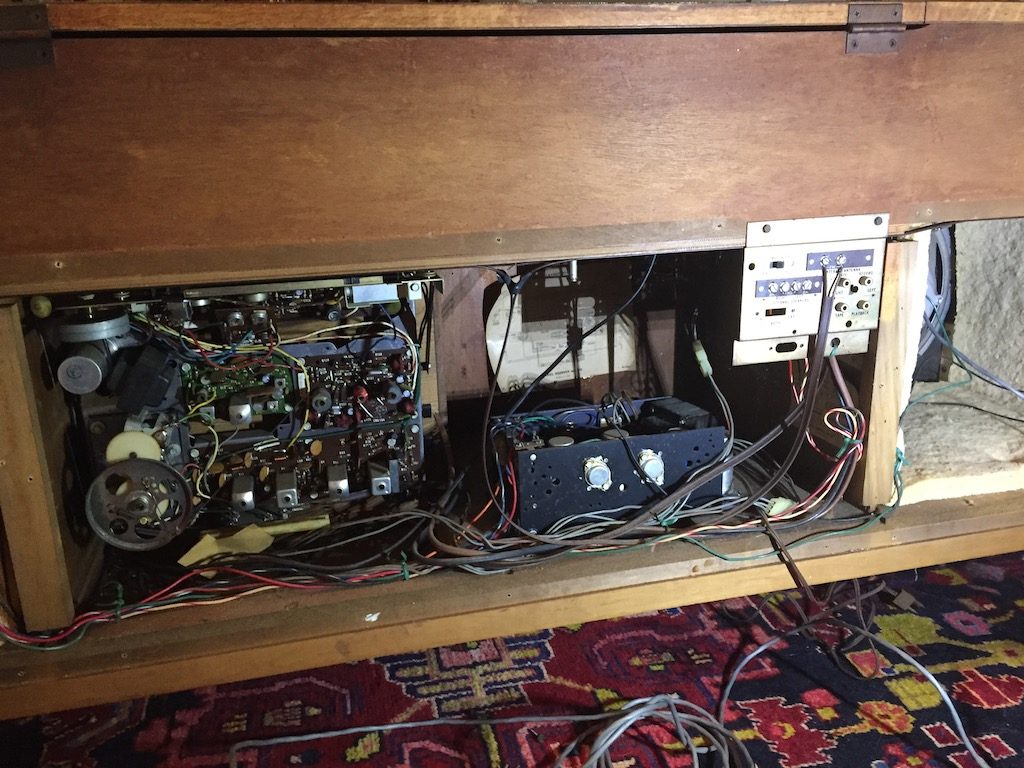
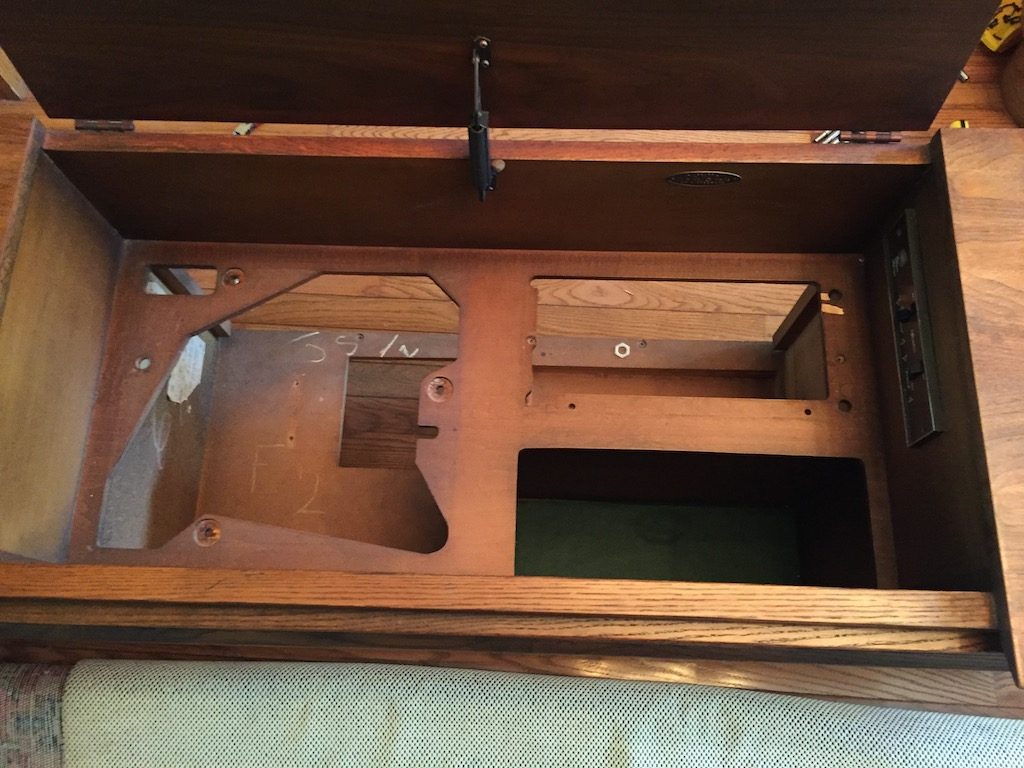
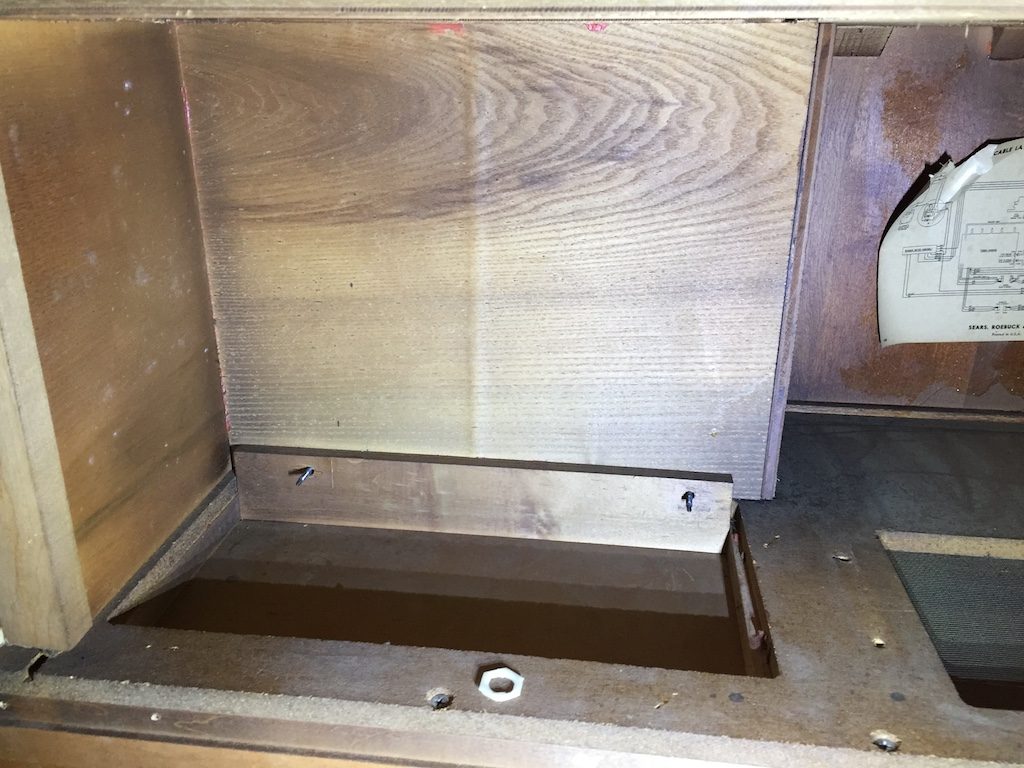
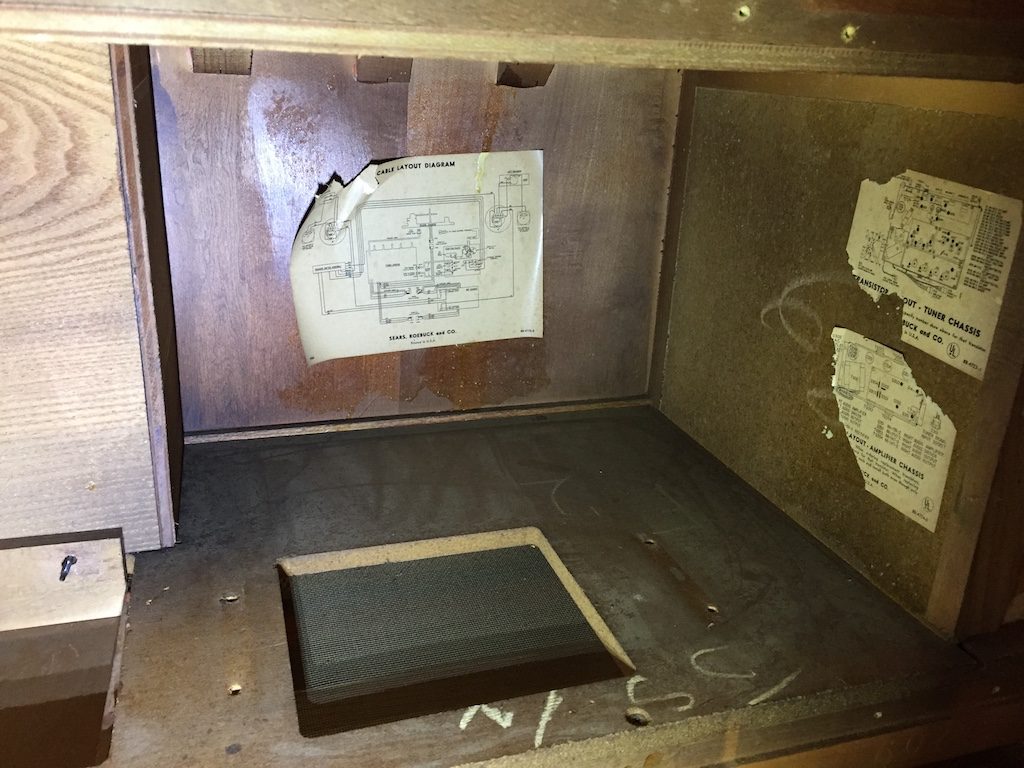
If you are interested, click here for the prior article about the vintage stereo console. But essentially that article talks about how I removed all the original components and ended up with an empty cabinet.
Speakers
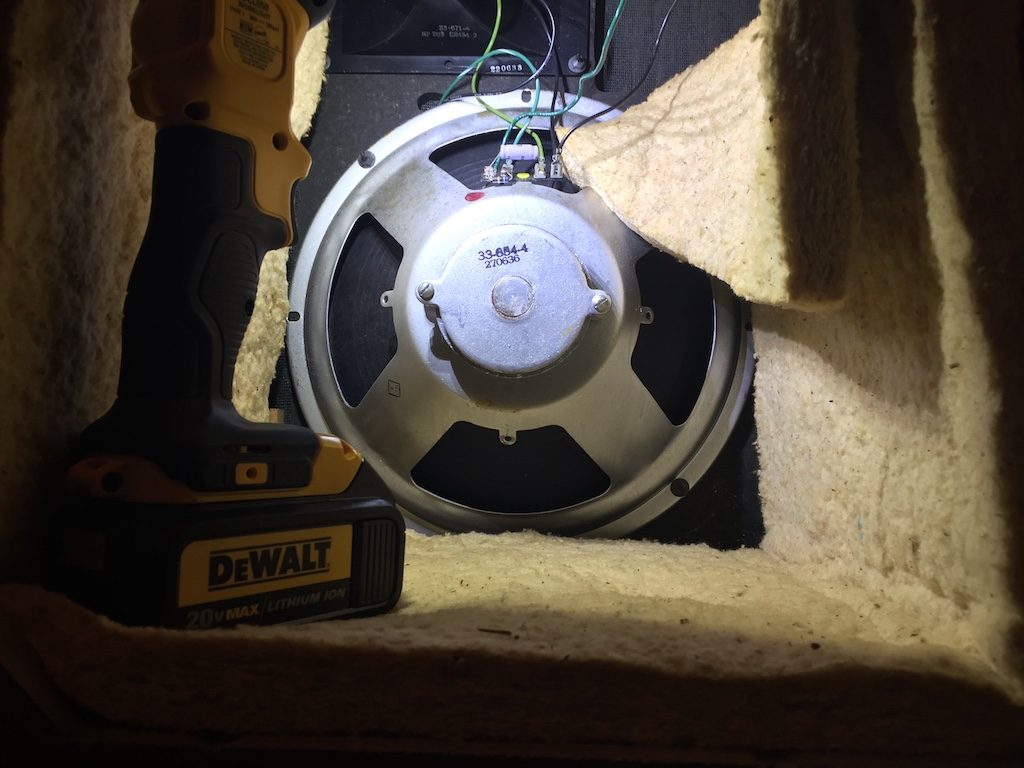
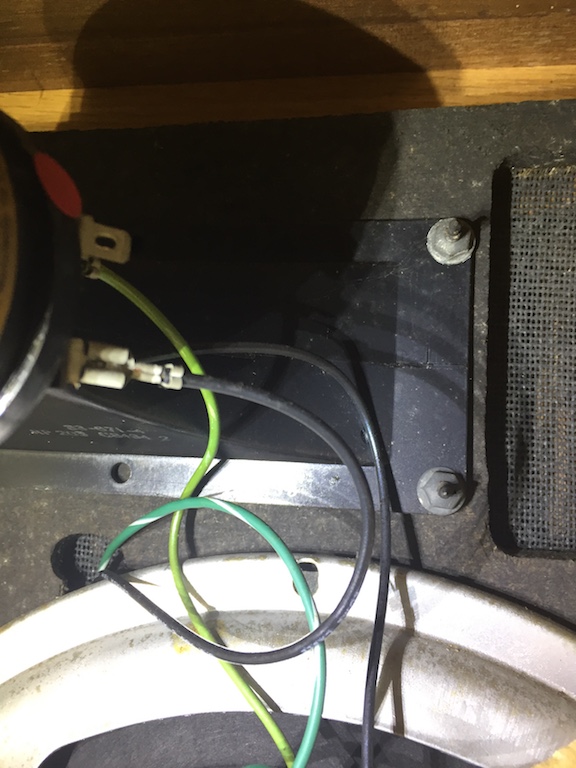
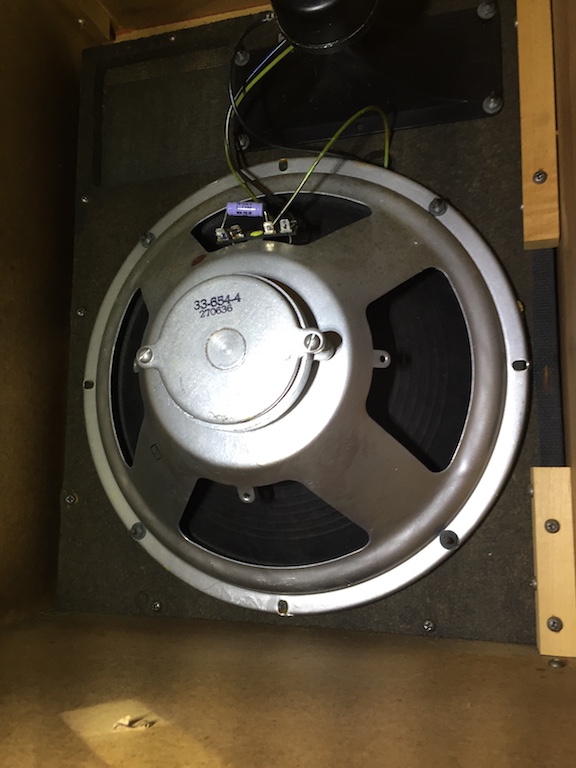
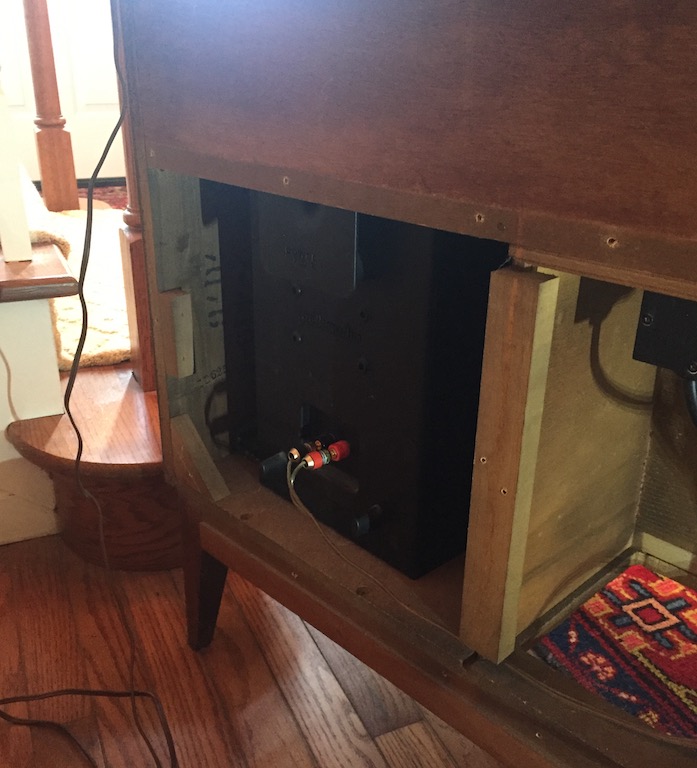
The original console had raw drivers inside each compartment on either side of the cabinet. I was going to try to source new drivers but instead, my friend Jeff gave me a pair of vintage Polk speakers he no longer used. They took a little finagling to get in but they couldn’t have been a better match.
 The speaker wires are cheap; this is not a reference system so I did not splurge on exotic oxygen-free copper wires with silver soldered ends. However, I did get some nifty banana plugs from Amazon. They have a screw-on design and worked very nice. They were super easy to install, without the need of a soldering. Those are two-way Polk speakers by the way.
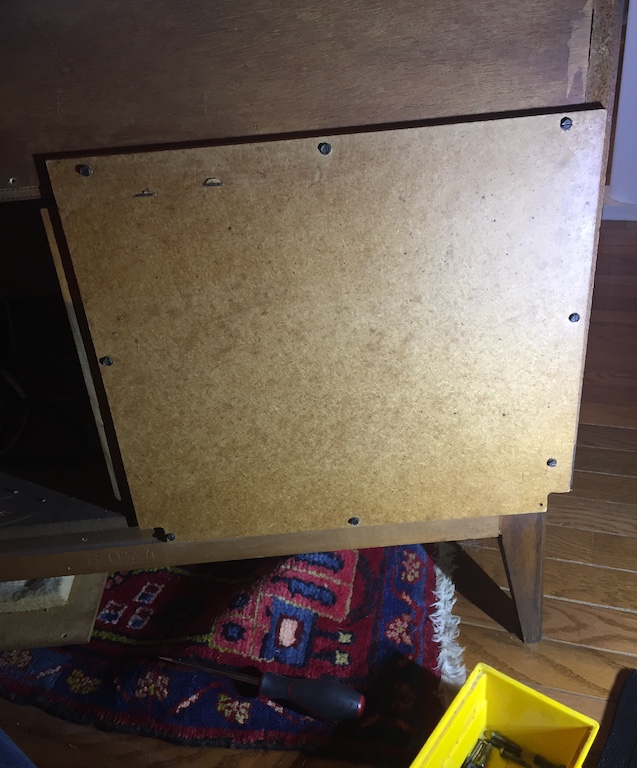
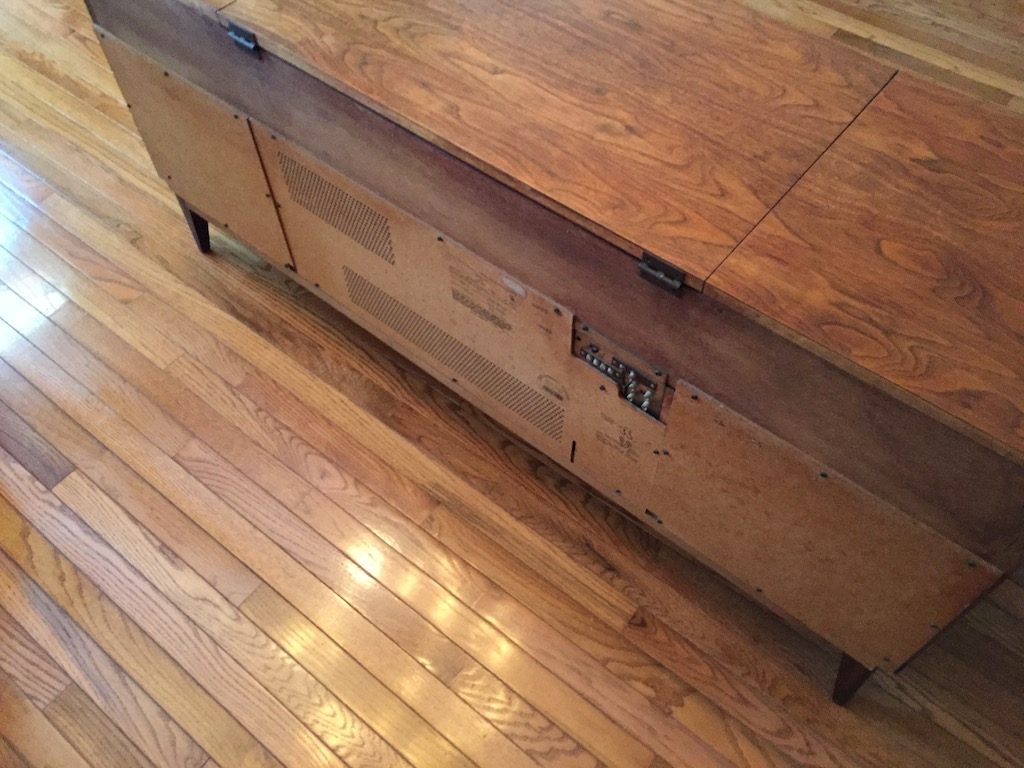
And from the image above you can see I put the original backing material back on. This did two things: it improved bottom end on the speakers a little bit and it also makes the console look finished. So both sides of the rear of the console are covered. Here is the other side:
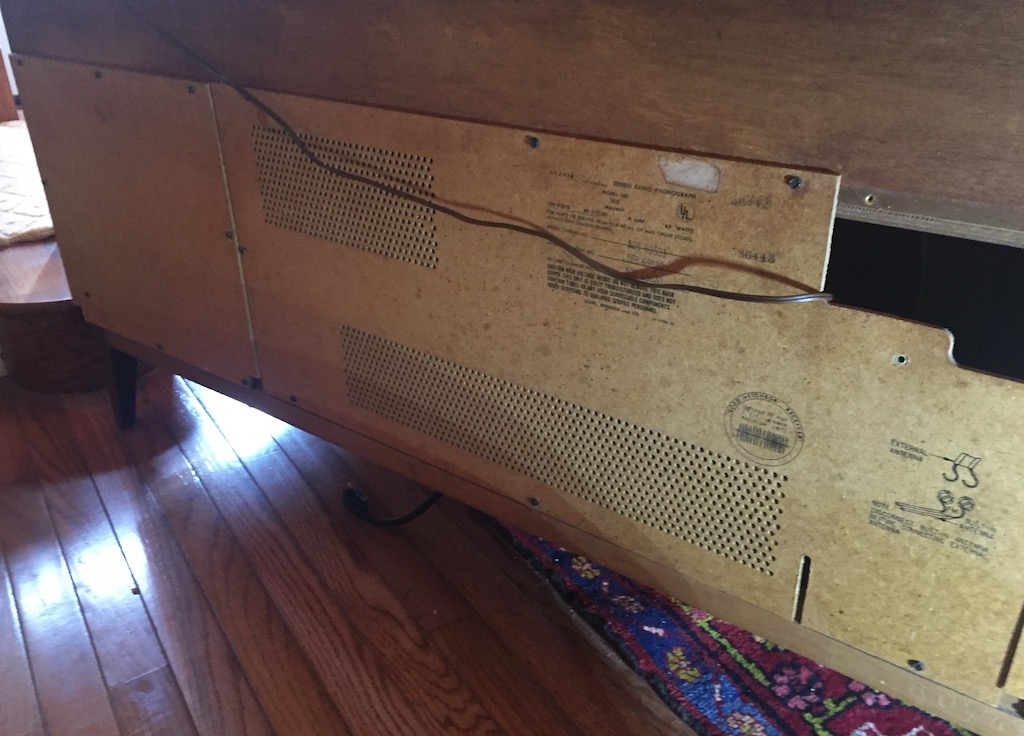
 And the side and center back panels…
The Components
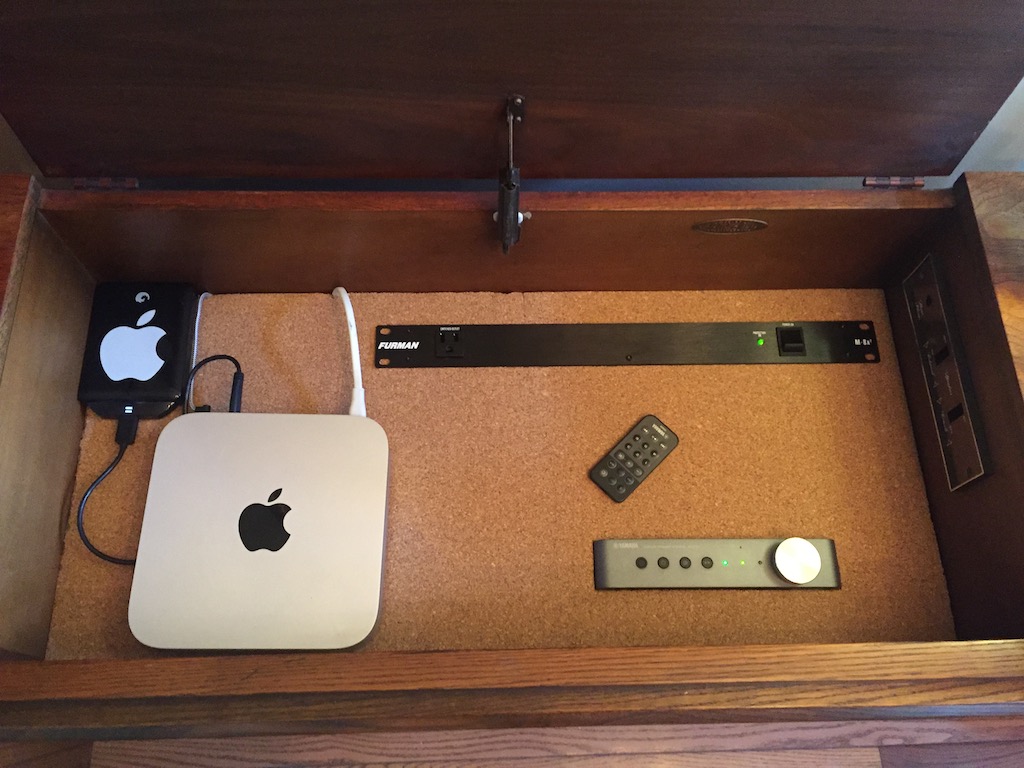
Now let me show you what runs the whole shebang…
I cut a piece of MDF to serve as the new shelf for all the goodies shown above. I used MDF because it is cheap and I had some left over from when I built my new nifty worktable (i’ll have more about that in a later post). There is a brace you can’t see in the photo above so the new MDF shelf had to be cut about 1/8 inch short on all sides in order for me to get it in the console’s cavity. This left a rather ugly gap on each side, so in order to cover it all up, I just used adhesive-backed cork drawer liner. I bought that from Amazon too and it worked out just fine. It was easy to cut and since it bends easy, I could cut it as long as I needed.
The Power Supply
So what do we have here? At the very top is a Furman power supply. I wanted this to look as slick as possible and the Furman power supply does the trick. On the back side of the power supply are a number of power outlets all fed from one heavy gauge wire that plugs to the wall outlet. This way there is only one plug to deal with. Another cool feature is the single power button that if needed, shuts power off to all plugs. It is all fused and overall it is very well made. Mounting the power supply required cutting a hole in the shelf and then sliding it in.
The Amplifier
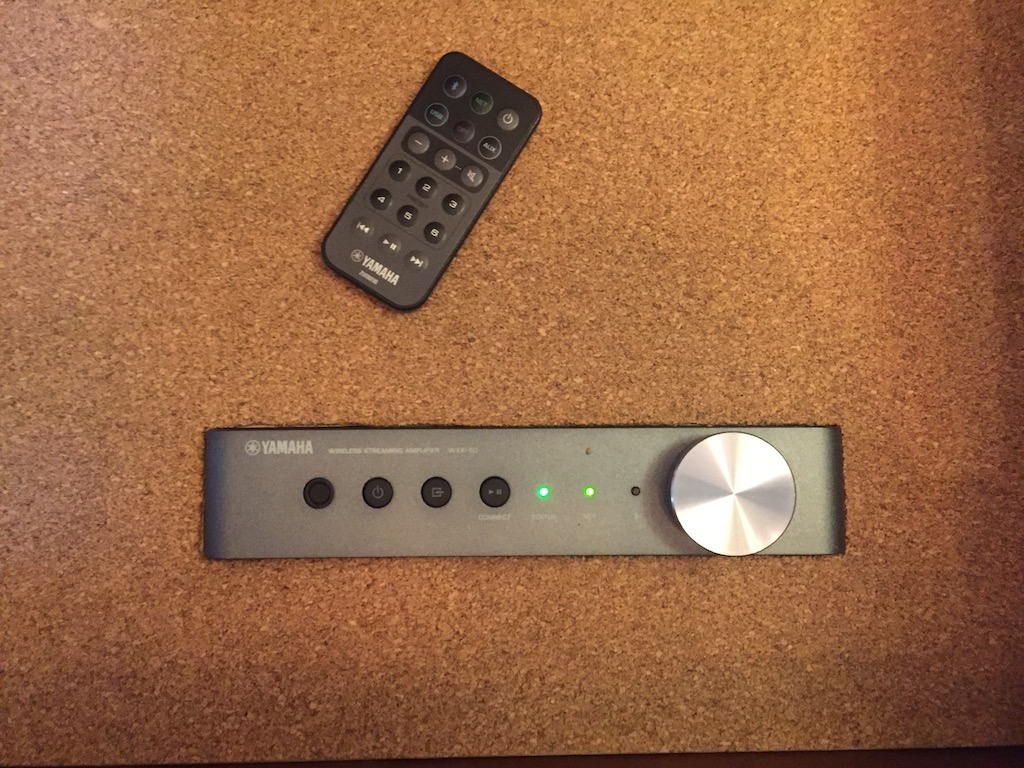
Next is a Yamaha WXA-50 Wireless Streaming Amplifier. I chose this because it has a built in amplifier, bluetooth, digital input, optical input, remote control and has its own app that can be used from an iPhone or iPad. However all this does not come cheap. The WXA-50 is rather pricey, but it is the perfect fit for what I wanted to do here. The WXA-50 sits vertical as you can see. I had originally mounted it flat but it took up too much space and did not look good. To get the WXA-50 to stand vertical, I had to build a small box underneath the shelf. This took some effort because it had to be done around the ventilation panels of the amp. Once I figured it out though, the amp slid in place and all is good.
The Media Server
Finally, I have my old macMini acting as media server. I have my entire music library stored there and it is accessible from either my iPhone/iPad or from my macBook via remote desktop. This means that I can play my entire iTunes collection from the macMini through the WXA-50. I suppose the macMini could have been installed underneath the shelf but that proved to be problematic in case I need to access it. Plus it just looks cool in the current configuration.
Remember I said there is an app? The app is called Yamaha MusicCast. Once you get that all configured, you can link it to your SiriusXM account, play any radio station on the internet and many other sources. The WXA-50 is a very nice piece of equipment indeed.
I had originally wanted to slide a vintage amplifier (say, something like an old Marantz) but there is just not enough space. And, there would be no bluetooth, XMRadio, etc. Instead, what I have here is just perfect. The system is not overly loud and serves exactly what it was meant to be: a very pleasant way to have background music playing in the background.
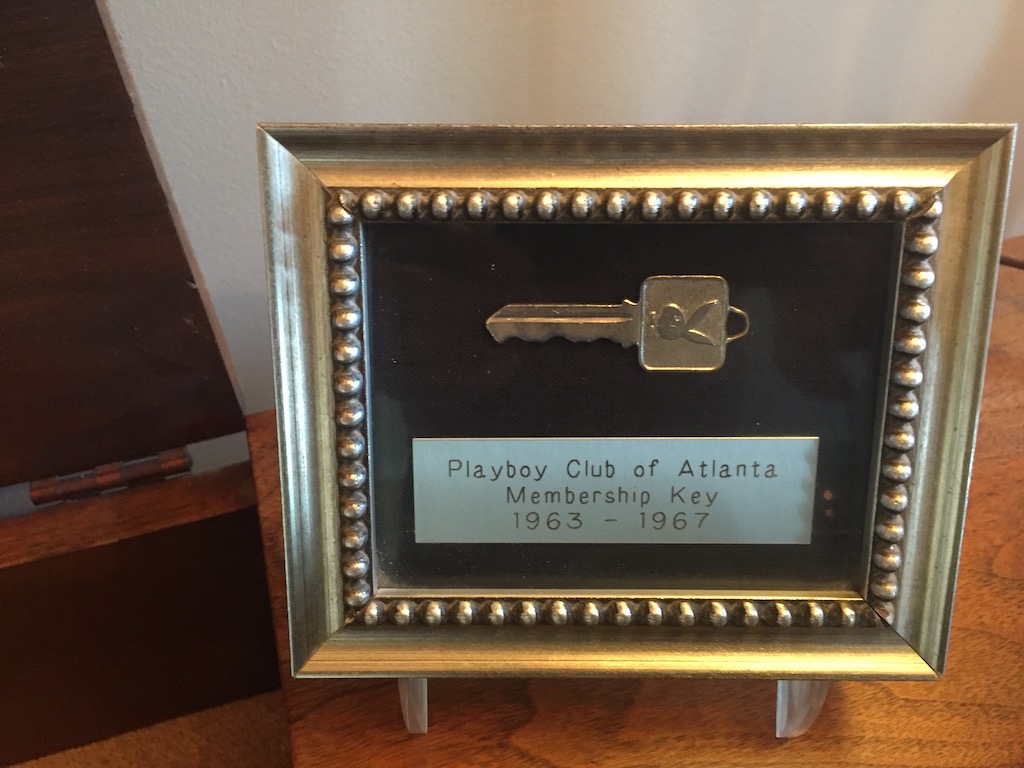
Finally, if you notice on the featured image above, there is a small framed key… It is special and fits nicely with the mid-century theme going on…
This is a legit Playboy Club key that used to belong to my father-in-law. Good times!

