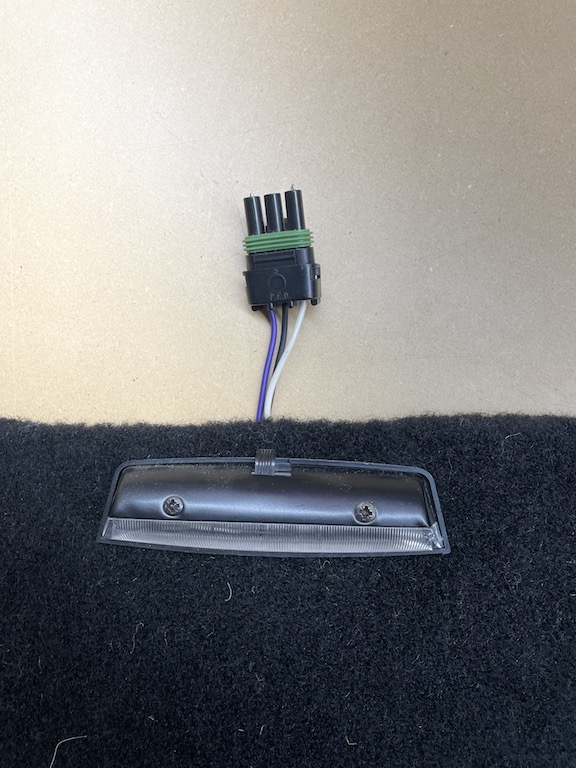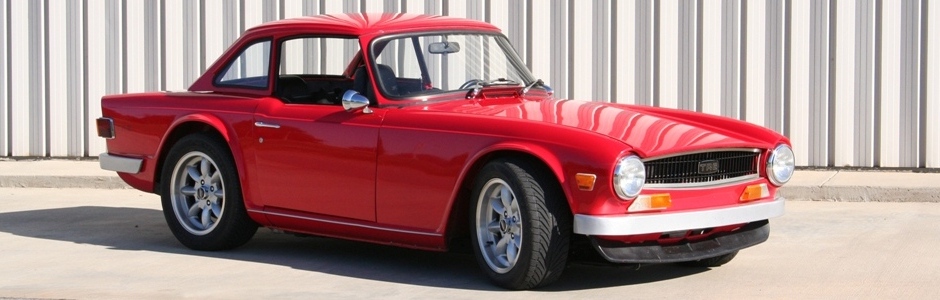

LED festoon bulb on the bottom, original on the top
In this article, I’ll describe how to improve the factory Triumph TR6 courtesy light. On the original 1971 Triumph TR6 there is only one courtesy light – I talked about that in the previous article and now, I’ll show you the results of how to improve the courtesy lights with not one, but two.
I used two courtesy light housing mounted on the kick panels on both footwells. You can see that in the picture above. Since I changed all lights on bowtie6 with LED’s, I thought about improving the dim bulbs originally fitted to the courtesy lights. Sure enough, there are replacement festoon bulbs with LED’s. The difference is dramatic; the LED’s are just so much brighter

36mm festoon bulbs
Just one note of caution: there are numerous sized festoon bulbs. The ones that fit the TR6 courtesy light mount are 36mm in size. As you can see in the picture above, these even come with a heat sink on the back. They are so bright I had to angle them down a little towards the bottom of the bulb holder. They work great!
Wiring the lights
I spent a few hours putting all this together today. And the result is quite impressive. I’m pleased…
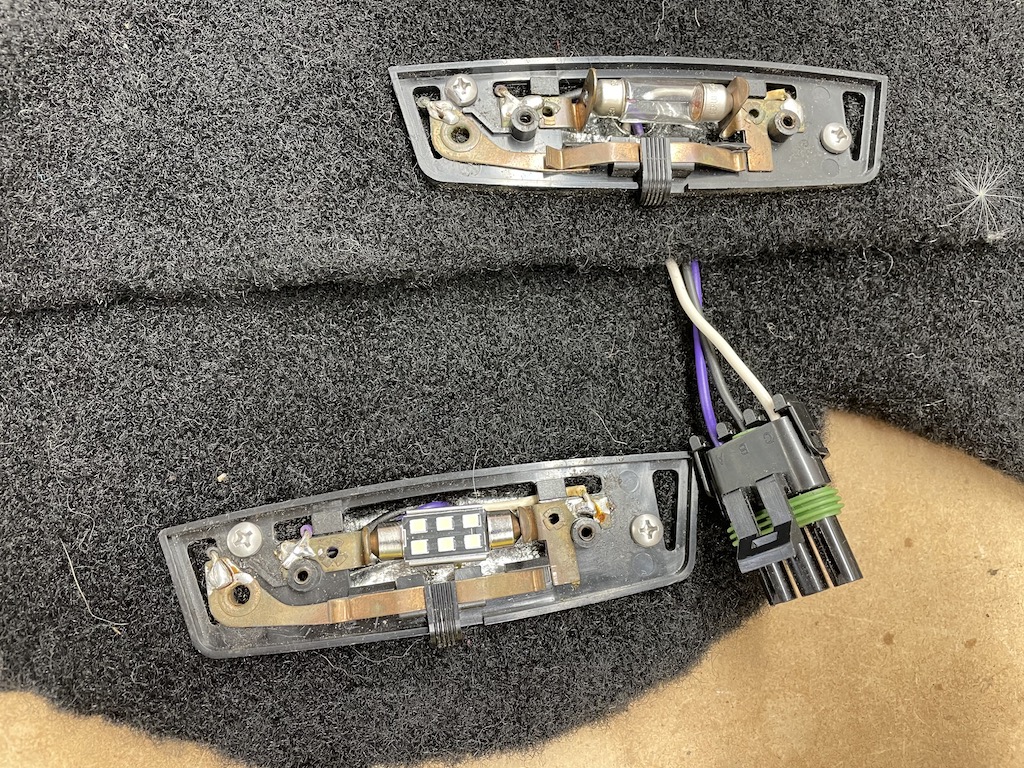
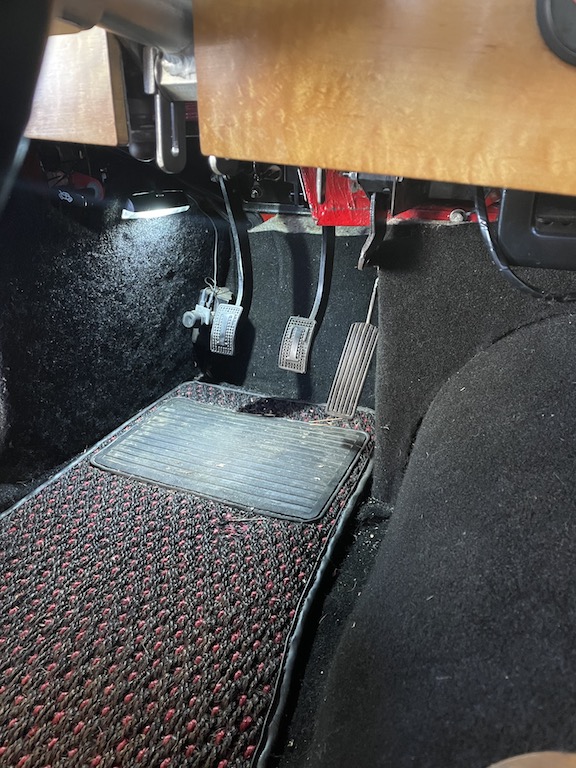
 First, the passenger side. Here you can see the new light on. I want to show this picture first because it includes part of interior fuse pane. You can see the bottom 10 amp fuse; that is new. When we fitted the Ecotec in bowtie6, I ended up re-wiring the whole car. This fuse panel holds all the circuits inside the cab. There is another one in the trunk as well as the main panel under the hood. I had left one fuse slot with a constant “hot” for the courtesy lights. And this finally got wired up today. In case you want to see more about this, check out bowtie6‘s Custom Wiring – Inside the Cab (if you look close, you can see this same fuse panel with the missing circuit!).
 Here is the driver’s side with the new light turned off. This picture is misleading as hell though. I took these pictures with my new iPhone12 and I must say, the camera is simply amazing. It compensated for the low light big-time.
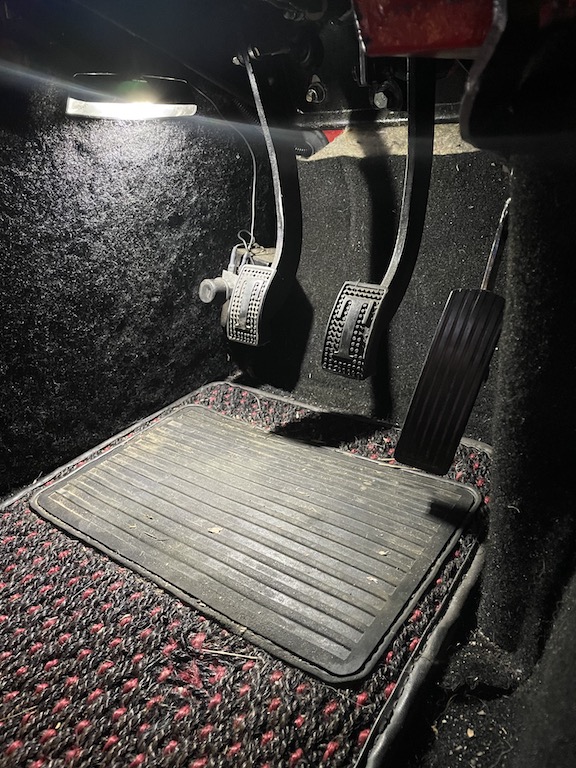 Here, we have the new light on. The LED festoon bulb sure is worth it. And I must say, they are cheap. They are just a smidge over a $1 each.
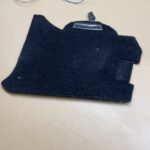
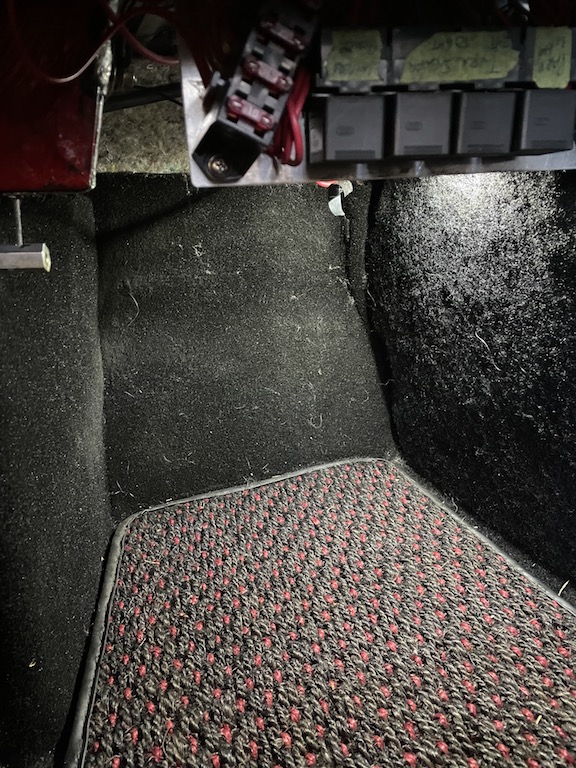
I had these Coco mats custom made; missed the heel pad by a few inches – you can see the wear just ahead of the pad
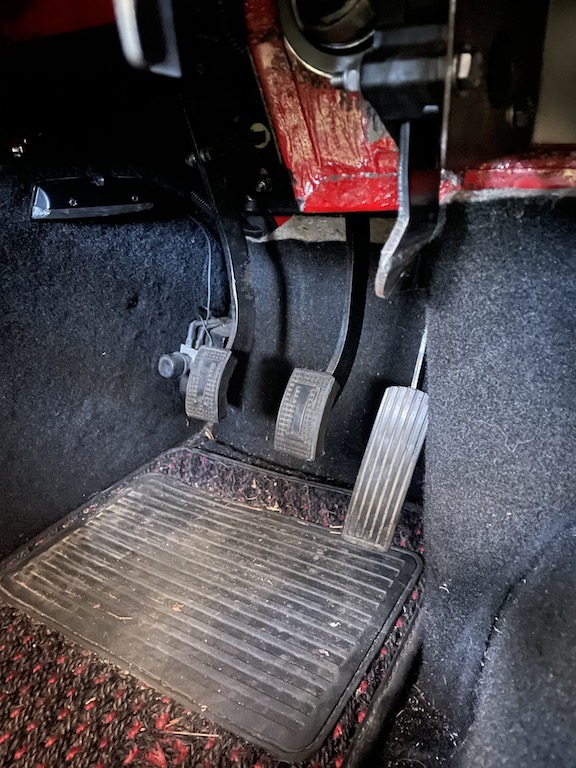
One more showing the bottom of the dash. “What is that cutout on the dash for?”, you ask… That is part bowtie6‘s Tilt Steering.
And, what does the passenger’s side look like? Take a look…
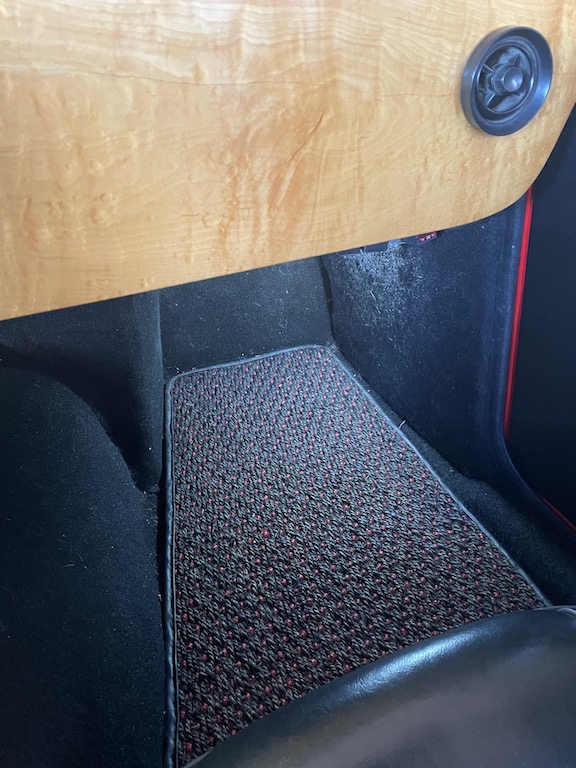
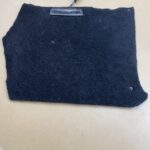
I need to get new Coco mats! The red dots have faded. Then again, they are about 15 years old…
Yeah, its been long overdue, but the result is pretty cool.
Remember I mentioned the new iPhone12? Just for kicks, I stepped out in the garage, turned off all lights and flipped the light switch to the “on” position and took this picture. Note the doors are both shut but the lights are on. Each light has a little switch. It took me quite some time to figure this out, but the way I wired this up, the lights will operate in either way:
- With either door open – so opening the passenger and/or driver door will turn the lights on
- With both doors closed – by sliding the switch to “on”. And if you do this, both lights will light up.

Yeah… That’s an HSR sticker on the back glass of the hard top.
Except for making the picture smaller, this picture has not been edited. It has been a good day.
Stay safe people!