Category Archives: 1. bowtie6

Triumph TR6 Bumpers

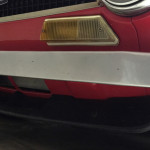
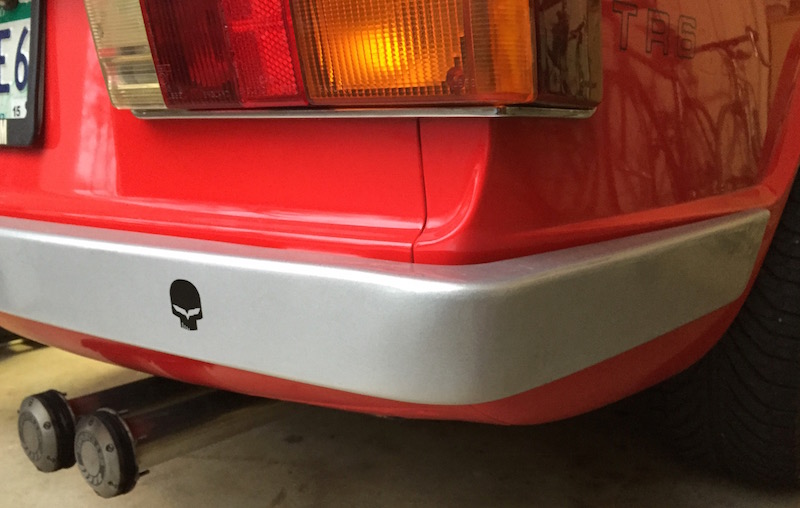
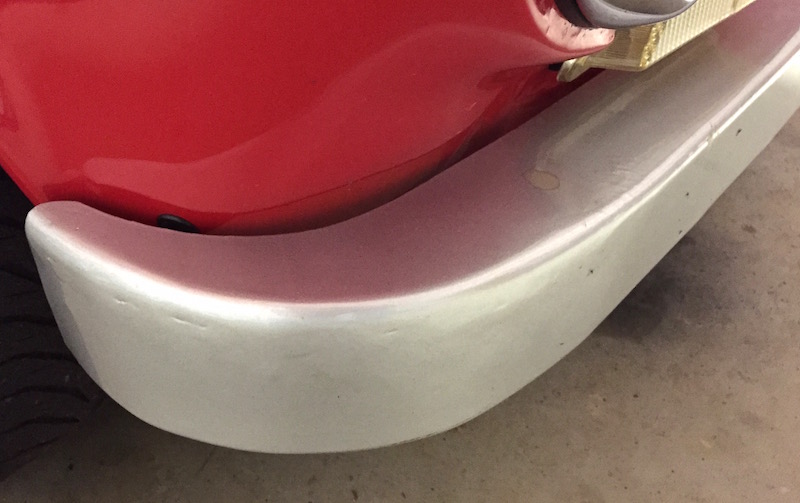
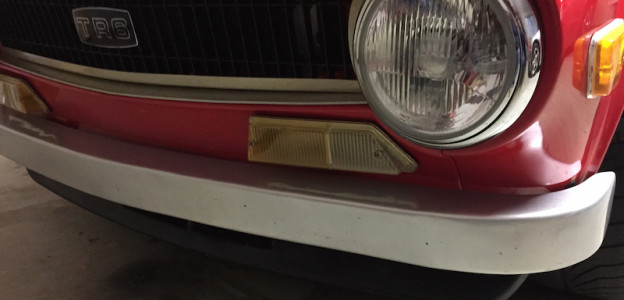
The other day I received a question about the bumpers on bowtie6 so I thought it might be of interest to explore the alternate solution I took regarding Triumph TR6 bumpers.  As you can see from the featured image above, bowtie6‘s bumpers are not exactly “factory”.  😉

First Some History

When I originally purchased bowtie6, the original bumpers were part of the deal (if you want to see what they look like, see this gallery on my original website).  However, they were in very poor shape:  rusted, pitted and dinged up – not very attractive.  I did some research on what it would take to “restore” them and quickly discovered this would not be for me,  To have the bumpers chromed would be too expensive, the “chrome” look was not for me, and most important, they were way too heavy.

We thought about giving bowtie6 a “commando” look without bumpers.  Something similar to what I did on my old Spitfire (pretty cool, huh?)  The problem with that was a TR6 looks plain ugly without some sort of bumpers fore and aft.

Another option would have been to go with the stainless steel bumpers now available on the Interwebs.  However, when I worked on restoring bowtie6 the stainless bumpers were not available and they too are too pricey.

The Solution – Bespoke Lightweight Triumph TR6 Bumpers

And so, after many hours of design my cousin Jim came up with this design for the bumpers and this is what the front bumpers look like:

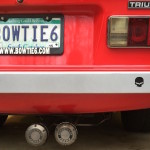
The rear bumper looks like this:

The bumpers are very simple and extremely lightweight, perhaps fragile.  They are a “U-shaped” affair, painstakingly shaped and finished smooth.  The finished bumpers were powder coated with a matte silver finish.

So How Were the Bumpers Made?

We worked on the basic shape using the original bumpers as a starting point and made cardboard templates.  The templates were then transferred to sheets of aluminum and cut with shears.  What we ended up at this point was an “L” shaped form.  The top “lip” was then shrunk with a mechanical shrinking machine.

Now, before you start calling bullshit on me here, just keep in mind all this cannot be made in one piece!  The bumpers as a whole are one unit, however they consist of several smaller sections TIG welded together.  The welds were then hammered and filed smooth.  This took patience and effort to pull off.  Take a look at the following picture…

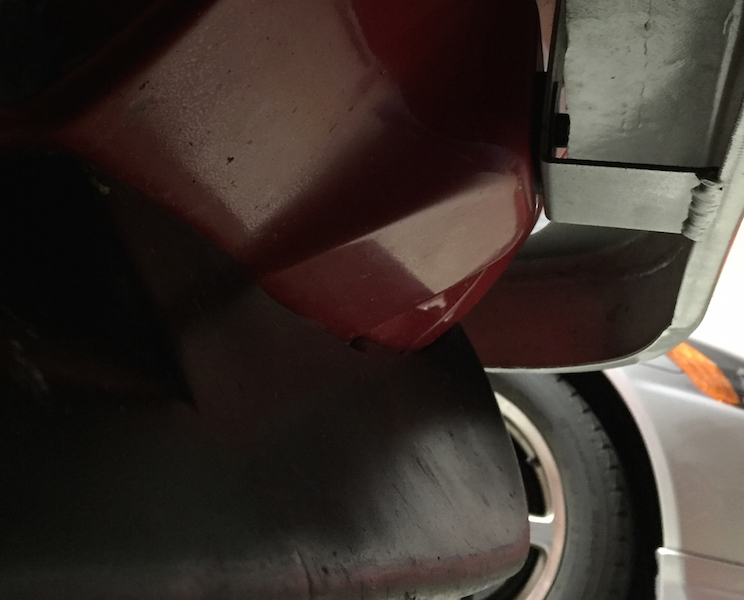
IMG_2572

Shrink and weld marks are visible in this picture

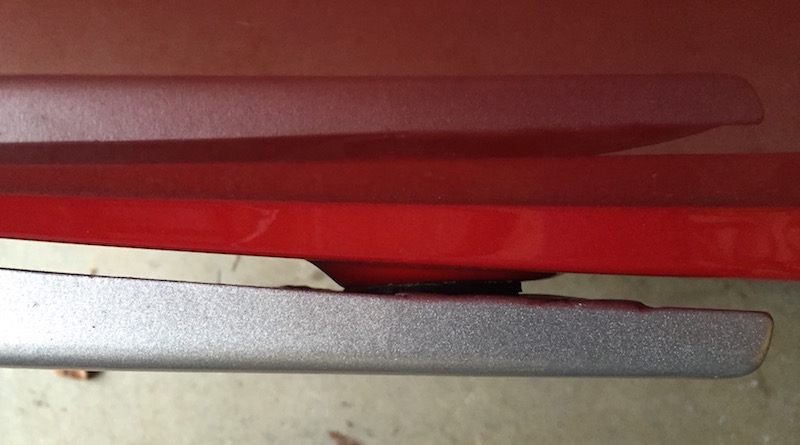
This is the front bumper seen from below.  To orient yourself, note the lower radiator intake on the extreme left.  If you open this picture and look closely, you can see the shrinking machine marks, hammer marks and welding seams.

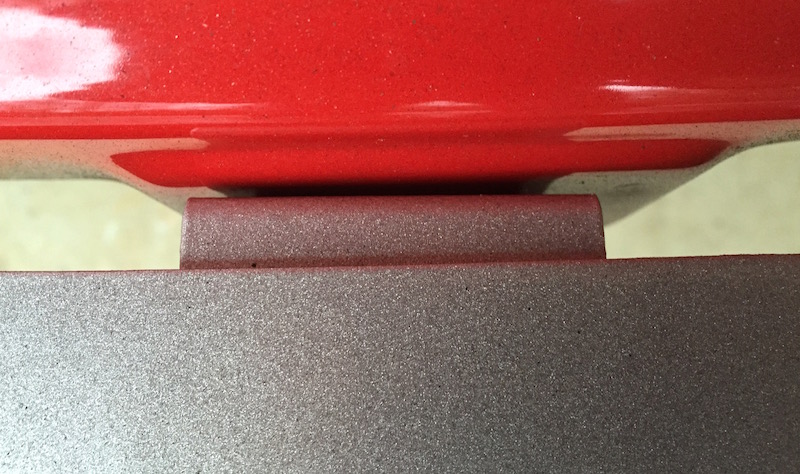
Mounting the bumpers to the body is very simple:  they bolt straight up to the body panels with a rubber “washer” between the body and the tabs on the bumpers with stainless bolts.  This is all achievable because these bumpers are feather light.  All the factory bumper bracing that tie the back of the fender to the frame are not used.  They are too heavy!

Here is another view of the front bumper from below (you can see the front spoiler):

Closeup of the mounting tab holding the bumper against the body

Closeup of the mounting tab holding the bumper against the body

This picture shows the close tolerance between the bumper and the front nose.  We tried to make this as close as possible so it would give a nice finished look.  Pay close attention here because you can also see the custom aluminum finishing strip on the radiator intake as well as the grill surround.  These were made using the same technique as the bumpers – they are all aluminum shaped by a shrinking machine.

Very close spacing tolerance between the bumper and body

Very close spacing tolerance between the bumper and body

Front grille surround and finishing strip

Front grille surround and finishing strip

And now, here are some pictures of the rear bumper.

IMG_2576

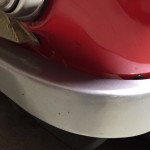
Rear bumper corner edge

This bend (shown above) took some time to get because of the angle of the rear fender.  The front bumper does not have this longer lip and it was tricky to line up with the rest of the body.  Remember, the bumper is one complete piece that must fit perfectly.  The rear bumpers are also mounted on tabs against the body with rubber spacer washers.  Here are the mounts:

Rear fender mount

Rear fender mount

Rear roll pan mount

Rear roll pan mount

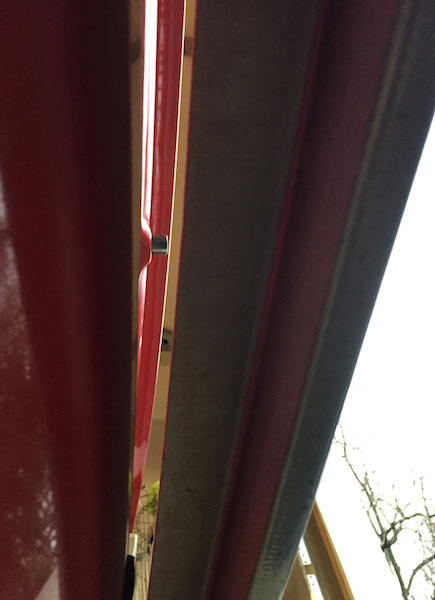
And finally, this is a picture as seen from below.  For reference, the “button” in the middle of the picture through the opening is the trunk release.

Rear bumper as seen from below

Rear bumper as seen from below

As you can see in the closeups above the powder coated finish turned out very nice indeed.  It is as smooth as the rest of the bodywork and gives a very nice, understated look to the bumpers.  I did keep a few “imperfections” – I wanted to show these are hand-made bumpers!

Small imperfections (click on the picture for a closeup)

Small imperfections (click on the picture for a closeup)

Excuse the bug marks, stains and overall untidiness…  But then again, bowtie6 is not a show car TR6 garage queen – she gets driven very frequently!!

Finally, for a twist on the whole hand made bumper concept, check out the rear bumper on my cousin Jim’s TR4 (click for detail):

If you are interested, you can read more about it in this article I wrote about an Ecotec Powered Triumph TR4 in this blog.

20,000 Miles and Counting…

IMG_1702

20,000 miles and counting…

bowtie6 has now 20,000 miles and counting…  Yes indeed!!   :mrgreen:

Sorry for the crappy quality of picture but it is very accurate.  Hard to believe my TR6 has covered 20,000 total miles to date.

So how did we get this far?

  • I followed the golden rule and bought the best car I could find.  My near pristine 1972 TR6 had been in storage for over a decade and no rust.  The purchase price was also great!
  • After a 3 year frame-off restoration including a 3.4 litre V6, bowtie6 racked up  14,513 miles.
  • Then the original (and highly reinforced) frame failed.  Version 2.0 of bowtie6 started.
  • A new hand-made frame was made from scratch and a brand new 2.4 litre Ecotec inline four replaced the V6.  This took about a year to complete.
  • The Ecotec had 8 miles when it met bowtie6.  Today, after 20,000 total miles the Ecotec has covered 5,479 miles since installed.
  • What a journey!  Other than the frame failure nothing but one blown fuse has failed.  All I’ve had to do is add fuel and change oil.

And so, the next chapter begins…

For bowtie6 the road goes on and the party never ends!


SuperTrapp Performance Tunable Exhaust

IMG_1485

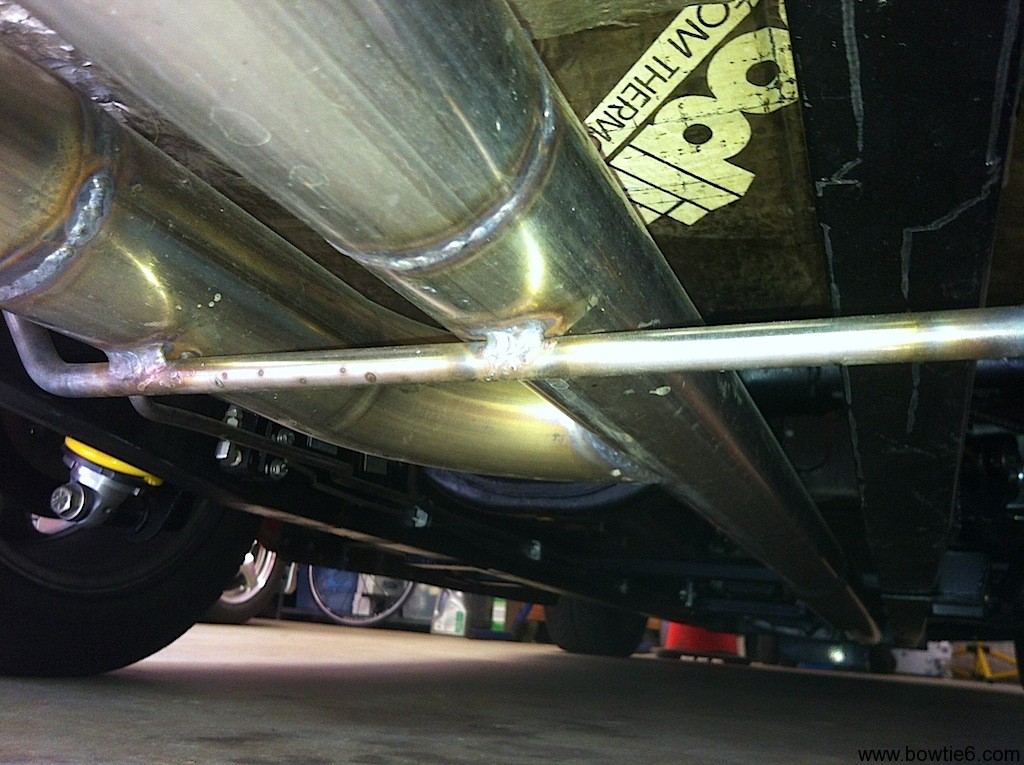
Going through some bins in the garage this weekend, I found several spare discs for the Supertrapp performance tunable exhaust as mounted on bowtie6.  You can see the two discs in the picture above, towards the left.

I’ve written about the exhaust in a prior post (Click HERE) so I won’t repeat myself.  However, the idea behind the SuperTrapp tips is to control backpressure and noise.  This is accomplished by adding or removing those discs to the end tip of the exhaust.  The more discs, the less backpressure and the higher the decibels; consequently the less discs, the quieter it gets but the more backpressure accumulates.

So back to the two discs.  I got the notion to move things around as well as adding the two spare discs.  Here is what the two exhaust pipes really look like:

IMG_1486

So I decided to remove a disc from the right side pipe and add the others to the left side pipe.  As you can see, the left side comes out at a 90 degree angle from the main 3″ pipe.  So, I figured what the hell!  The worse thing that could happen is that it sounds like crap.

Well, much to my surprise the experiment has worked quite well.  Backpressure has been reduced, noise went up (but only during WOT) and overall acceleration feels better.  I know, this is all measured by what is transmitted via the seat to my arse.  Good enough for me.  I like it!

IMG_1484

So How Much Does a TR6 Weigh, Really?

IMG_1450In today’s snail-mail I received the July 2013 issue of Classic Motorsports Magazine and there is an article about the total weight of different classic cars.  Interesting article indeed.  This article made me think about the weight measurements I took on bowtie6.  So how much does a TR6 weigh, really?

The one-page article’s title is “By the Numbers” and shows several cars such as a 1967 Shelby GT350 (3295 lbs), 1971 MGB roadster (2150 lbs), 1965 Sunbeam Tiger (2545 lbs – a real porker) and a 1992 Mazda Miata (2194 lbs). This was listed on the page shown here to the left.

Hmmmm…  According to the article, the results were obtained with a set of Longacre DX scales.  What is the weight of a TR6, you ask?  Take a look:

IMG_1452

Compared to these numbers, bowtie6 did remarkably well.  Here are my results, also taken with a set of Longacre scales:

  • Rear Weight:  1150 lbs    51.7%
  • Front Weight:  1072 lbs    48.2%
  • Total:               2222 lbs    100%

Wait a minute…  These numbers are including a hard top!

Here are the totals without the hard top:

  • Rear Weight:  1094 lbs    50.6%
  • Front Weight:  1064 lbs    49.3%
  • Total:               2148 lbs     100%

Very interesting comparison.  My TR6 is lighter than a stock 1969 TR6 even with a hard top installed!  :mrgreen:  If you want to see more details – CLICK HERE.

I realize my TR6 is not the average run-of-the-mill TR6 but dang this is a big difference.  I suppose the new, lightweight frame and all alloy Ecotec play a very large role in this total.  Add to that the extra horsepower and torque numbers and the result is a pretty awesome TR6.


Fuel Regulator Fittings

The Ecotec engine uses a similar fuel delivery system as fitted in the LSx engines in that the fuel rail is “returnless”.  This means there is only one line feeding the fuel rail on the engine.  In order to make this work, a special fuel regulator with built in filter has to be plumbed not far from the fuel pump.  There are several fuel regulator fittings available and in today’s installment I’ll document my experiences.

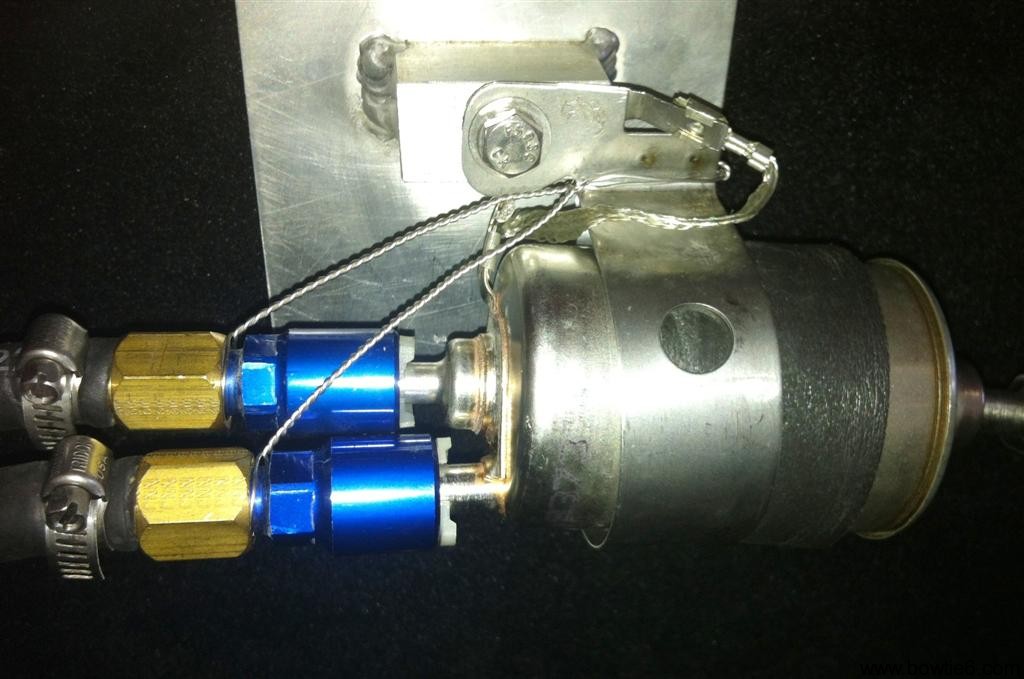
In an earlier post, I wrote about bowtie6‘s Ecotec fuel system (click here) where I described the separate staging tank holding the fuel pump.  About two weeks ago, I noticed the insulation post around the fuel pump’s B+ terminal my cousin Jim had fabricated had deteriorated due to coming in contact with fuel from the tank.  In order to solve this problem, I had to take the small tank out which required disconnecting the fuel regulator fittings.  After putting all the bits back together I found the fuel regulator fittings were not exactly “clicking” correctly.  They held in place but I was not pleased with the fitment so I safety wired them in place as shown in the following picture:

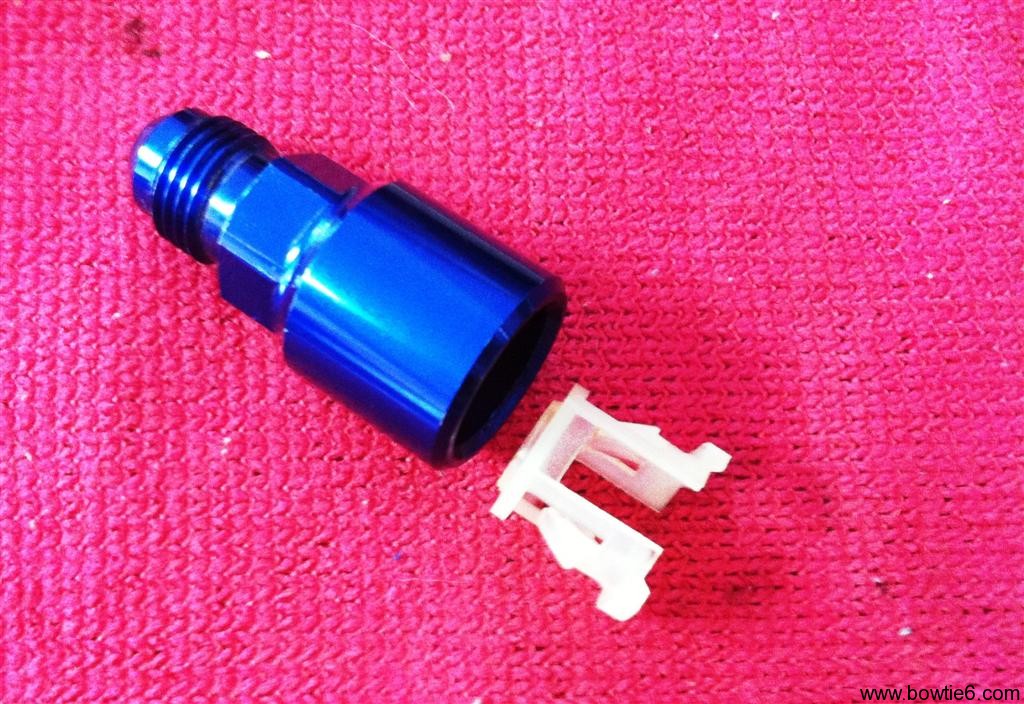
We can all agree this is not exactly the most elegant way to do things.  So why the safety wire?  Well, turns out on the little plastic tabs that “click” the blue fitting in place are not exactly the best design in the world.  Sure, car manufacturers use them all the time and they work flawlessly.  However these are aftermarket units made by Russell (a division of Edelbrock) and they are not exactly OEM quality.  I found out this by experience and by reading the latest issue of Car & Craft’s engine swaps magazine.  So where is the problem?

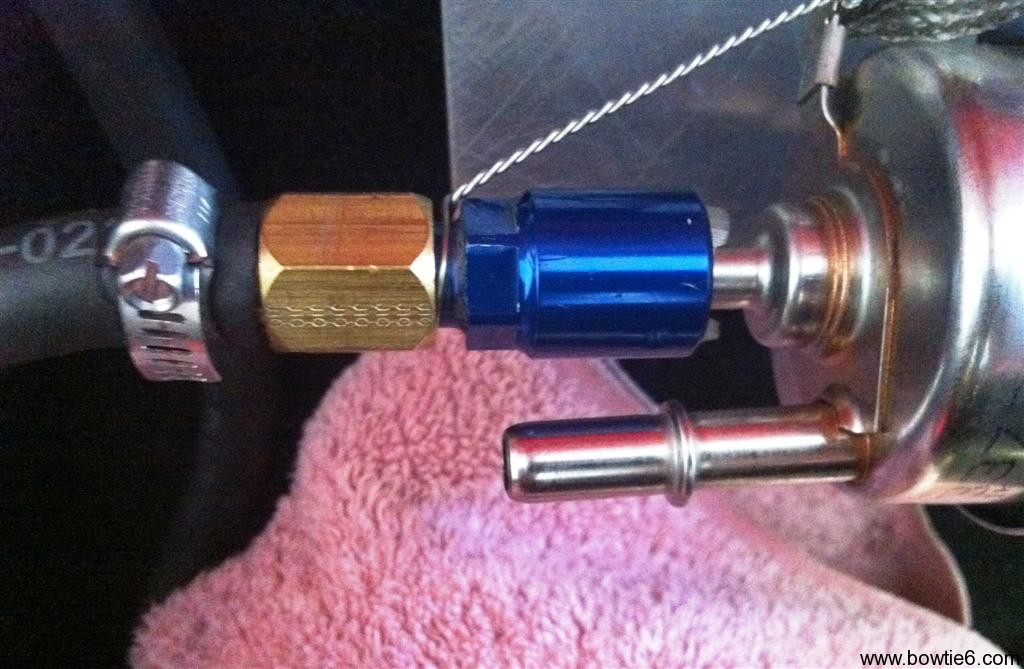
The following photo shows one of the two pump-side lines going into the regulator.  I’ve removed the fitting so you can see the small ring around the metal tube (more on that later)…

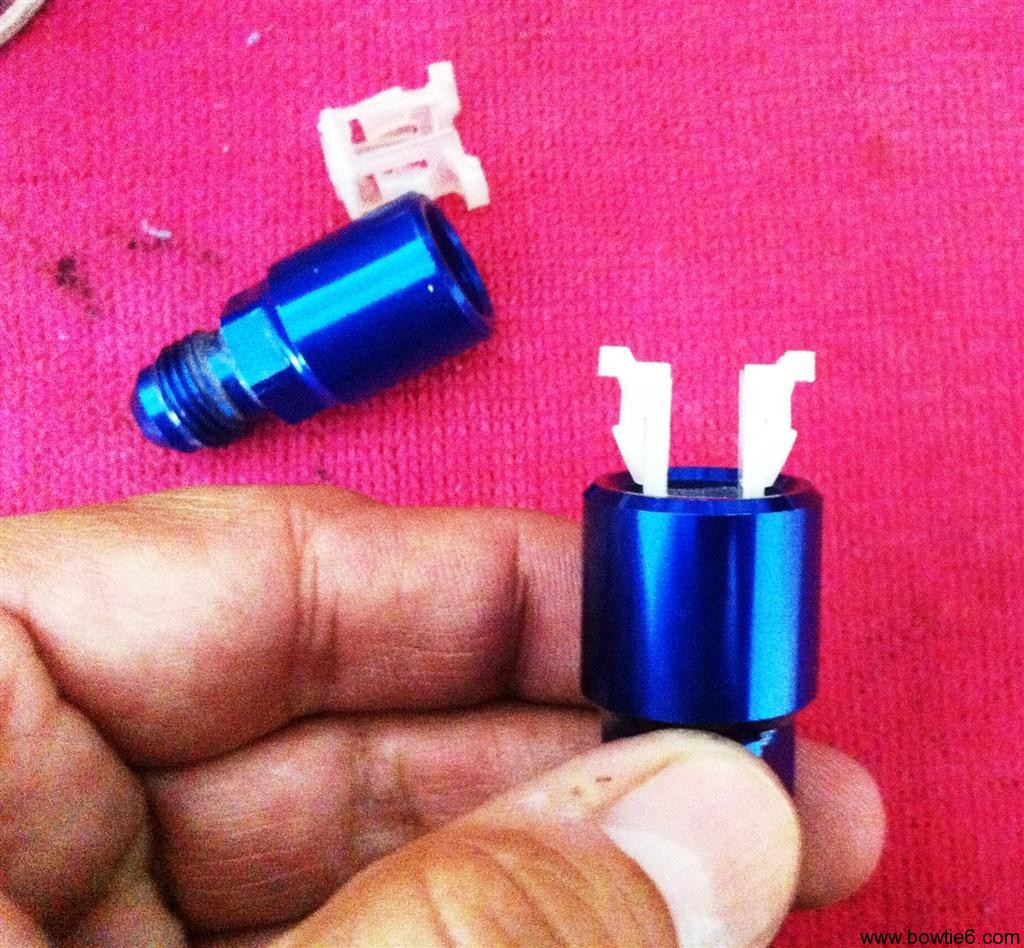
The next photo shows the fitting and the small plastic clip that holds all this together:

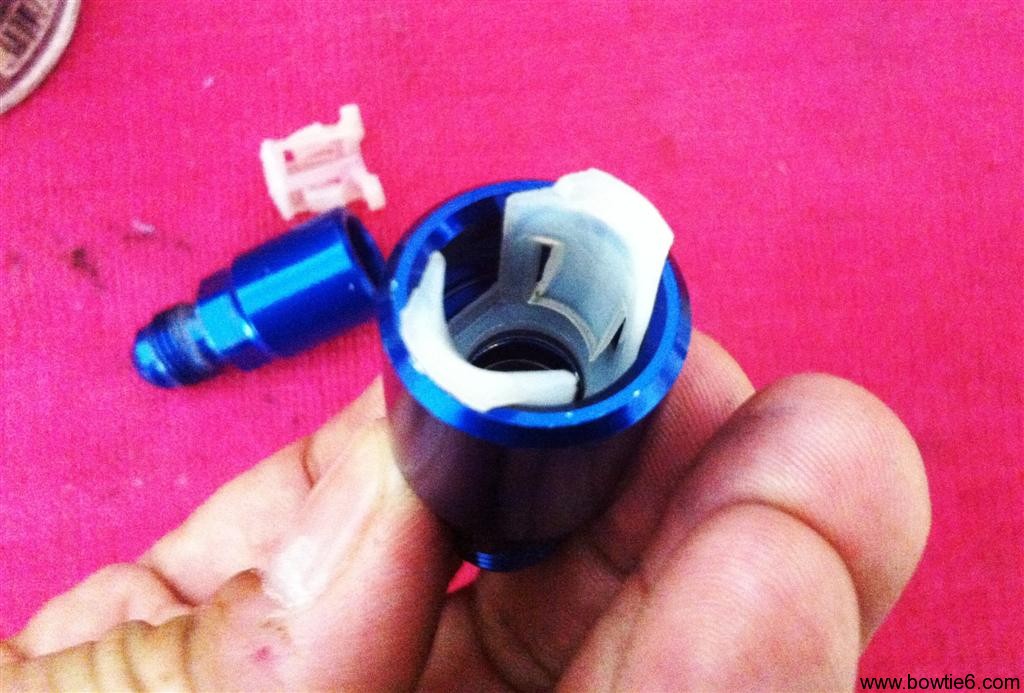
The small white plastic clip is very cleverly made.  There are two sets of barbs on it.  The inner pair locks in place around the ring on the metal tube from the picture above this one.  That keeps the plastic piece from sliding out.  Then the barbs also lock in place on a shoulder inside the fitting.  However in order to make this work, the plastic spring loaded affair must be crisp and not in the least deformed.  Taking this apart deforms the plastic clip and this prevents a positive lock.

The last two pictures show the white plastic affair locked in place.  As mentioned previously, this assembly is then pushed on the tube in the regulator and if all goes well the two barbs on the plastic clip snap on the ring molded on the tube.  All this looks good on paper, but I noticed the plastic “clip” had lost some of its “spring” and this all did not really lock in place so well.  The kicker is that these fuel lines are holding 50+ psi pump pressure and if they decide to part ways, well… you end up having a real bad day.

Remember that magazine I mentioned above?  There was a very good article in that issue about fuel systems and they cautioned on using these fittings.  And, they also suggested an alternative.  Unfortunately, the alternative is also made by Russell.

I did call the Russell tech line and talked to a rather abrasive dude on the phone about my experiences.  Right of the bat, he was not very interested in my findings nor on making things right.  Basically he told me to buy the new fittings and took no ownership to the fact this was a bit on the “unsafe” side.  I even told him about the article in the magazine, but he dismissed that too.  At any rate why argue with someone unwilling to stand by their product so I ordered new fittings.  While not exactly “cheap” (they are about $16 each) quite frankly I rather spend the money and have the peace of mind this is not going to come apart and sling fuel all over the place.

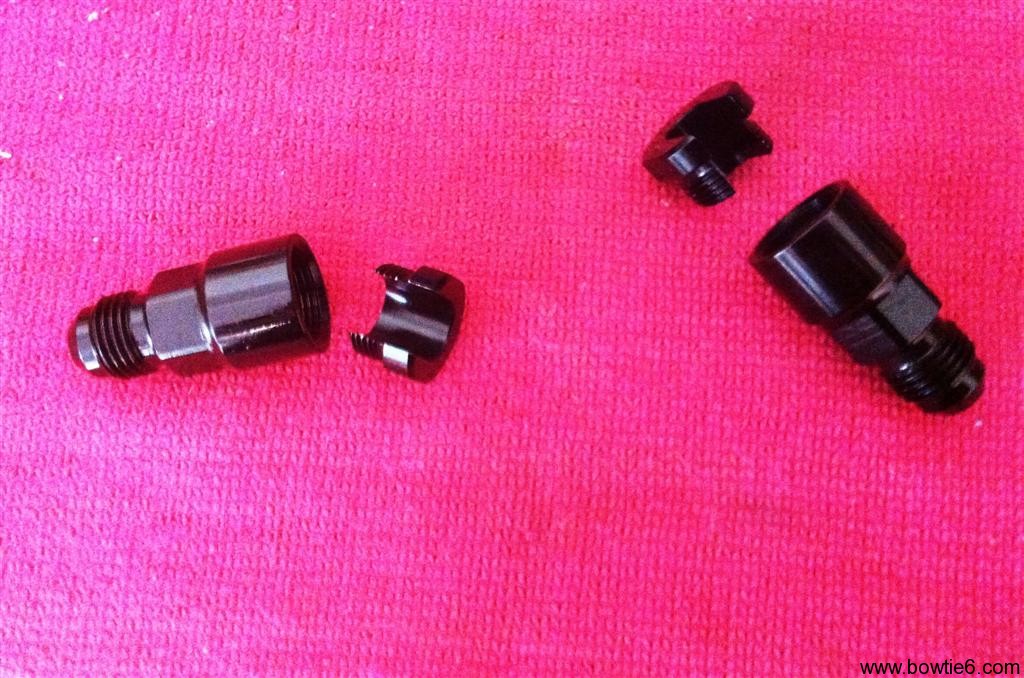
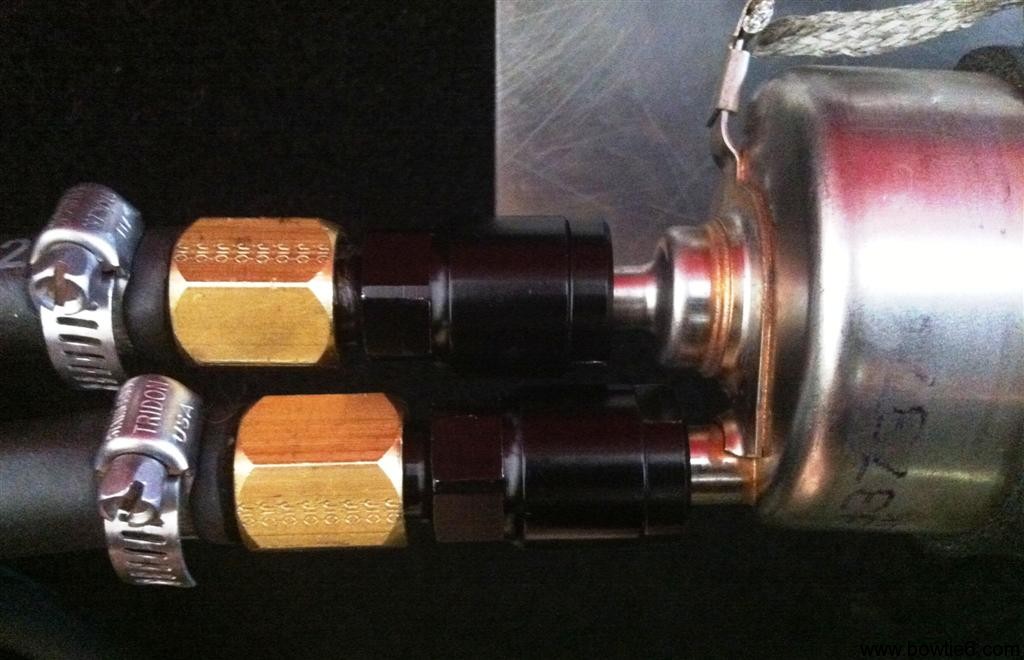
The solution is to use these fittings:

These fittings have a much safer design.  Instead of the spring-loaded plastic affair, they have a threaded cap that holds the fitting in place.  The threaded cap has a “U” shape that slides over the tube on the regulator and when tightened grips the ring (look at the very first picture on this post) keeping everything securely in place.  With this together, there is no slippage and no danger of this ever coming apart.

This is what it looks like all completed:

As you can see, these fuel regulator fittings are much nicer and better designed.  If you are considering this for an engine swap, don’t waste your money on the fittings with the plastic spring-loaded clip.  Get the ones with the threaded cap.  You will be much happier and most important of all, safer.