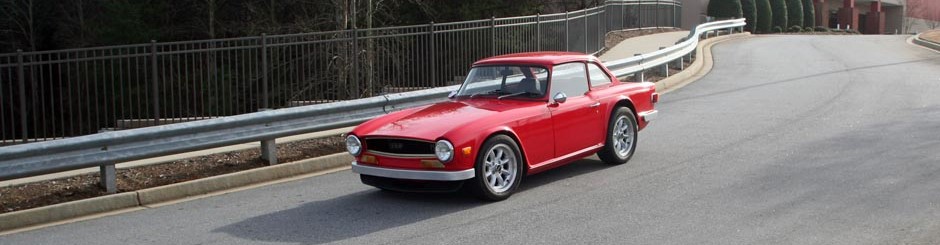
 The factory Triumph TR6 courtesy light is originally installed on a plinth, mounted on the driveshaft tunnel cover between the seats, toward the back. Unfortunately, the new driveshaft cover in bowtie6 is different from the original and the plinth does not fit so well.
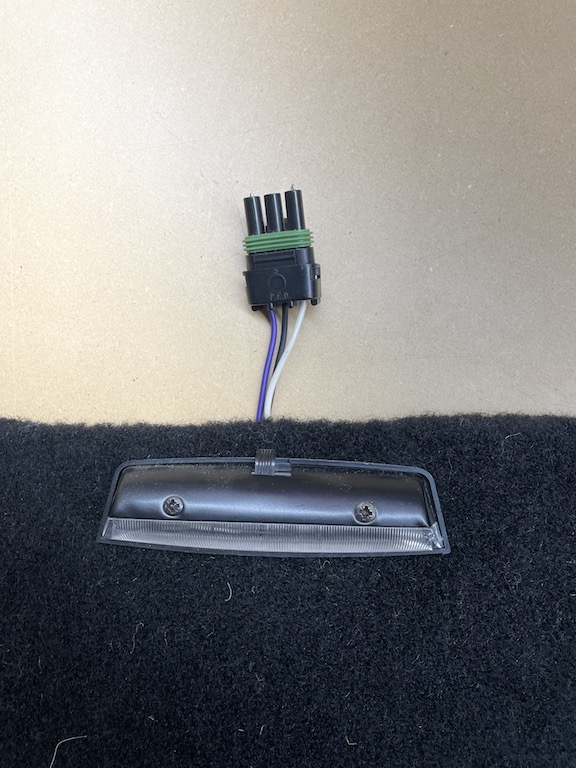
Since the two floorboard kick panels are scratch built, I figured why not mount a courtesy light on each one. I had this all working after I wired the car up for the first time, but when I installed the Ecotec, all that came out because I had to build a new fuse panel. I left the lights on the kick panels, but never wired them up.
-
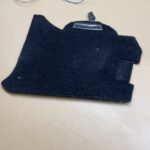
- Left kick panel
-
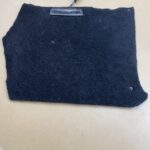
- Right kick panel
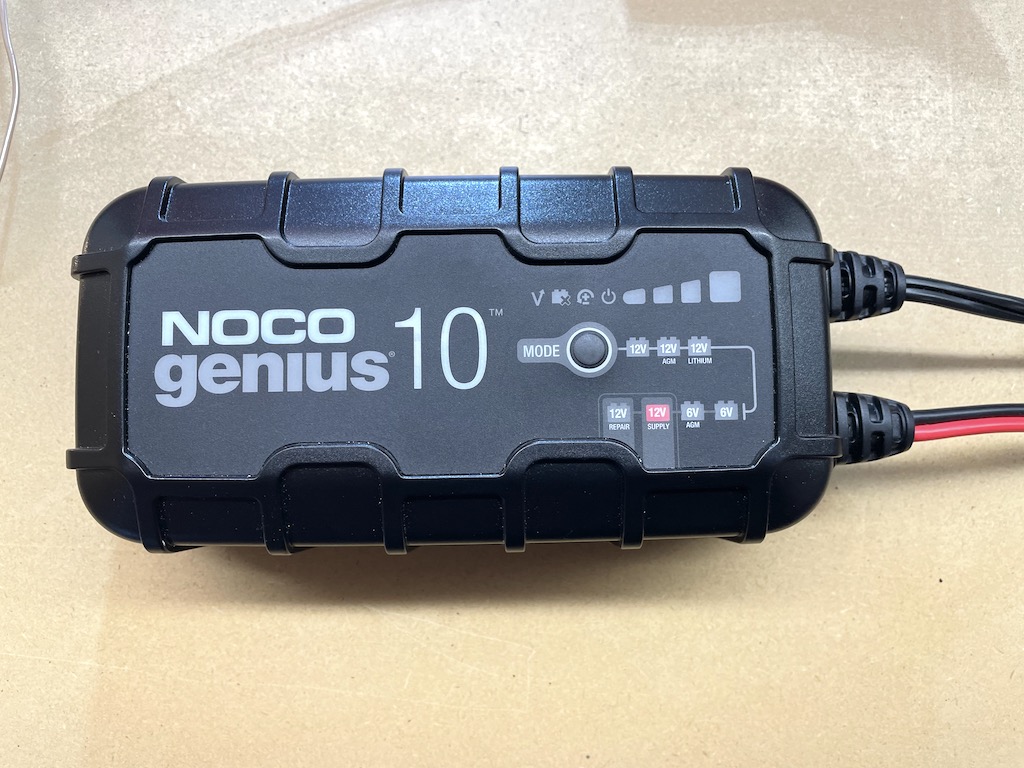
The reason I never wired this back up was the lack of a proper 12v source to test with. Sure, take the battery out, put some leads on it and test away. Too much trouble. Well, remember that NOCO Genius 10 Battery Charger that I bought earlier this year? It has a setting that supplies 12v to the terminals. You can see the little red 12v light below…
 I wired up the circuit and voila, after a few tries, got it working…
 You can see in the photo above, the terminals, my buggered up wiring and the two lights in action. Job done!
Well… Not so fast. Two problems came up.
First Problem
My original wiring worked well, but my initial solution did not take into account the fact you can flip a little switch on each light to turn it on when the doors are shut.
 Duh! After scratching my head a little, all it took was a few tests with my multimeter and now I have the proper wiring on paper.
Second Problem
When I wired bowtie6 up, I used WeatherPack connectors for everything. All terminals were crimped, soldered and covered with shrink wrap (where necessary). You can see the three terminal WeatherPack connector in the photo above on my kick panels. All this was put together at my cousin Jim’s shop – he has a whole array of wire, connectors and terminals. Since I have a few other circuits to rework, I needed a small kit of Weather Pack’s rather than ordering in bulk. This is where I found CustomConnectorKits and placed an order for one of their smaller kits.
If you are a regular here, you know I very seldom “plug” anyone. These folks were gracious enough to send me my kit priority mail (I did not ask for that) so this is my way of thanking them for the super fast service. I will have my kit in the next couple of days! This is highly appreciated.
The next step will be to add a new circuit to the fusebox with a constant 12v supply and make up my connectors using my new Weather Pack ends. In the middle of doing my research, I found replacement LED festoon bulbs – they will be certainly brighter and won’t get hot. There is a set of these bulbs on the way too.
I have some time off from work in the next few days, so I’ll be putting this all together next. I’ll have an update article soon.
As always, be safe…