Category Archives: 2.4L Ecotec

Fuel Regulator Fittings

The Ecotec engine uses a similar fuel delivery system as fitted in the LSx engines in that the fuel rail is “returnless”.  This means there is only one line feeding the fuel rail on the engine.  In order to make this work, a special fuel regulator with built in filter has to be plumbed not far from the fuel pump.  There are several fuel regulator fittings available and in today’s installment I’ll document my experiences.

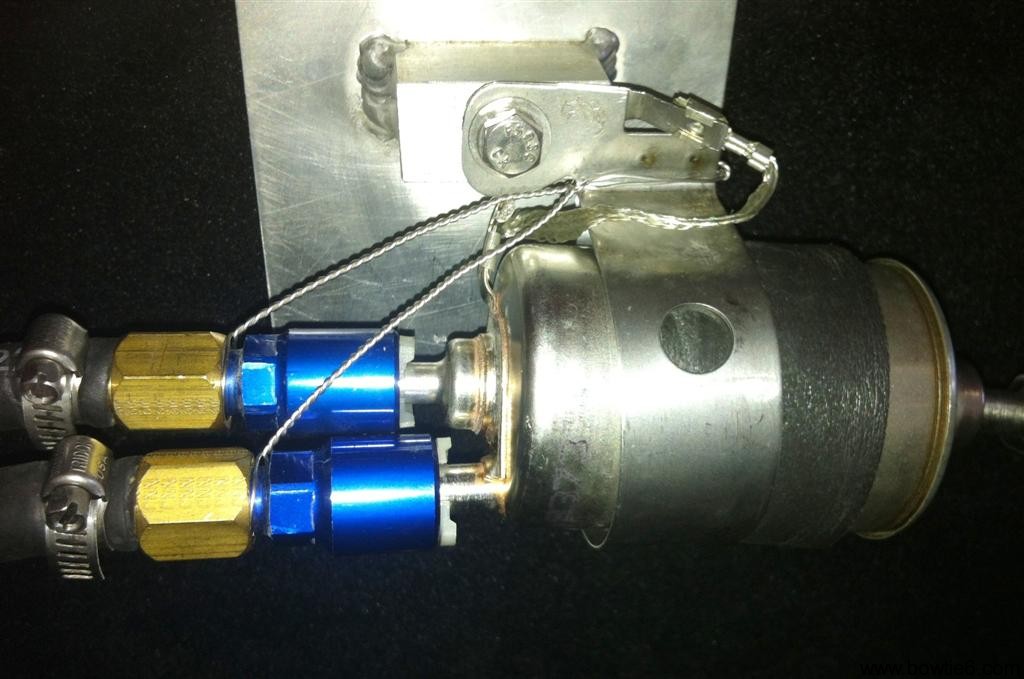
In an earlier post, I wrote about bowtie6‘s Ecotec fuel system (click here) where I described the separate staging tank holding the fuel pump.  About two weeks ago, I noticed the insulation post around the fuel pump’s B+ terminal my cousin Jim had fabricated had deteriorated due to coming in contact with fuel from the tank.  In order to solve this problem, I had to take the small tank out which required disconnecting the fuel regulator fittings.  After putting all the bits back together I found the fuel regulator fittings were not exactly “clicking” correctly.  They held in place but I was not pleased with the fitment so I safety wired them in place as shown in the following picture:

We can all agree this is not exactly the most elegant way to do things.  So why the safety wire?  Well, turns out on the little plastic tabs that “click” the blue fitting in place are not exactly the best design in the world.  Sure, car manufacturers use them all the time and they work flawlessly.  However these are aftermarket units made by Russell (a division of Edelbrock) and they are not exactly OEM quality.  I found out this by experience and by reading the latest issue of Car & Craft’s engine swaps magazine.  So where is the problem?

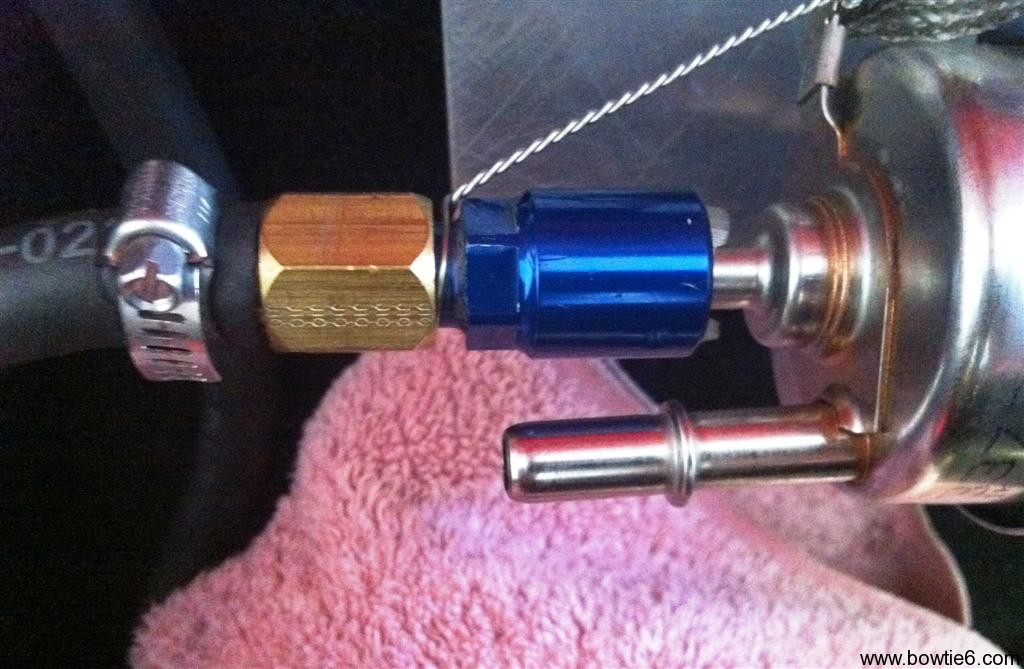
The following photo shows one of the two pump-side lines going into the regulator.  I’ve removed the fitting so you can see the small ring around the metal tube (more on that later)…

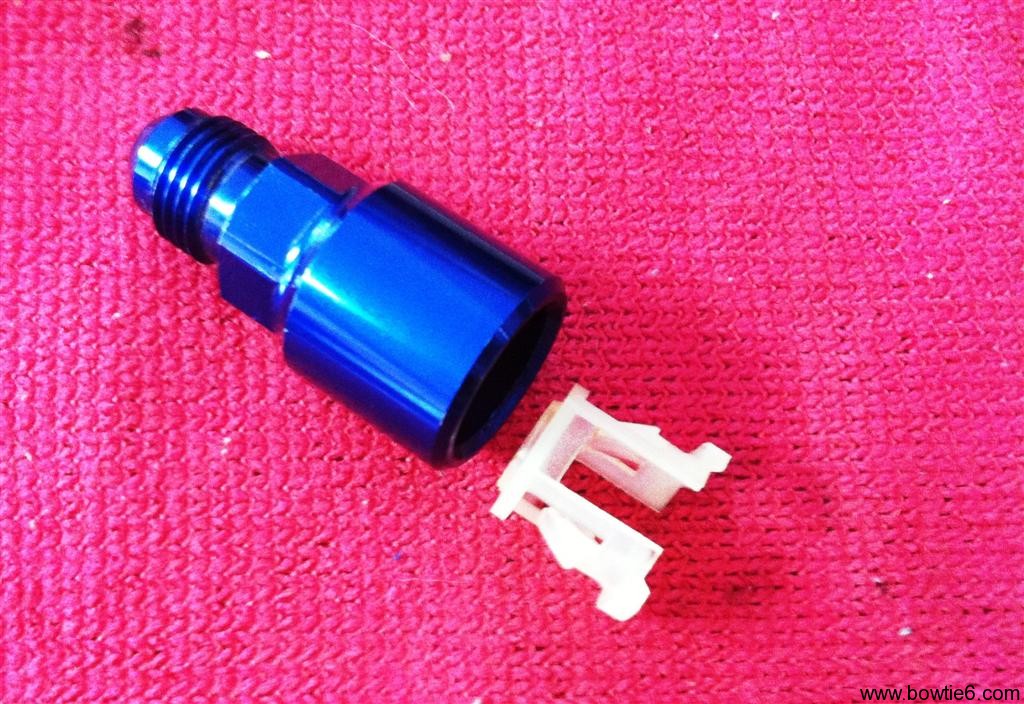
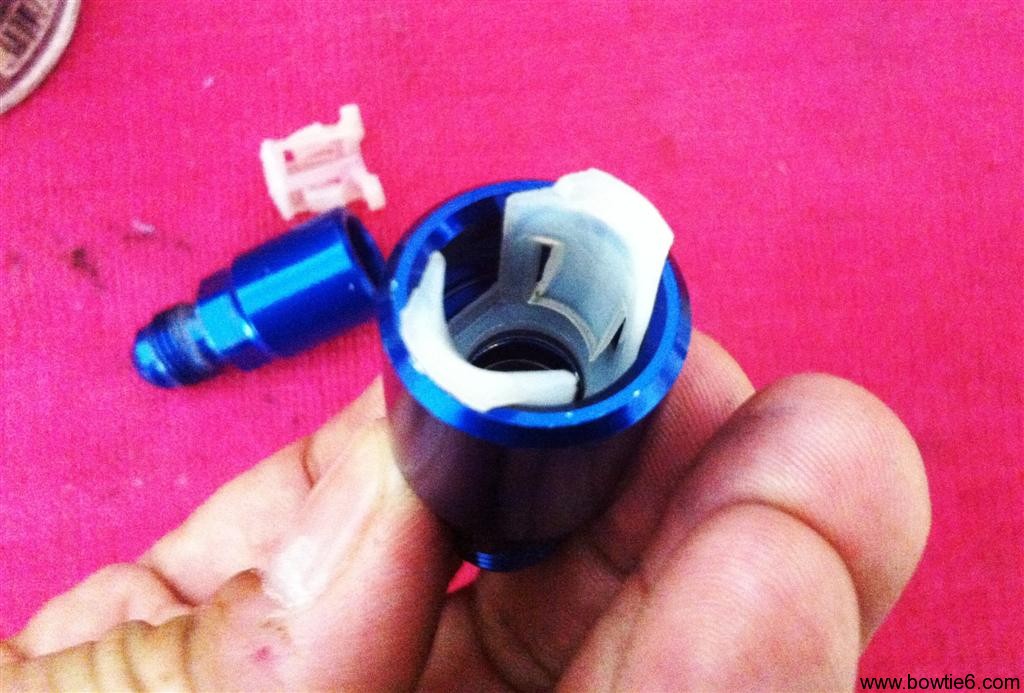
The next photo shows the fitting and the small plastic clip that holds all this together:

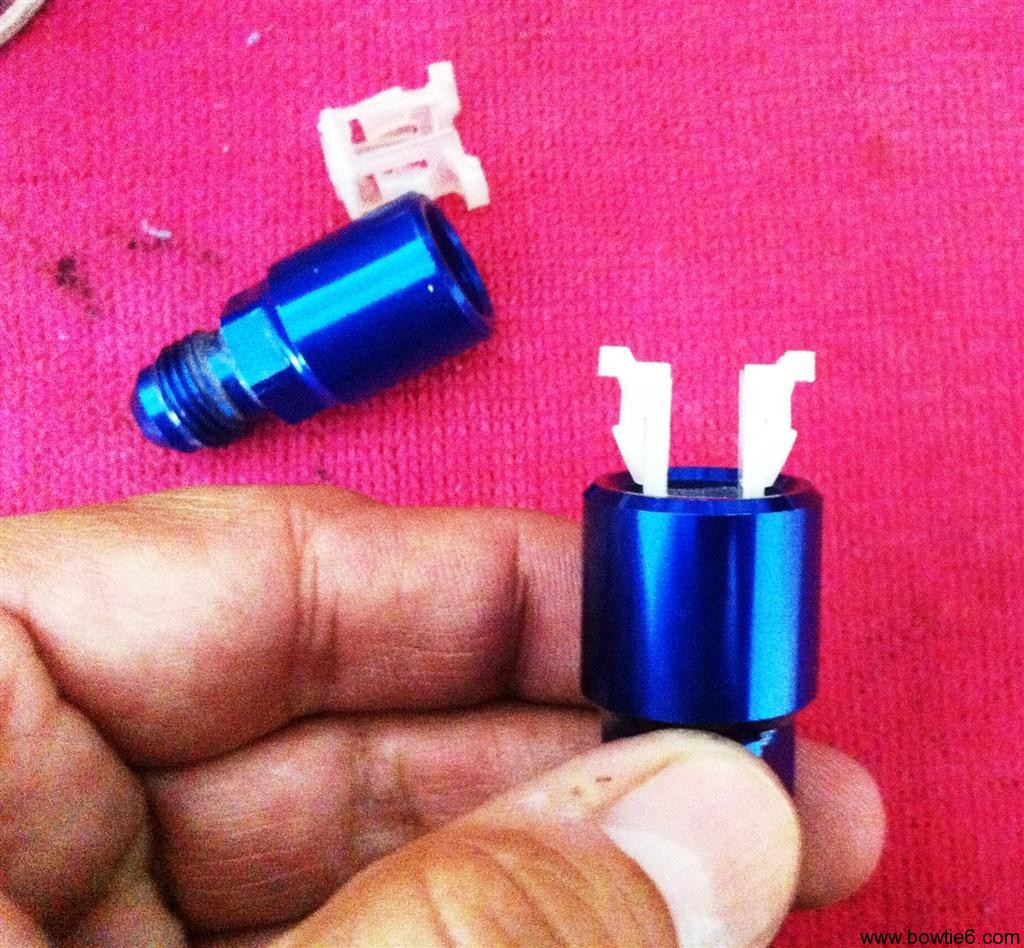
The small white plastic clip is very cleverly made.  There are two sets of barbs on it.  The inner pair locks in place around the ring on the metal tube from the picture above this one.  That keeps the plastic piece from sliding out.  Then the barbs also lock in place on a shoulder inside the fitting.  However in order to make this work, the plastic spring loaded affair must be crisp and not in the least deformed.  Taking this apart deforms the plastic clip and this prevents a positive lock.

The last two pictures show the white plastic affair locked in place.  As mentioned previously, this assembly is then pushed on the tube in the regulator and if all goes well the two barbs on the plastic clip snap on the ring molded on the tube.  All this looks good on paper, but I noticed the plastic “clip” had lost some of its “spring” and this all did not really lock in place so well.  The kicker is that these fuel lines are holding 50+ psi pump pressure and if they decide to part ways, well… you end up having a real bad day.

Remember that magazine I mentioned above?  There was a very good article in that issue about fuel systems and they cautioned on using these fittings.  And, they also suggested an alternative.  Unfortunately, the alternative is also made by Russell.

I did call the Russell tech line and talked to a rather abrasive dude on the phone about my experiences.  Right of the bat, he was not very interested in my findings nor on making things right.  Basically he told me to buy the new fittings and took no ownership to the fact this was a bit on the “unsafe” side.  I even told him about the article in the magazine, but he dismissed that too.  At any rate why argue with someone unwilling to stand by their product so I ordered new fittings.  While not exactly “cheap” (they are about $16 each) quite frankly I rather spend the money and have the peace of mind this is not going to come apart and sling fuel all over the place.

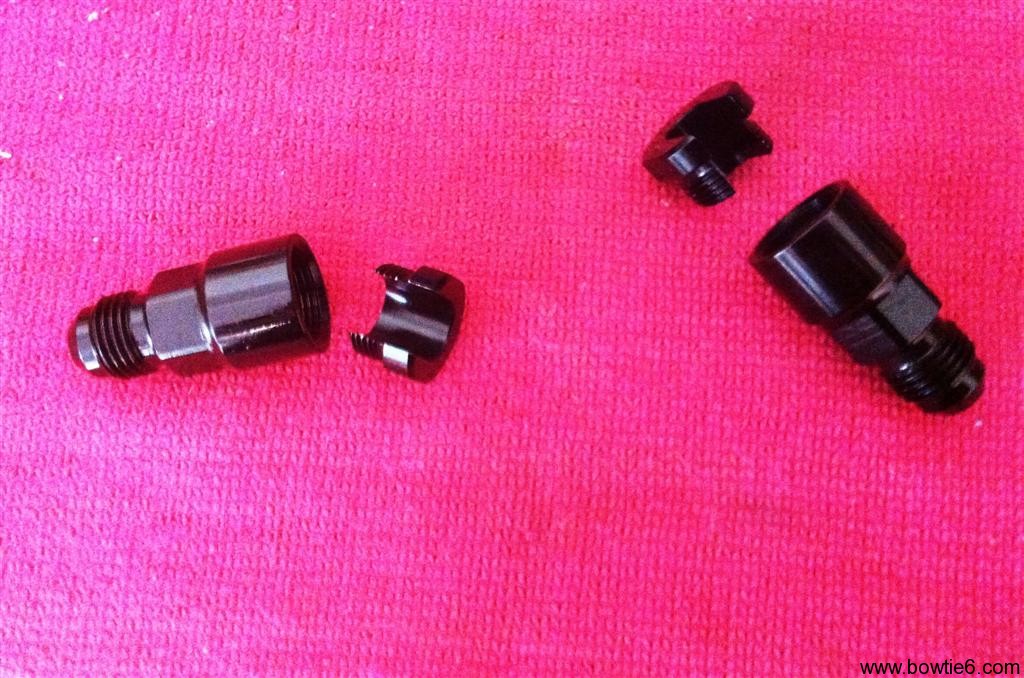
The solution is to use these fittings:

These fittings have a much safer design.  Instead of the spring-loaded plastic affair, they have a threaded cap that holds the fitting in place.  The threaded cap has a “U” shape that slides over the tube on the regulator and when tightened grips the ring (look at the very first picture on this post) keeping everything securely in place.  With this together, there is no slippage and no danger of this ever coming apart.

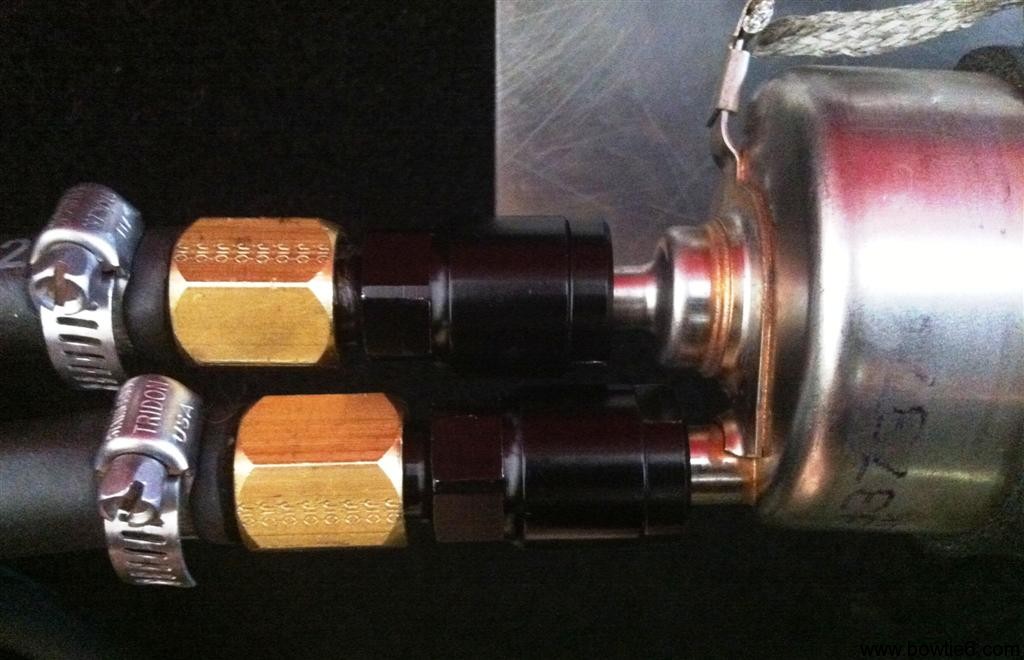
This is what it looks like all completed:

As you can see, these fuel regulator fittings are much nicer and better designed.  If you are considering this for an engine swap, don’t waste your money on the fittings with the plastic spring-loaded clip.  Get the ones with the threaded cap.  You will be much happier and most important of all, safer.


ECOTEC ECM Tuning – Changes So Far

I mentioned in the last post I’d go into more details about HPTuners.  This time I want to talk about the Ecotec ECM tuning changes done so far.  I’m far from being an expert however one needs to start somewhere…

Vehicle Anti Theft System (VATS)

The first and most important task is disabling VATS.  This is a prerequisite when doing an engine swap such as what we did here.  Failing to disable VATS renders the engine inoperable.  On earlier ECM’s GM devised a system by which the ignition key had a special resistor that would match a receiver in the ignition key tumbler.  This “match” would enable the ECM to fire the engine.  With those early ECM’s it was possible to wire an inline module and basically fake out the key resistor.  With modern ECM’s such as the one controlling the Ecotec, the VATS became more advanced.  With the aid of HPTuners though, this is a simple change in the flash file burned into the ECM.

Mass Airflow Recalibration

In bowtie6, we replaced the stock plastic intake with a smaller, more direct intake manifold.  The reason was not for performance but because the stock intake was too big and got in the way of the steering shaft.  The air filter housing was also replaced with a cone-shaped K&N air filter.  There is simply no room under the hood of the TR6 for the large box that holds the stock air filter.  These changes forced relocation of the Mass Airflow (MAF) sensor.  As expected, the stock settings for the MAF did not match the new configuration.  This manifested itself in a rather rough idle and poor performance.

Tuning the MAF took some doing.  I won’t go into all the details but suffice to say it took a few hours worth of driving down the road and logging data with the VCM Scanner.  Using the VCM Editor I was able to dial in the low and high MAF tables to more desirable values.  This resulted in smoother idle and better performance.

Seeking Professional Advice

This is where the tuning process gets a bit pricey.  After going through several  books and reading many long hours’ worth of posts I decided to find a local expert.  Sure enough I found a person with a great knowledge and familiarity with HPTuners and tuning GM engines. However this came at a price.  The results though, made a huge difference.

As expected, fuel efficiency is the ahead of pure performance in the  stock ECM.  This shows up the way the commanded air fuel ratios are pre-set across the RPM range, spark tables and the way that power enrichment activates proportional to throttle angle – among other things.  After quite a few alterations the ECM is delivering more performance at the expense of fuel efficiency.  The results are astounding:  throttle response is much more livelier resulting in more power being delivered and overall the engine is much smoother across the entire rev range.  It is now very easy to make the Ecotec reach its 7000 RPM redline.

What next?

The next step will be to take bowtie6 to a dyno.  Been there, done that before but this time we will be tweaking the ECM  This will allow even more accurate dialing in for extracting that last bit of power.  Also, something that is yet to be modified are the VVT tables.  The 2.4 Ecotec has variable valve timing and this first tuning did not touch VVT.  Who knows what we can do with this?

Another avenue left for exploration is E85 Ethanol.  I’ve been intrigued for a long time about this source of fuel.  FlexFuel vehicles have a special metering device that allows the ECM to calibrate itself on the fly.  I don’t have that metering device but I have HPTuners and this will allow a special E85 calibration flashed into the ECM.  Where I live E85 is very easy to find – there is a very large fuel station just down the street from my house – so this will be a fun experiment.  Granted, flashing the ECM to run E85 without a metering device means E85 has to be burned exclusively.  However, changing back to straight fuel is easy to do, simply by reflashing the ECM.

In Summary

I realize to each his own and this is not for everybody.  However, having all this technology at your fingertips (literally) is remarkable.  Why would anyone want to waste time on those relics of fuel metering called carburetors is beyond me.

Stay tuned…  Soon bowtie6 will be the first E85 Ethanol powered TR6…  🙂

ECOTEC ECM Tuning – Intro

Gone are the days of “burning a chip” for engine computers.  Modern Engine Control Modules (ECM’s) can now be monitored real-time and then modified based on readings done after driving down the road.  Pretty cool stuff indeed but it adds a whole new dimension to engine performance adjustments.

The factory install of the Ecotec in a Pontiac Solstice at its core consists of the engine, wiring harness, ECM and the Body Control Module (BCM).  The ECM reads and controls engine signals while the BCM controls such things as gauges, door locks, lights, etc.  In addition, the BCM supplies data used in the information center on the instrument panel showing fuel consumption, engine temp, outside temp, etc.  Furthermore, the ECM and BCM talk to each other via a digital high-speed bus integrated into the factory wiring harness.

So, one of the challenges in getting the Ecotec to run in bowtie6 was making all this work outside of the factory install.  After doing a ton of research and reading the Factory Service Manuals, we were able to figure out what wires actually control engine sensors and what goes to the BCM.  This enabled us to change the factory harness to fit our needs.  Since we did not run the factory instrument panel and did not need to control lights and such, we did not use the BCM.

A disadvantage of this approach is the lack of cruise control.  In the Ecotec the throttle body is electronically activated – there is no cable in the traditional sense.  Instead, the electronic “gas pedal” inside the car sends a signal to the ECM via a small wiring harness.  This gets accomplished by coarse and fine potentiometer readings of the throttle pedal position (Click here for my Drive by Wire article).  There is also no Idle Air Control (IAC); instead idle is now controlled by the ECM cracking the butterfly angle as needed.  This is very amazing stuff.  As a side note, it is interesting to pay close attention when turning the ignition to the “on” position:  there is a very short “click” heard from under the hood.  It is the throttle body going through its pre-check.  But I digress… Bottom line:  my goal is to be able to integrate the BCM into bowtie6‘s wiring and by doing so, have a fully operational fly-by-wire cruise control.

Among the wires going to and from the ECM is a group that end up in a special plug called an ALDL connector.  This special connector is normally found in production GM cars under the dash on the driver’s side.  It is by the ALDL that the GM TECII scanner/programmer gets connected to the car’s ECM.  In my case I use my laptop along with an interface made by HPTuners to read and change the ECM’s settings.

Enter HPTuners

HPTuners is a commercially available ECM tuning package.  It consists of a Windows-based software running on a laptop and an interface with a USB connector on one side and a matching ALDL connector on the other.  This software package is quite remarkable in what it does; equally remarkable is the lack of documentation.  Sure it has online help but it is very lacking in detail and content.  In the hands of a newbie it can spell disaster to the engine; in the hands of an expert it makes an already great engine even more remarkable.

HPTuners has two main software components:  the VCM Scanner and VCM Editor.  The Scanner is the means by which the engine’s parameters get monitored real-time.  There are a number of different ways to display data:  charts, a gauge panel and tables.  Scanning is accomplished by connecting the laptop to the ALDL connector via the interface, starting the engine and pressing the “Scan” button on the Scanner.  Then you drive down the road and start logging data – the more, the better.  This data can then be saved to a log file for further analysis.  Another feature of the Scanner is to load a log file and play it back – this is very helpful in determining what to change.

The tool used to re-flash the ECM is the VCM Editor.  The process is quite simple:  read the ECM, make adjustments and re-flash.  The hard part though, is figuring out what to change and in what order.  It has been my experience so far this is a bit of a black science.  Information on the interweb is vast about tuning.  However, discerning truth from fiction is the true challenge.  There are several books on the subject and then there are tuning courses available, however they are pricey.  HPTuners is the tool but what to do with and how to use it, is a very time-consuming task!

In the next installment I’ll go into more details about HPTuners…

bowtie6‘s ECOTEC Engine

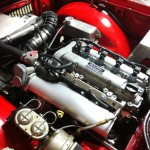
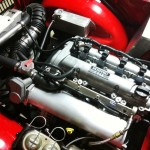
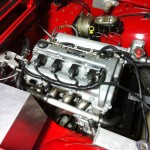
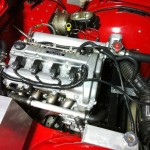
Quick post for today…  Just wanted to show what the whole shebang looks like these days…  The ECM box has a nice cover on it.  Looks pretty cool, huh?

Click on each picture for a larger image…

Intake Repaired

After careful inspection and a thorough cleaning, the intake was repaired by my cousin Jim.  We did find another small crack that had developed on the outside of the plenum – not a leak, but more of a stress crack.  At any rate, with some new weld beads, the runners are all repaired now.  This is what things look like, after the repairs:

Here is a closer look at the affected area:

The face of the flange was found to be ever so slightly not 100% flat.  With a little machining, it is now level and flat.  I started putting this all back together last night.  Should have it all running today…