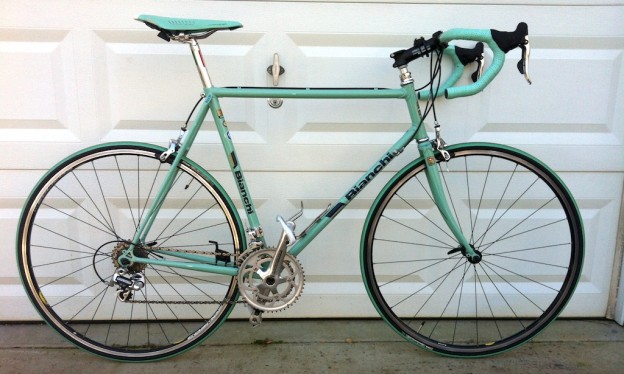
A few weeks ago I posted an article about a vintage early 80’s Bianchi road bike that I restored. I’ve received many emails and comments about it requesting more details about how I went about doing this. So, in answer to all of you who have asked via email, I hope this answers your questions.
Why Go To All This Trouble?
I’ve been asked why go to all this trouble. Well, I suppose it is because back in the 80’s when I first got into cycling and had little to no money to spend on expensive frames, I promised myself one day I would have a celeste Bianchi. I remember that back in the 80’s there were several mail-order bike shops (before the Internet) that would send these awesome catalogues. In the pages of these catalogues would be photos of gorgeous Italian frames made by the likes of Pinarello, Bianchi, Ciocc, deRosa, etc. Right out of college, I did not have much cash to spend on any of these frames, so I basically said “one day”…
That day came on a New Year’s day about 3 years ago. I was checking out Craig’s List and sure enough a listing showed up describing a “Bianci (sic) frame for sale – cheap”. The price: $25.00. I contacted the seller and agree to meet at a local pizza shop. After the introductions I offered to buy lunch and shortly after I was the owner of a vintage Bianchi frame. However, it was not exactly in “pristine” shape.
Paint
The first thing I did was take the frame apart. The headset, seatpost and bottom bracket/cranks were still on the frame. Unfortunately the only thing salvageable was the seatpost. Once all this was stripped I took the frame to a local media blaster. He stripped all the ugly paint that was on the frame from an earlier respray.
While the frame was being cleaned up, I purchased a can of Frame Saver. This is stuff is like aerosol cosmolene and used to prevent rust by spraying the inside of the tubes of a steel bike. It is very inexpensive so I thought about giving it a try.
Once the frame came back from the media blaster I cleaned it up extensively with automotive paint prep. The frame was then carefully gone over with a tack cloth and sprayed several times with automotive sanding primer. I did this for several reasons: a) I wanted to get a smooth finish and b) I wanted a good “base” for the single-stage acrylic-urethane automotive paint to stick to. I sanded a good bit off with very fine sandpaper – basically the same procedure you would follow to prep a car’s body for paint. It was a challenge because it is hard to get to all the tight corners of the frame.
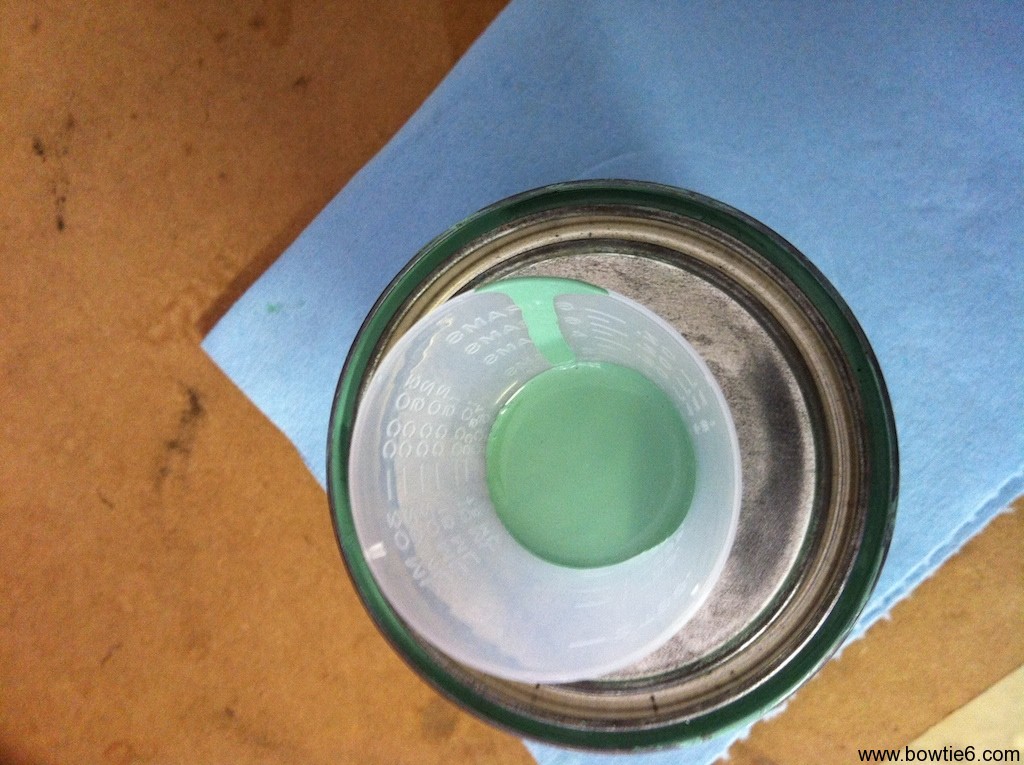
The paint proved to be one of the many challenges with this build. Since I like to do things the “hard way”, I ordered a small bottle of touch-up paint from Bianchi USA. The contents were then sprayed on a scrap piece of metal treated with primer with an airbrush (not enough for the paint gun). This scrap of metal was then taken to a local automotive paint store I have done business with and they scanned it with their spectroscope. A few days later, I got a phone call telling me I could come by and pick up my paint. This is what the can looks like:
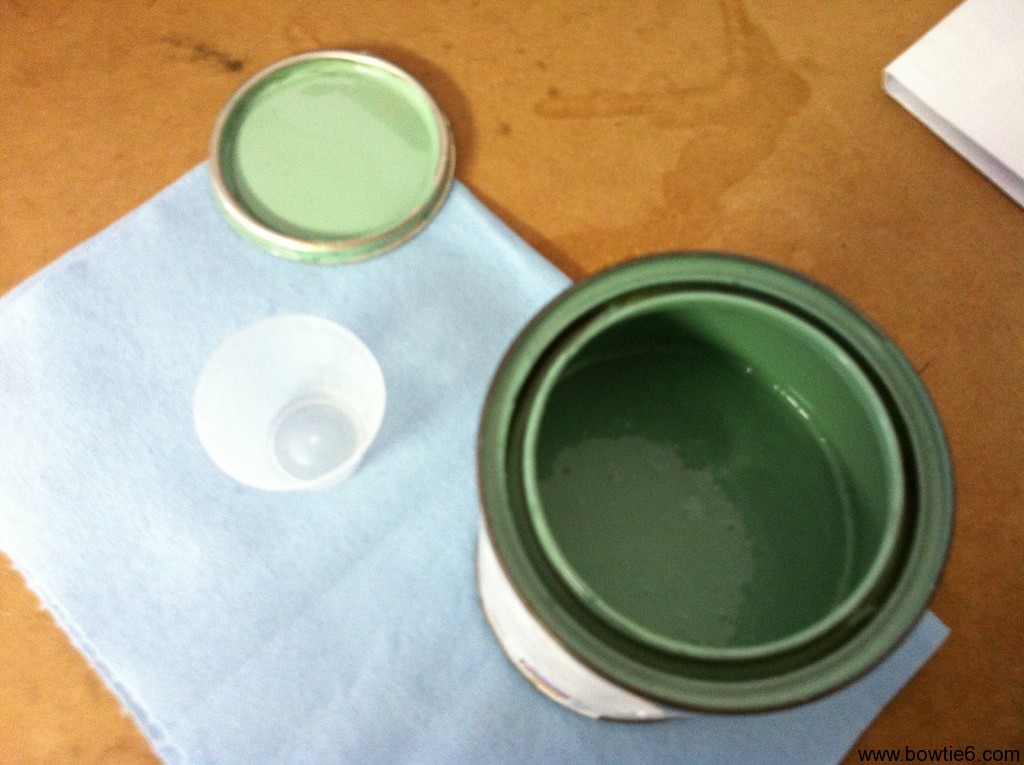
Now before you start questioning the difference in colour between the lid and the can, just remember this was taken with an iPhone and poor lighting. At any rate, this is what the paint looks like.
All primers and paint was applied with a small HVLP jamb gun. I used it because it is small enough to handle around all the tubes. I took my time and with the aid of some strategically placed wire hangers I was able to manouver the gun (and myself!) to give a nice even coverage. The trick here is to take your time and work many small coats of paint.
The Frame
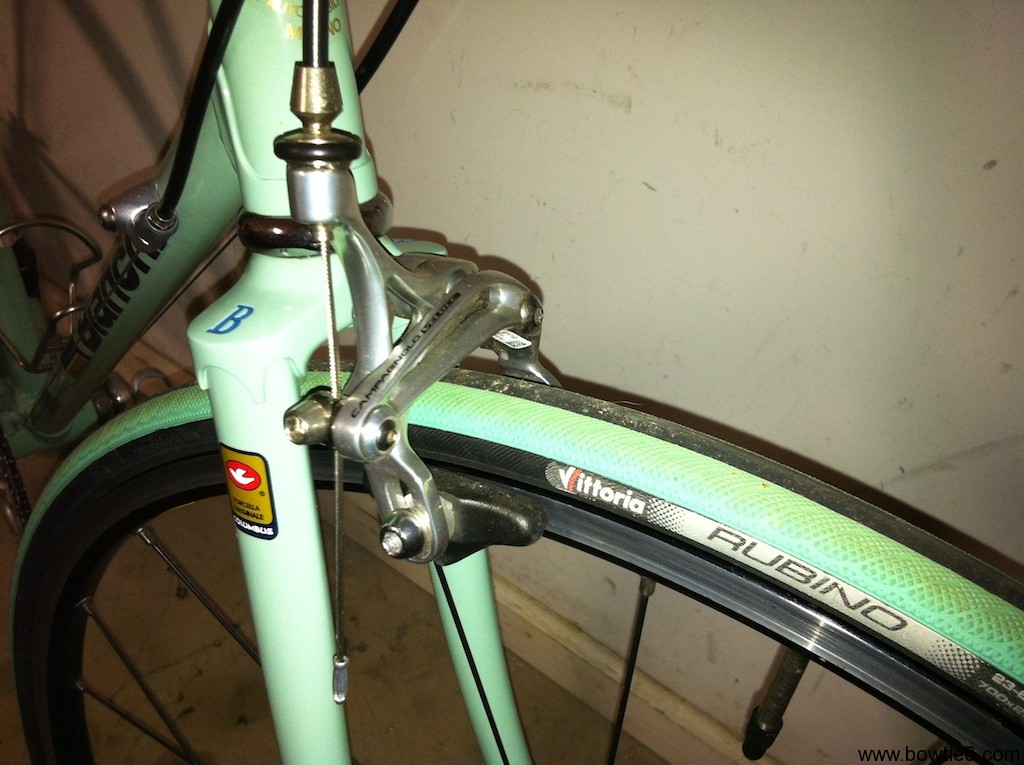
The frame has a few cool tricks belonging on a vintage 80’s frame. There are stampings on the fork, as well as on the frame with the “Bianchi” logos and on the lugs some neat “spades”. Also, unlike modern frames the front and rear shifter cables are routed along special “tabs” on the bottom lug. You can see this in the following pictures…
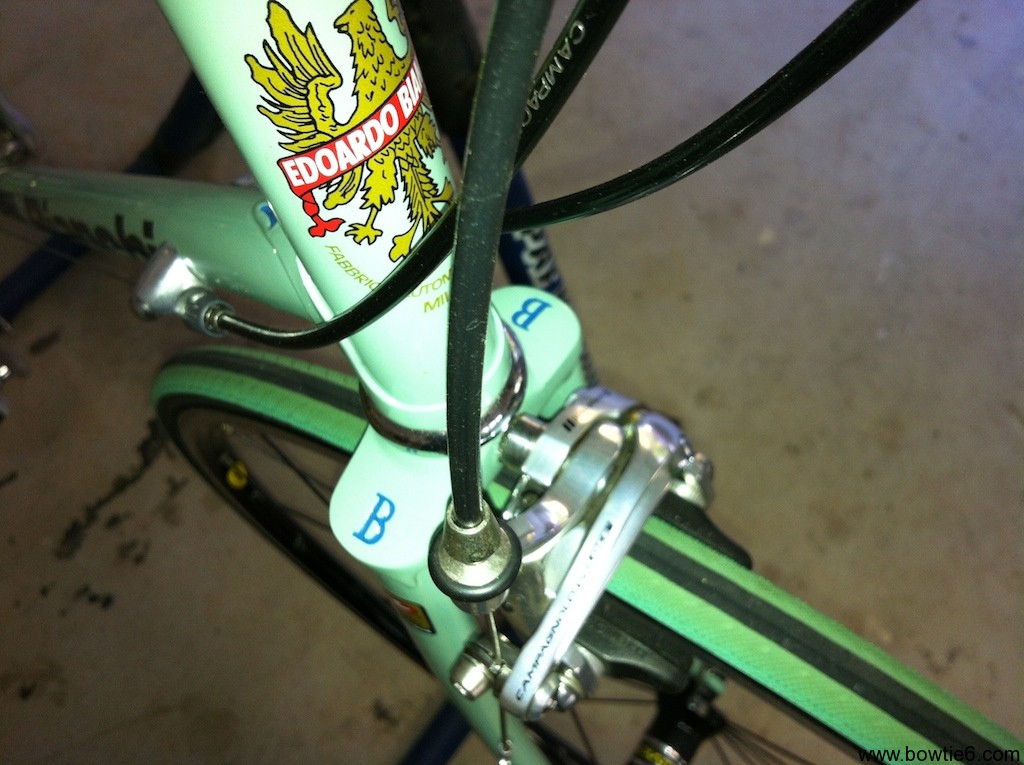
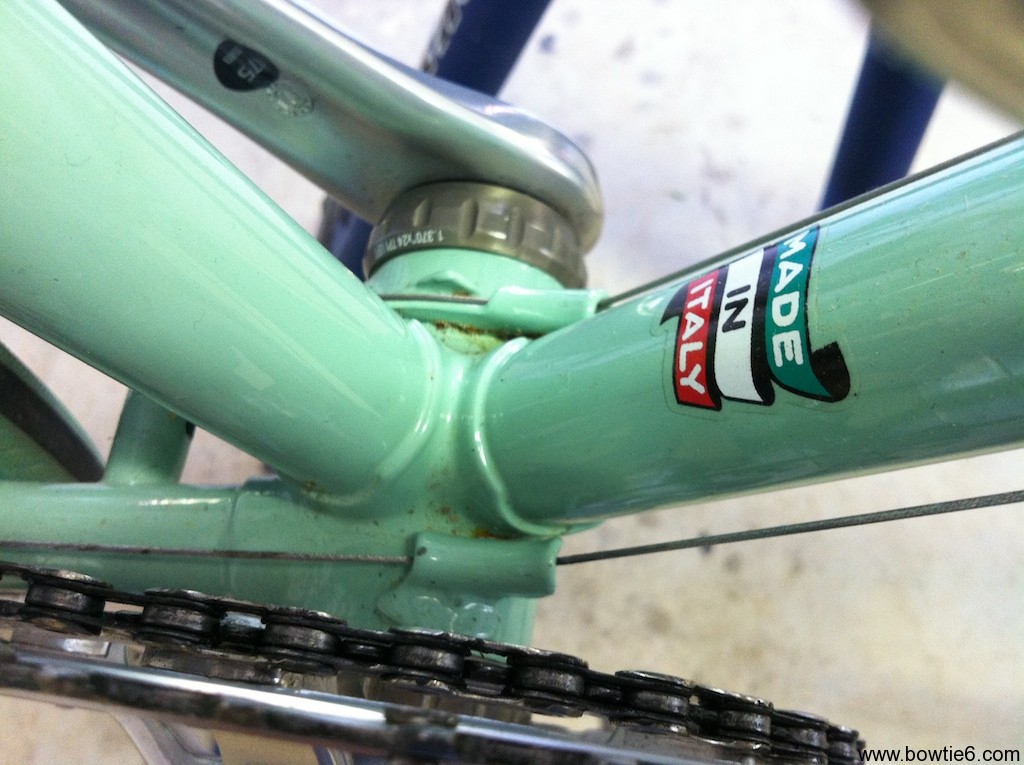
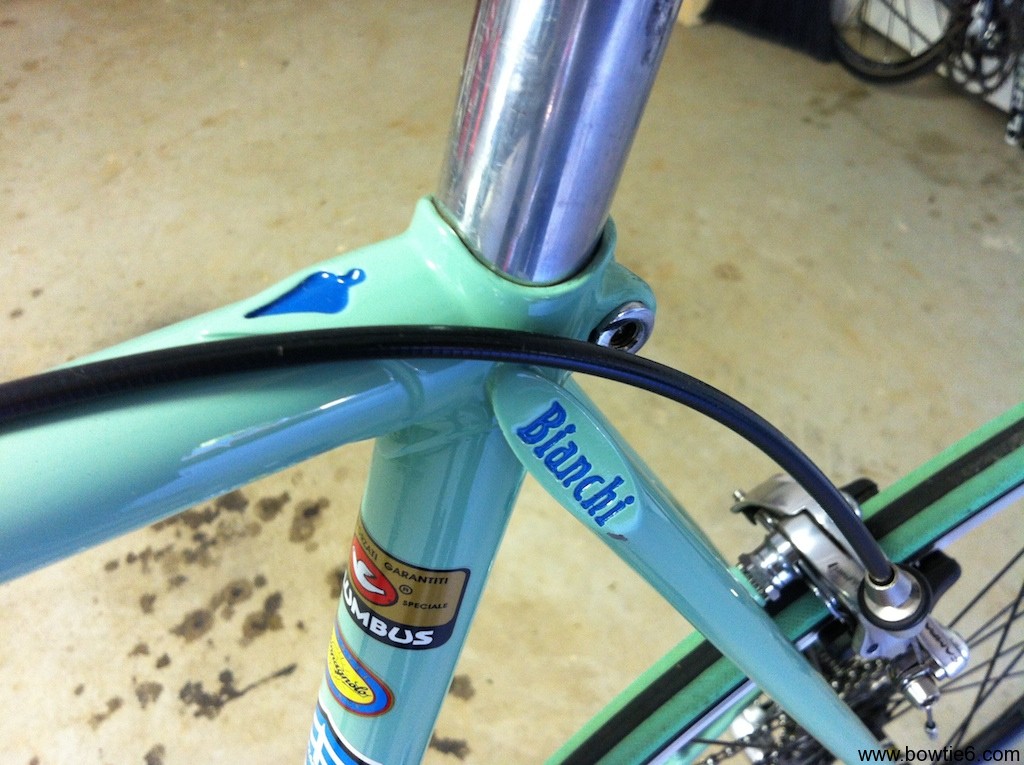
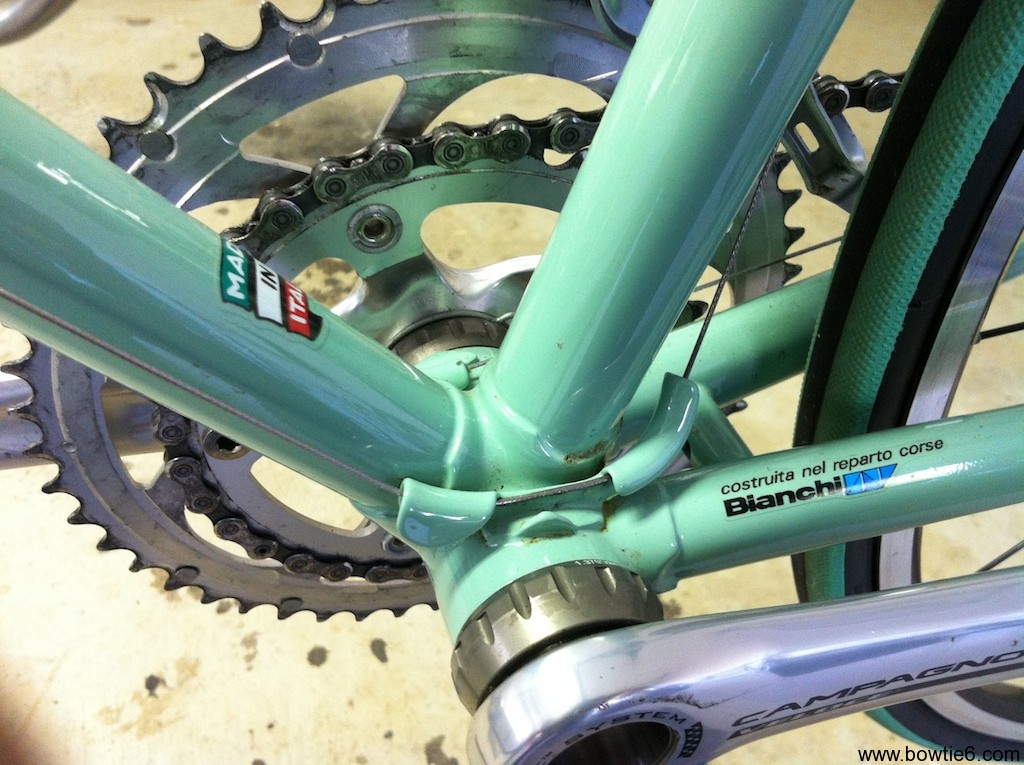
All the markings on the frame were done with model-airplane paint. I basically took an obscene amount of time and applied blue paint to all these areas with a model-airplane fine brush. It took patience and a small paper towel doused in automotive paint prep to remove any extra paint outside the “edges”!
The Groupset
Installing anything but Campagnolo would have been an insult to this frame. So I did some research and went for a 2008 Veloce groupset. I could have ordered Chorus or Record, but why spend so much? Plus Veloce came in silver which complements the vintage of the frame. I did not want any carbon (more on this later) on this frame, so Veloce was my choice. At the time I bought the groupset, the exchange rate of the GBP to Dollar was very favourable: I ordered the entire group from a vendor in the UK. About a week after I made the buy, the groupset was in a nicely packed box on my doorstep.

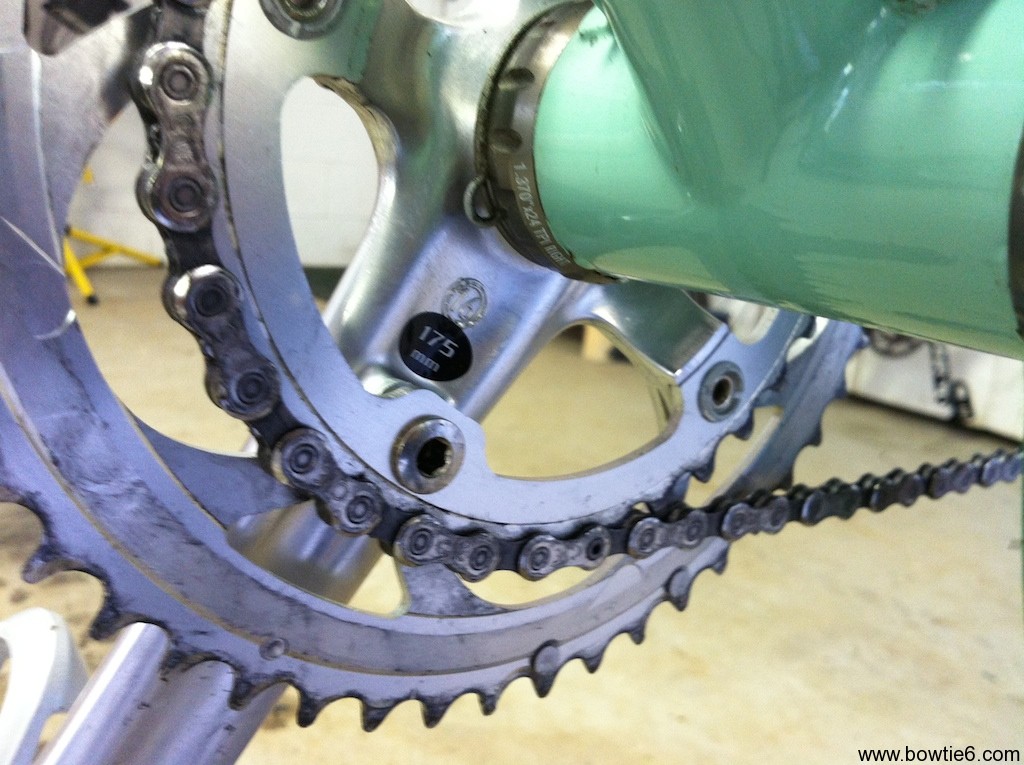
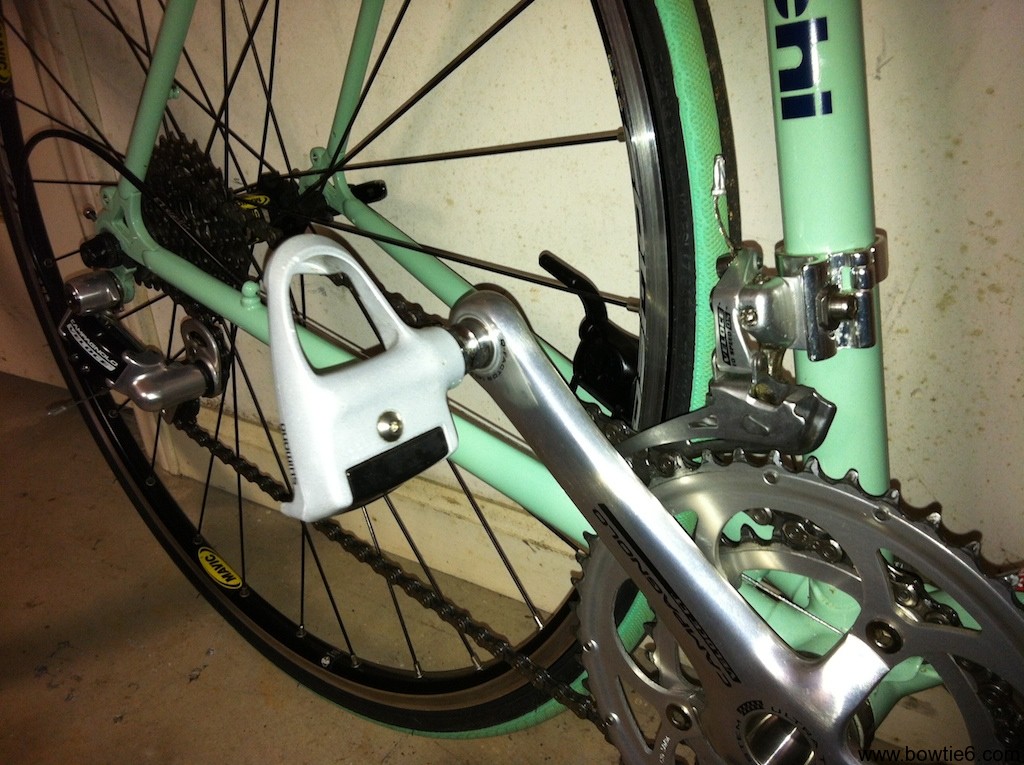
Cranks are 175mm, with a compact gearing.
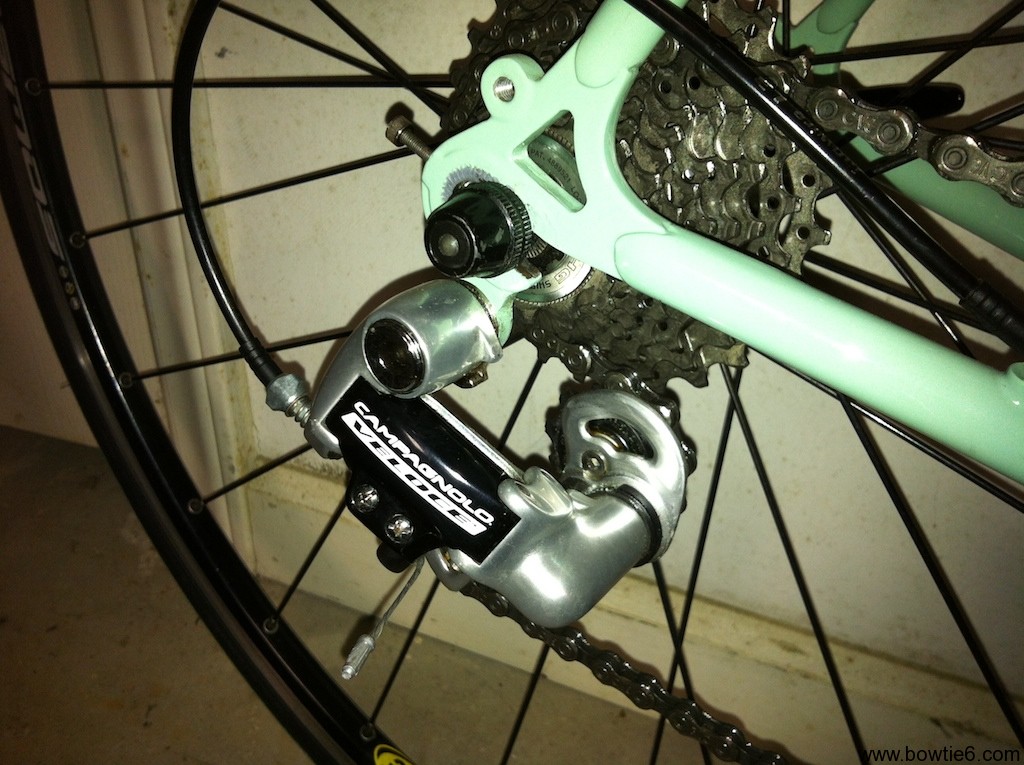
The rear cassette is Shimano. Yes, I went Shimano for cost reasons. It is a 10 gear 12-27. Why? Because I am old and I need the extra 27 with the compact chainrings – plus this gives me a chance to spin up hills! And, it works!
Pedals
Back in the 80’s the cat’s meow in pedals were Shimano PD-7401. I have a set on my other vintage bike: an 86 Trek 500. One day, while looking on eBay I found a set of brand-new in-the-box PD-7401 pedals. Never used. I promptly snatched them up and installed them on the Campagnolo cranks.
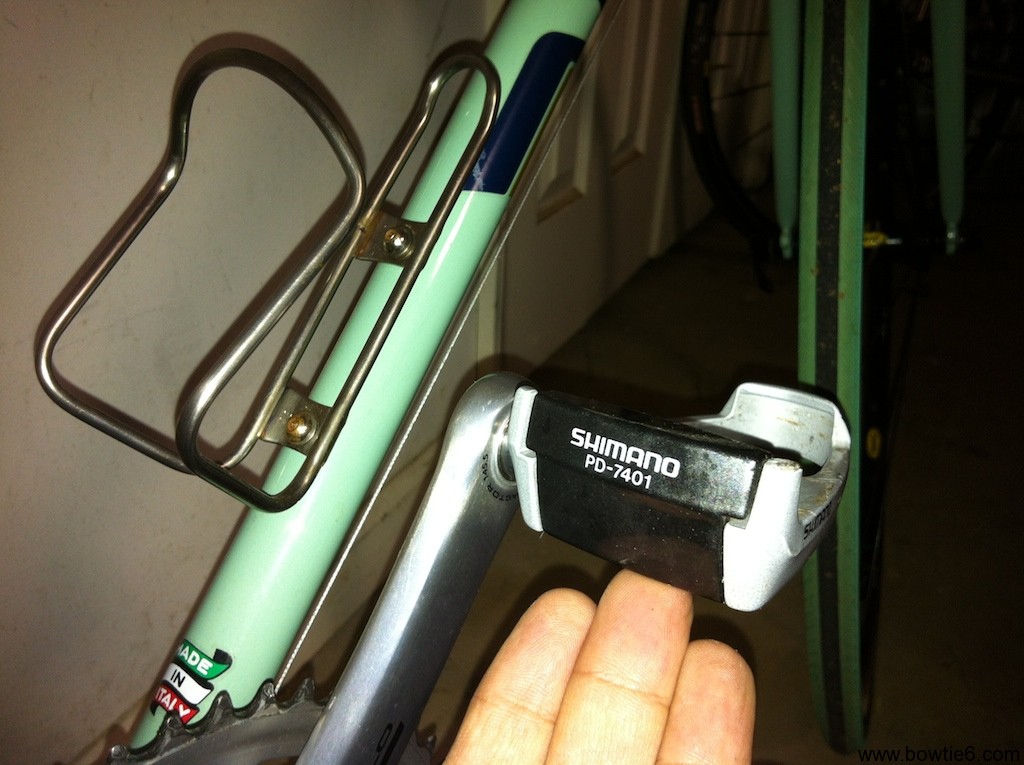
The above picture shows the back of the Shimano PD-7401 pedals as well as the stainless steel water bottle cage. Unfortunately, this frame only has one set of bosses for a cage, on the down tube.
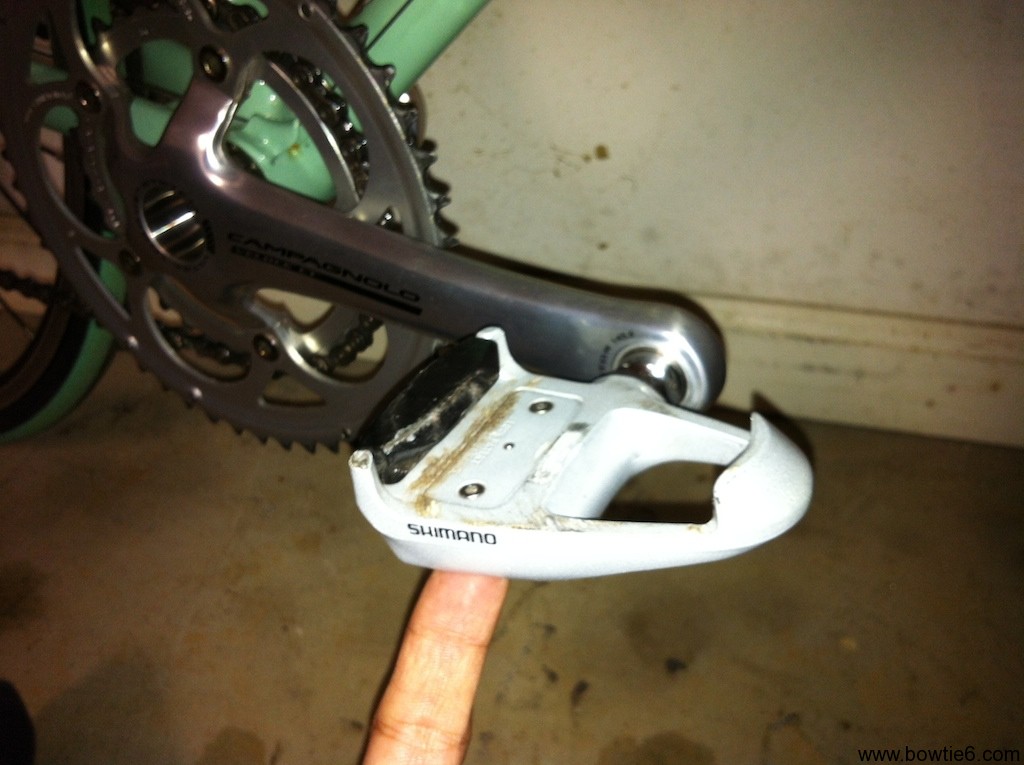
The pedals were not exactly “cheap”, but then again by this time I figured I might as well build the bike the way I wanted it. These are “Delta” cleat pedals and my Sidi shoes are set up for these pedals.
Shifters and Brakes
The Veloce shifters turned out to be very disappointing. Turns out that these shifters did not have the progressive “trim” that Chorus/Record have. Instead, they were equipped with the “Escape” mechanism which I dislike very much. So, to fix the problem I ended up buying a brand new set of Chorus shifters on eBay.
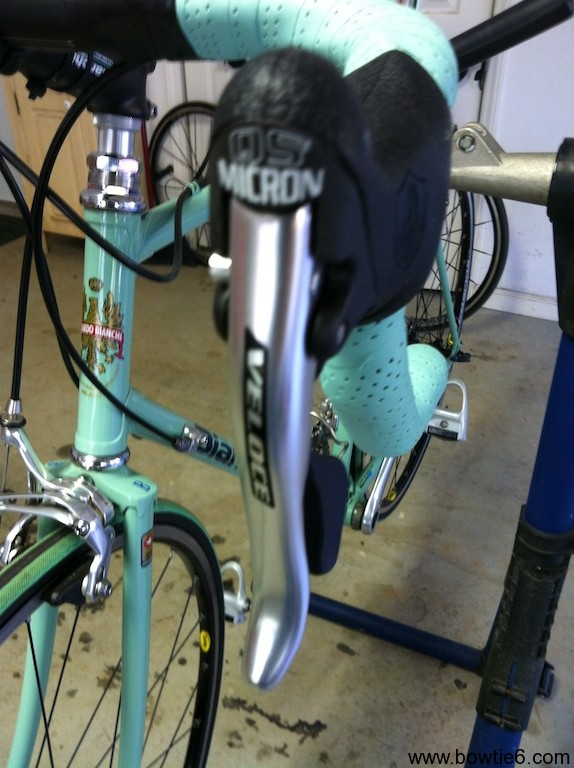
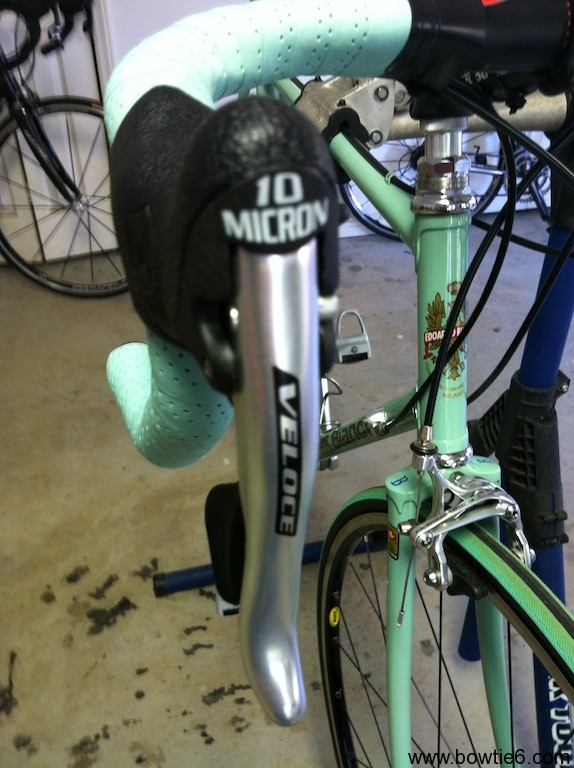
Now if you are a Campagnolo cognoscenti, you will notice several things wrong here! Veloce did not come with “10 Micron” and “QS Micron” shifters! Those are Chorus with the aluminium Veloce levers. Remember I said I did not want carbon on this bike? The carbon levers are still tucked way in the Chorus box! Hehehe… In case you are wondering, these levers are held in place with a dowel that can easily be punched out.
The Rest of the Bits…
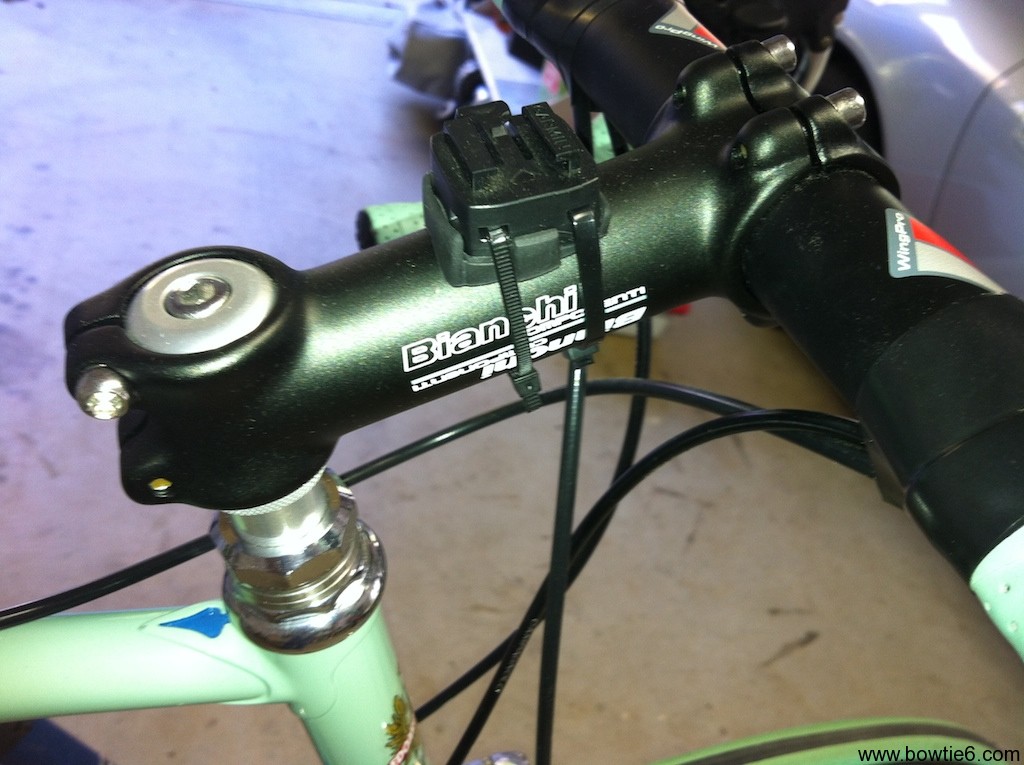
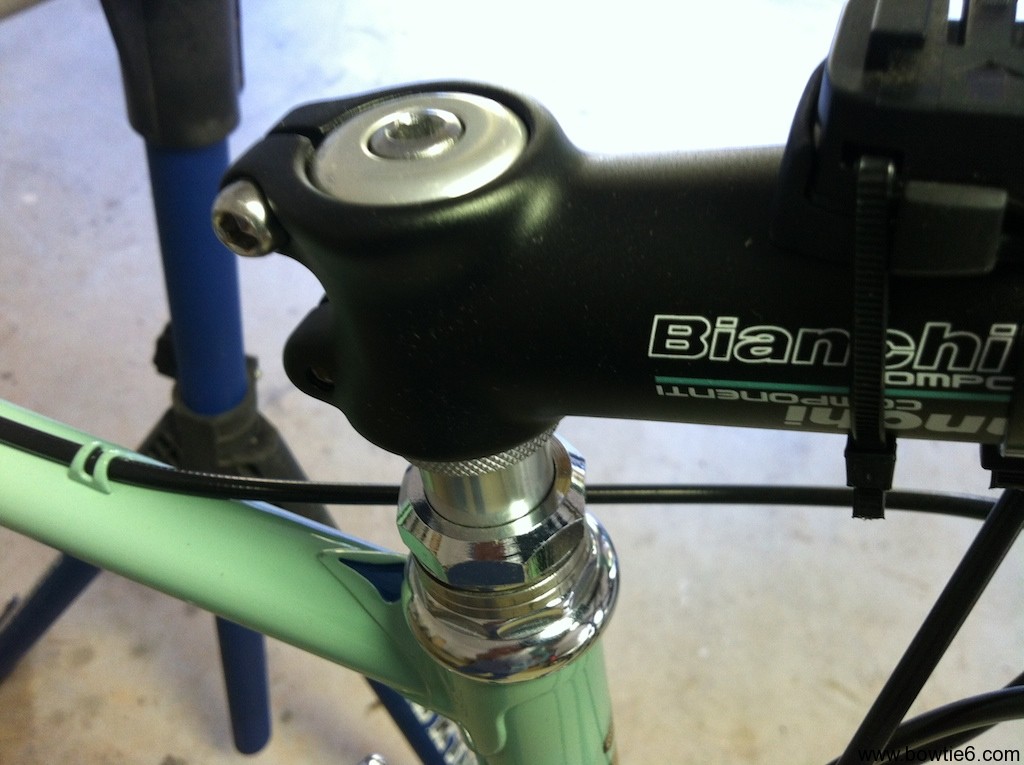
The stem is Bianchi, but from a modern bike. I found a modern adapter so I could use one of the new, modern stems. This is a bit different from the “old school” handlebars and stems. I also added a mount for my Garmin cycling computer.
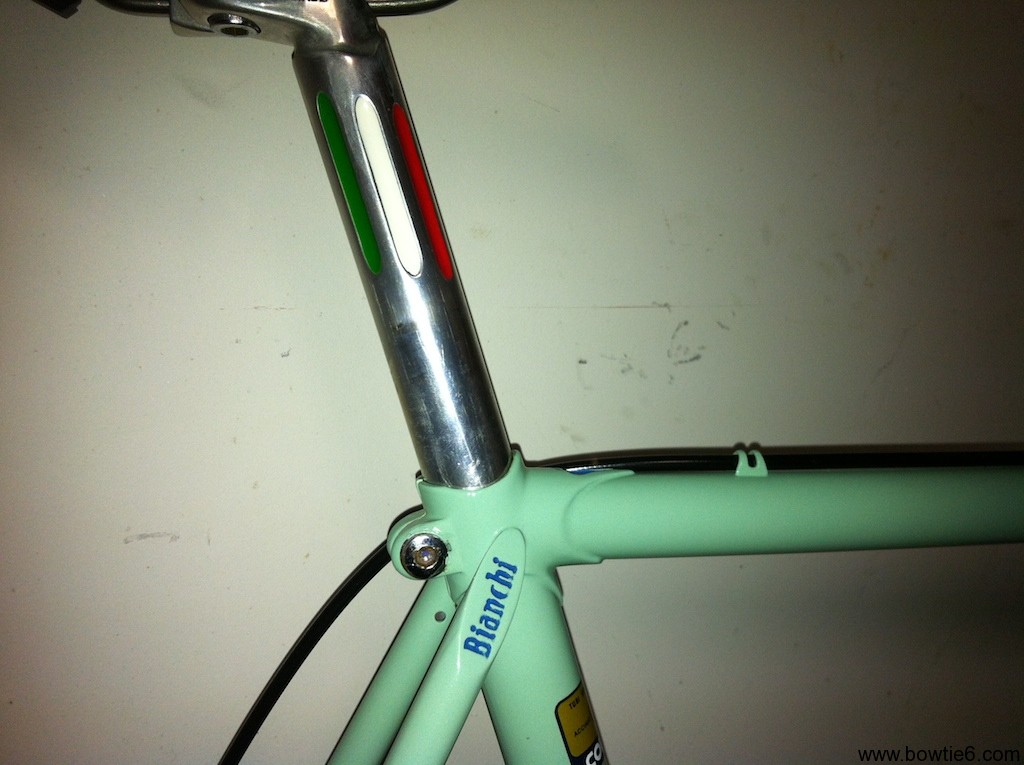
Next, we have the seatpost. This is the only thing that carried over from the “original” bike. It is not name-brand, but it has three really cool scallops on either side. I filled them in with the colours of the Italian flag to pay homage to the bike’s origins.
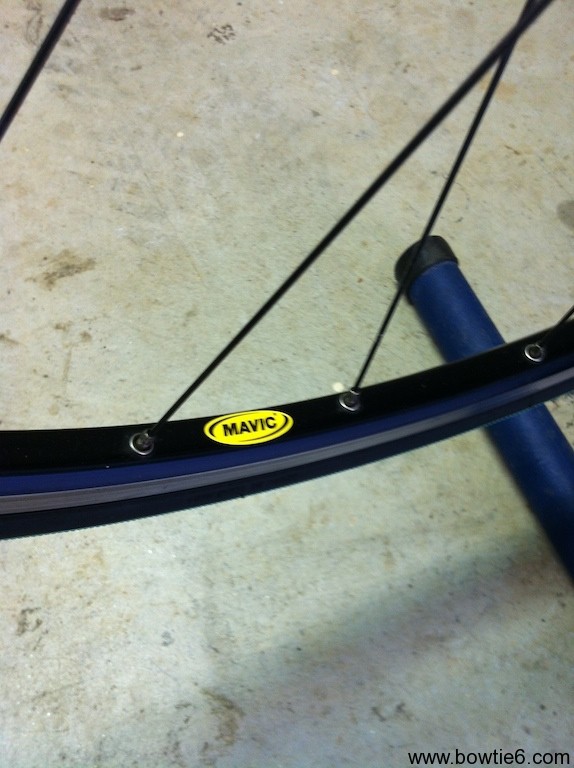
Wheels, you ask? I wish I could have used some old-school wheels, but I had a spare set of Mavic Cosmos wheels. They might not be the sexiest or the lightest, but they will do. They are true and they fit…
Next, a set of Vittoria Rubino tires were added. In celeste no less…

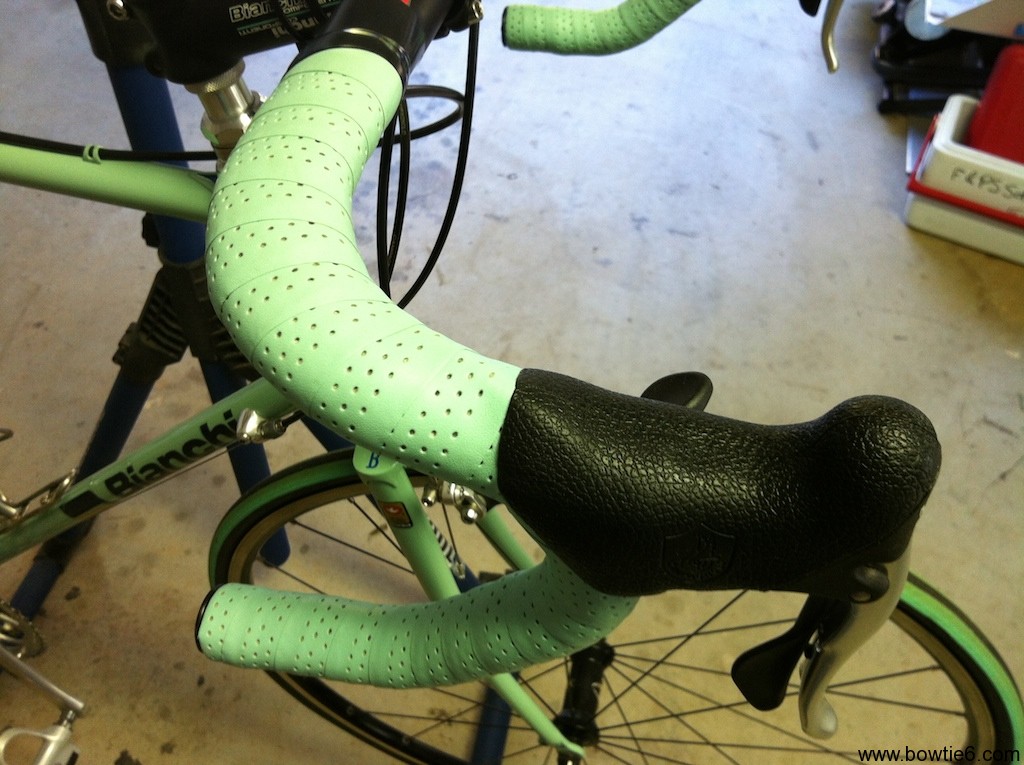
Handlebar tape and saddle are Fizik. I suppose one could argue this is too much celeste, but then again… Why not?

The photo above also shows another view of the Italian flag motif as well as the blue painted engraving on the seat post lug. Cool, huh?
One last thing I’ve been asked about: where did the decals come from? Well, when I built this bike there was a vendor on eBay that sold the entire sheet of period-correct decals. They are of excellent quality however they are far from cheap. Then again, you get what you pay for.
Final Analysis
By now I am sure you are scratching your head on how someone might have spent so much time and effort on a 30-year-old bike. Compared to modern bikes this thing is a dinosaur. It is heavy, it is steel, it is old. Then again, it is rather unique. I realize this is not exactly “restored” to original spec, but then again why not use modern components on a vintage frame?
In closing… If I have left anything out that you might want to know, let me know…