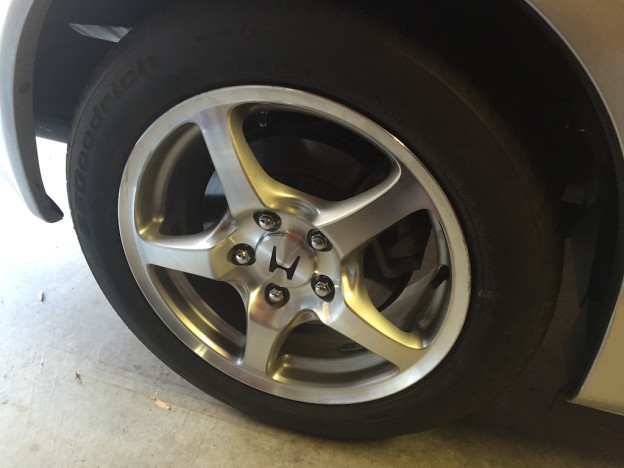
A tire’s worst enemy – not potholes or curbs, I’m talking about punctures.
I drove the S2000 to work on Friday and after I left the office things didn’t seem “right”. Sure enough, the right rear tire had a decking screw in it. Damn. This pisses me off. There is a lot of construction starting back up in my neck of the woods and some of those in the “building” industry (bless their heart) are not exactly judicious in keeping their building materials properly stowed. As a result, motorists end up with roofing nails, sheet metal screws, decking screws, you name it, in their tires.
However the point of today’s post is not the nail itself, it is what happened next. You see, it took me 4 different attempts to find the proper tire store do handle the repair. Fortunately, the puncture happened close to my house so I was able to make it without having to run the dreaded donut. Saturday morning, I took the wheel off and loaded it in wifiey’s HHR and started what became a quest to see who would repair the tire. You’ll get a kick out of this…
Tire Store #1
First stop was at a GoodYear franchise store. The fellow across the counter was very polite and helpful. We walked outside and he took a look at the tire in the back hatch of the HHR. “Yeah we can fix this!”, he said. I then asked if the tire would be taken apart, patched and then balanced. He said yes. I asked, “The wheel is unblemished, can I have your assurance there will be no damage to it?”. That is where things did an immediate 180. He gave me a certain look and backed off, saying he wasn’t sure and offered no further information. I said “Thank you” and headed to Tire Store #2.
Tire Store #2
This was a Firestone franchise store. I walked in and a woman promptly steps up and asks what is the nature of my visit. I ask my question and she replies, “Yes we can fix it, what’s your name?”. So I ask her to slow down and answer my concern about ensuring no damage to the wheel. She replies with an authoritarian attitude that “… our advanced equipment uses hard plastic on all surfaces and this will prevent any damage your wheel”. I’m still not convinced and ask to speak to one of their techs. A very nice fellow steps out of the building and we go check out the tire. He then tells me “Our pads on the machine are a bit worn down and I cannot assure this wheel won’t be scratched”. Wow, imagine that!! Honesty!! I thanked him for his honesty and shake his hand. I headed to Tire Store #3.
Tire Store #3
Store 3 was Discount Tire located a ways away from the previous two stores. This is a really interesting place because of the way they do business. I tend to avoid them, but options were running thin… The fellow behind the counter was polite and after pleasantries we step outside to look at the tire. The first thing he does is put his feeler gauge on the tire. Folks at Discount Tire are taught to sell and I felt it coming: “we can’t fix the thing because it is too worn down”. But no, the tire has plenty tread left so he did not say anything. Then we discussed the issue about preventing damage to the wheel. This fellow took offense at my question and got a bit defensive. He did not like my questioning regarding their equipment and I felt the best thing to do would be to back off, and drive away.
Tire Store #4
Immediately across the street from Discount Tire was another Firestone franchise store, this one much nicer looking than the one I had visited earlier in the morning. The fellow there was very nice, and after going through the script I’ve described before assured me there would be no damage. He even said they had two distinct machines at their disposal with all the bells and whistles specifically designed to prevent damage. A couple of hours later…
The Repair
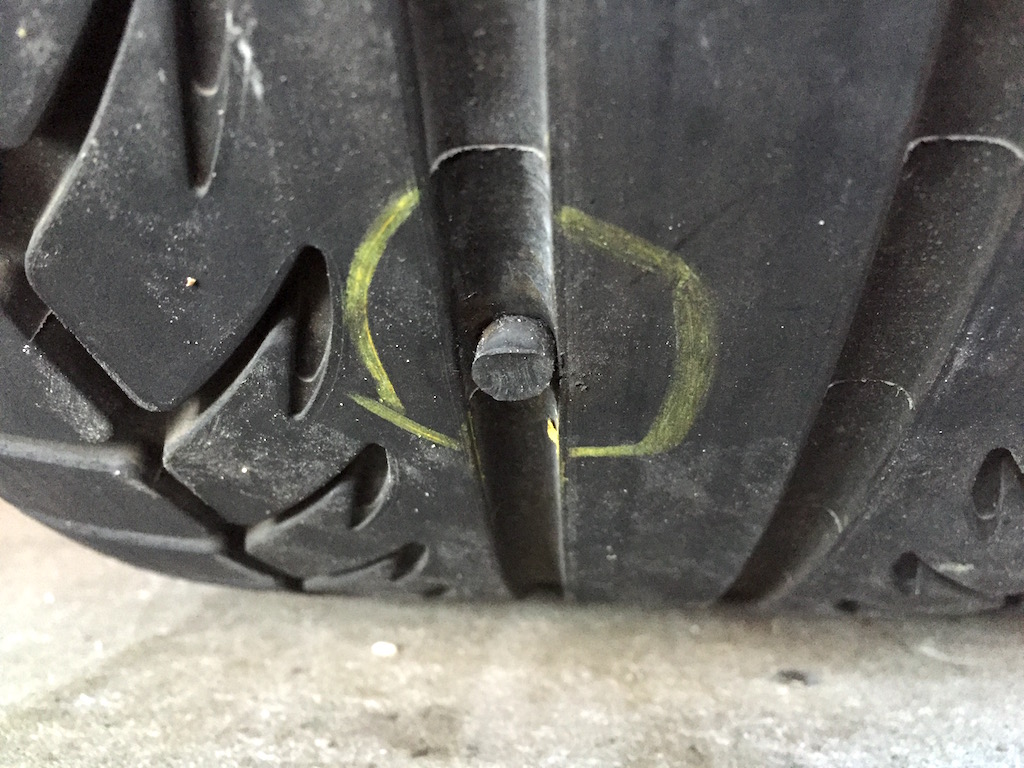
Repaired puncture will set you back a cool $23
And here you have it. The repair consists of a “plug” put in from the inside of the tire with this appendage sticking out. The tire was taken apart from the rim, removed and patched. Then, assembled back together and balanced. All this at a cost of about $23 bucks and change.
I’ve driven long enough to remember a time when this type of repair was not the “end of the world” they make it up to be these days. Once upon a time, a tech would have taken the nail out and plugged it with one of those t-handle tools used to shove a sticky turd of rubber into the hole left by the nail while still smoking a cigarette and barely dropping an ash on the floor. That repair would have cost what a Happy Meal is worth, but no. Instead, a repair today is roughly a quarter of what the entire tire costs to begin with.
I suppose this is the price of progress. I’ve had dozens of tires repaired through the years with the “turd” and never had one issue with that type of plug. Then again, this new patch method is – in theory – safer and better sealing. I get that. The part I don’t get is that with all the modern technology that exists today it took me an entire morning to get a tire puncture repaired.

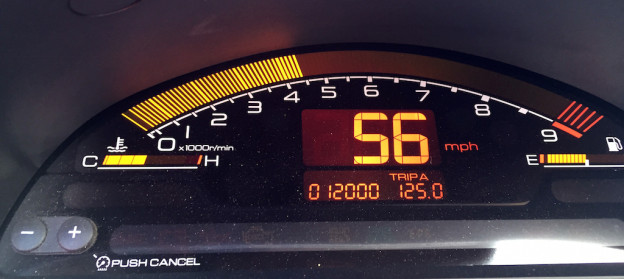
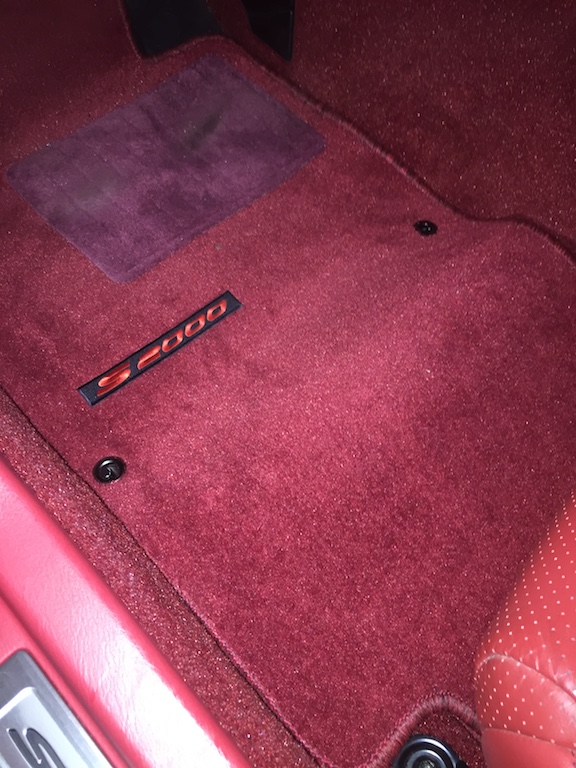
 Every time I drive my 2003 Honda S2000 it puts a huge smile on my face. This car is just awesome. If I have a bad day, all it takes is to drive a few miles and just marvel at the F20C engine as it revs its way up. Once 6,000 RPM’s hit, its VTEC time, yo! And the F20C still has 3,000 RPM’s left to go.
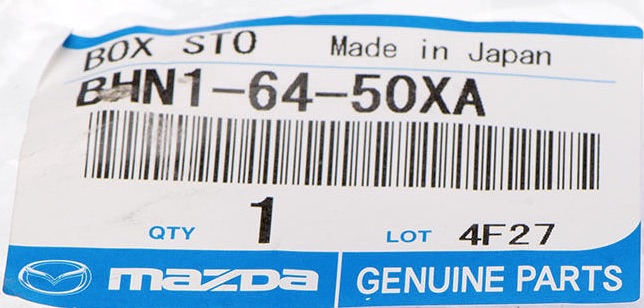
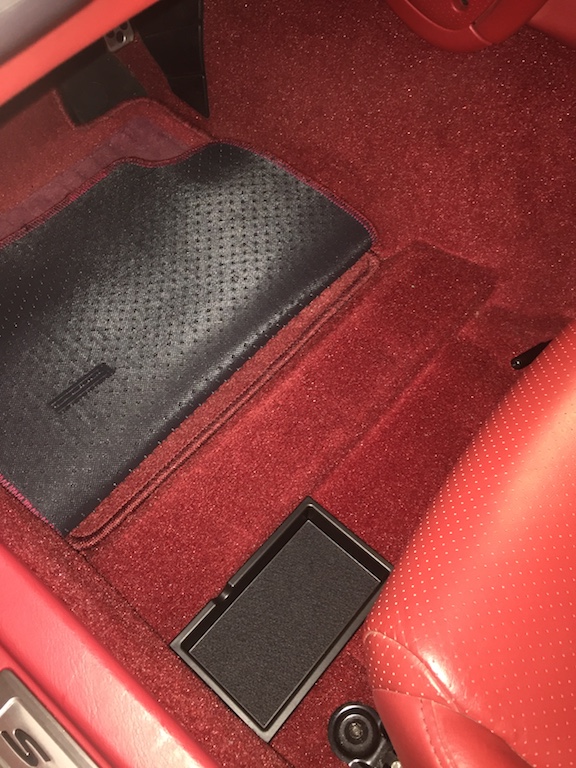
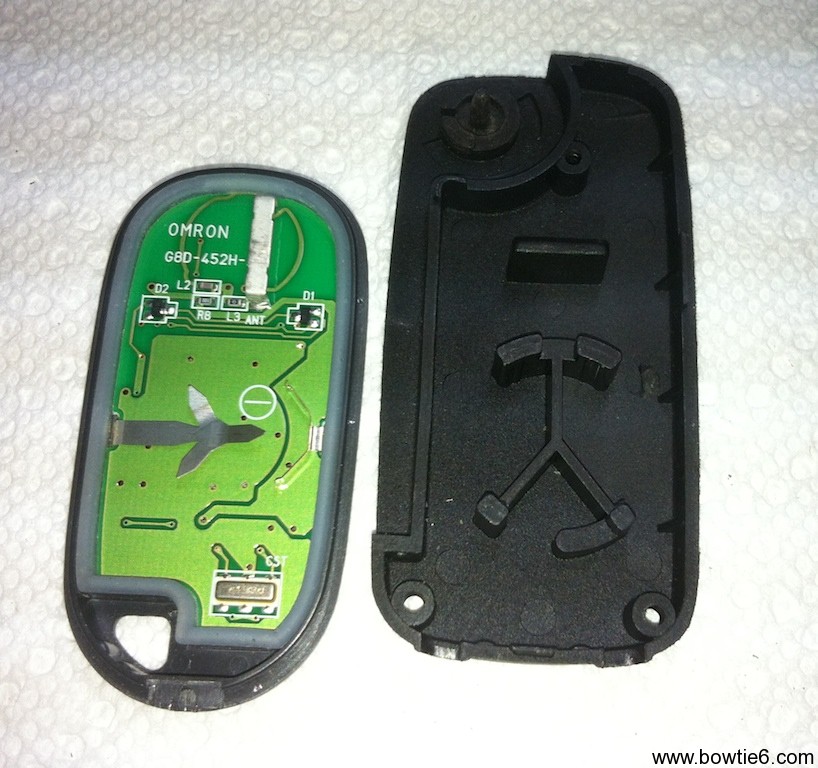
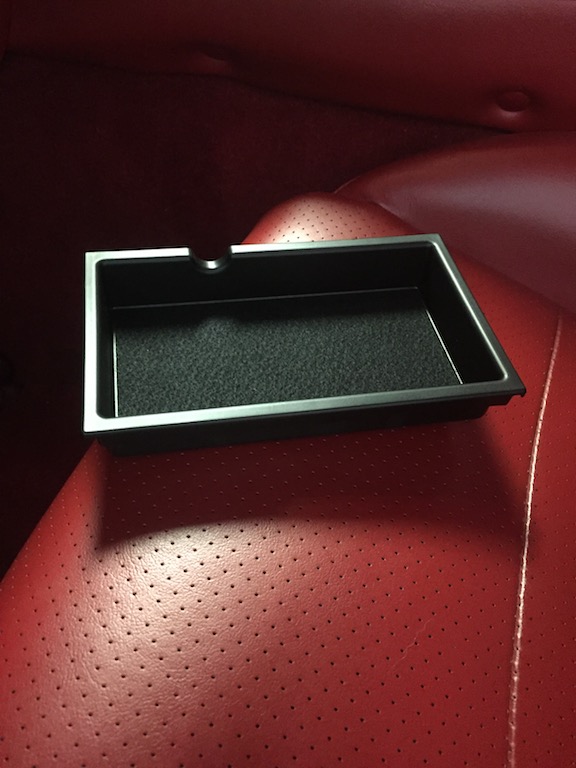
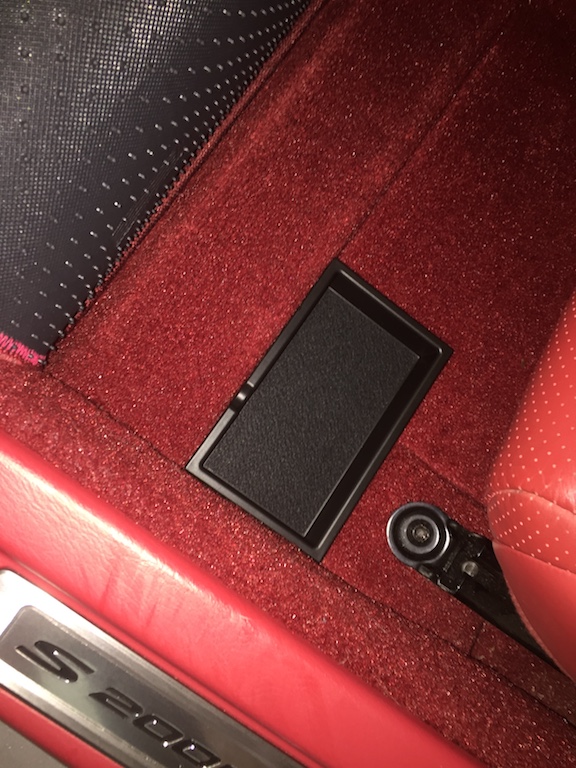 I need to get some stick-on Velcro on the back of the tray and that will lock it down for good to the factory carpet. But overall I think it is going to work just fine. Oh and the part was about $14 on eBay. I think this is a keeper!