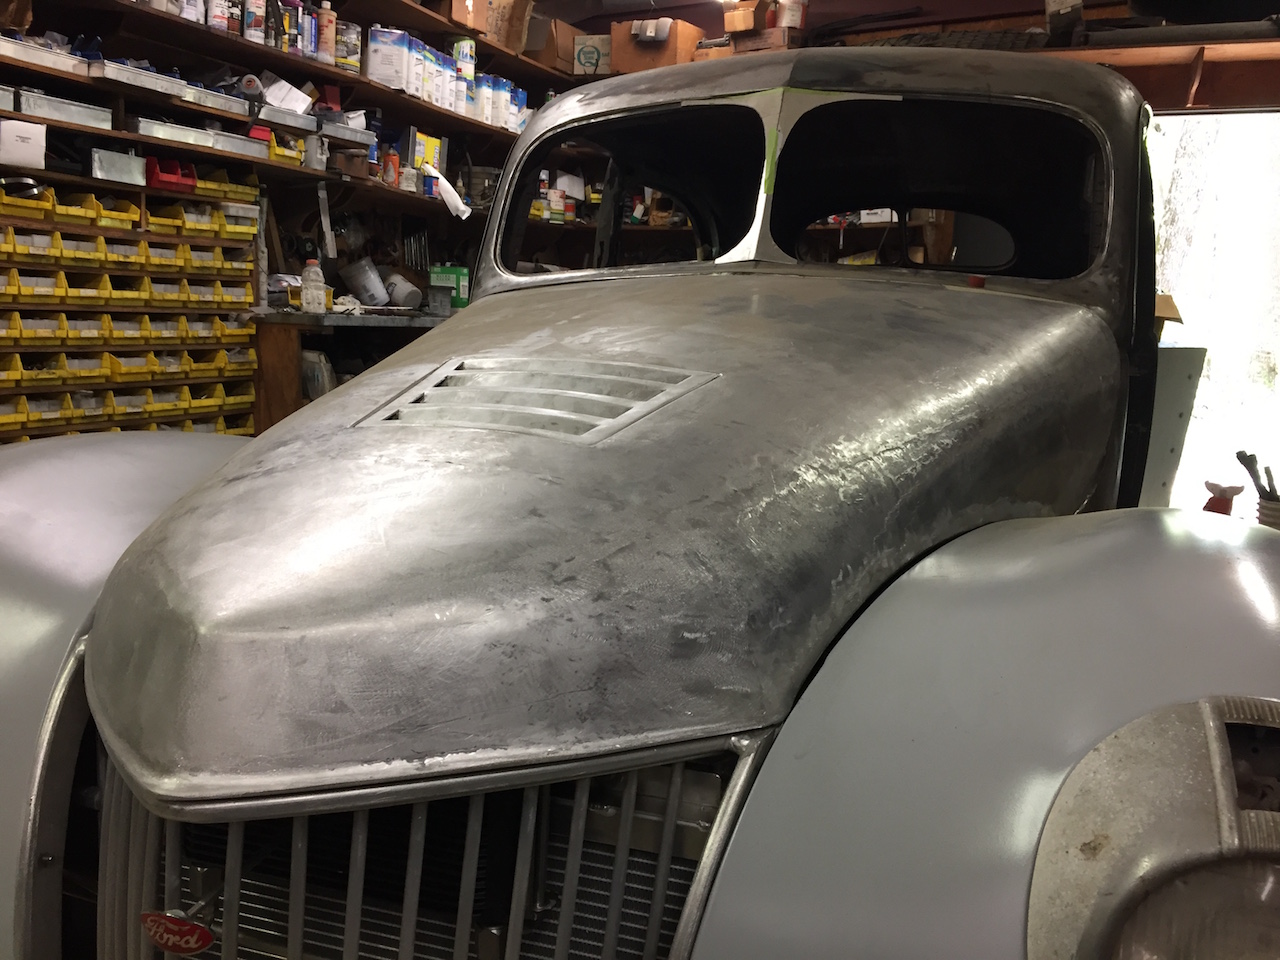

1940 Ford top taking shape…
In the earlier post, I described the cutting and sectioning of the top on the 1940 Ford my cousin Jim is working on. Today’s post is a follow-up on the progress, which incidentally has been a lot!
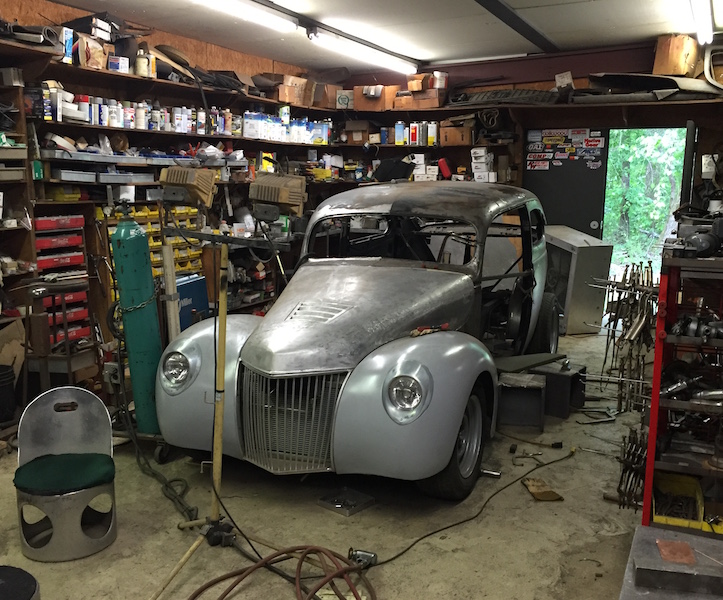
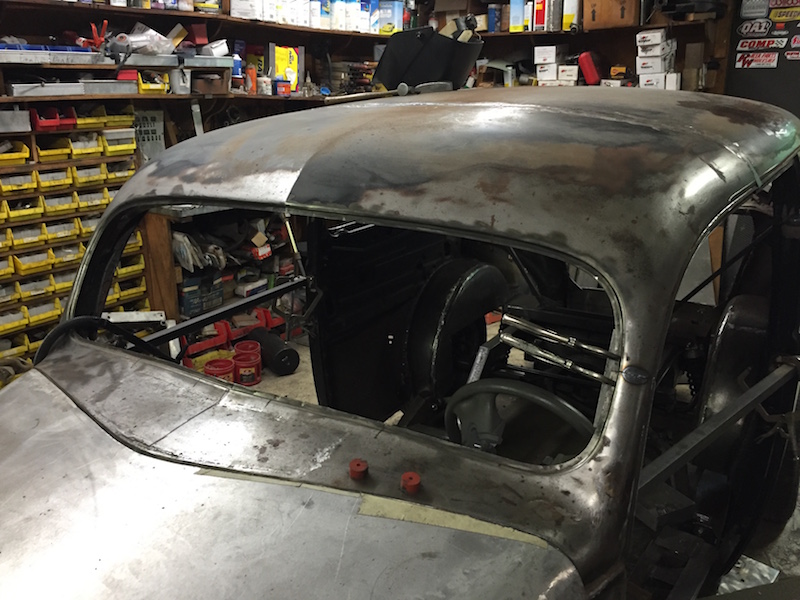
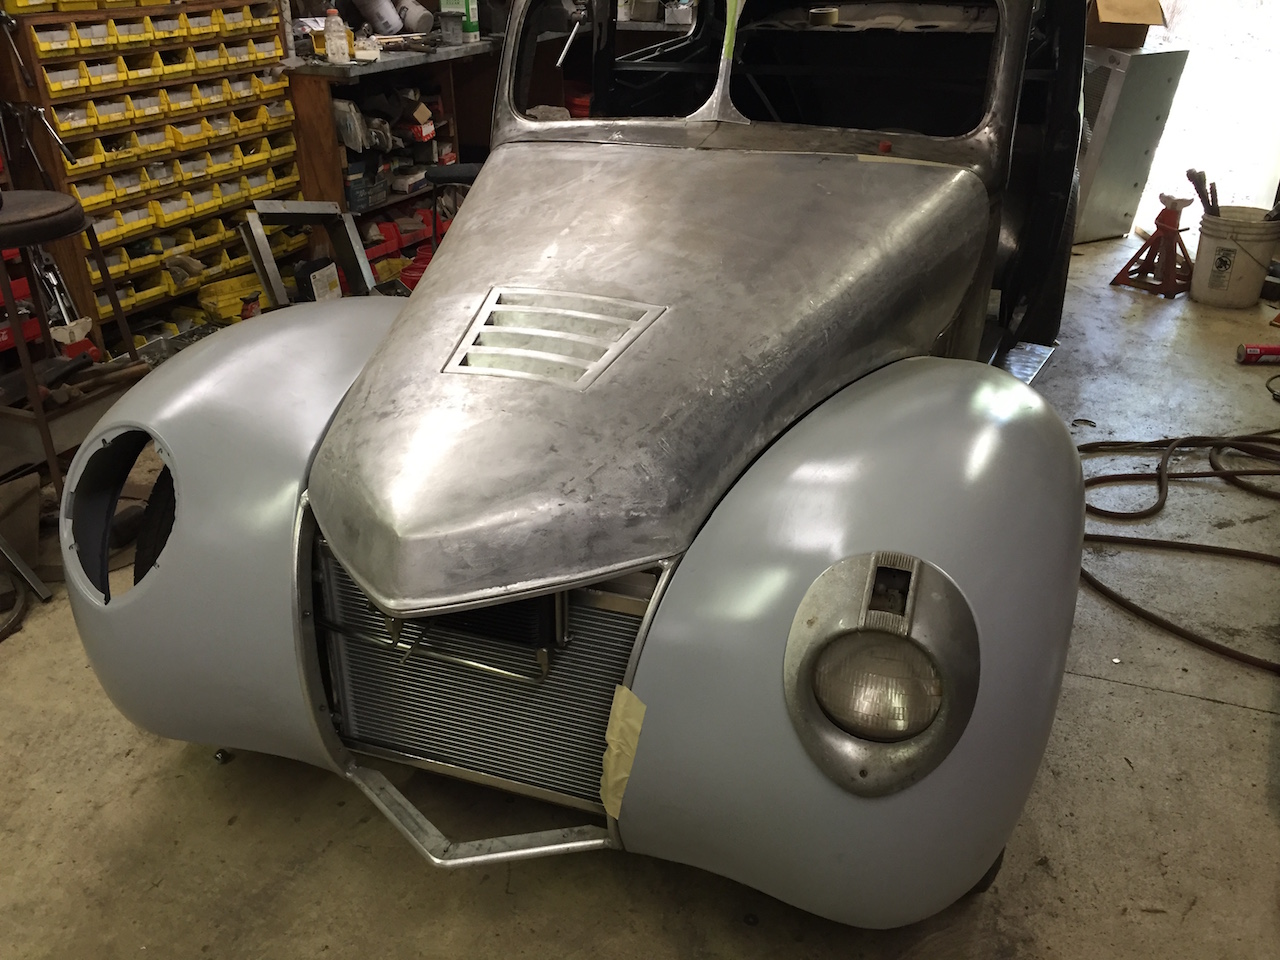
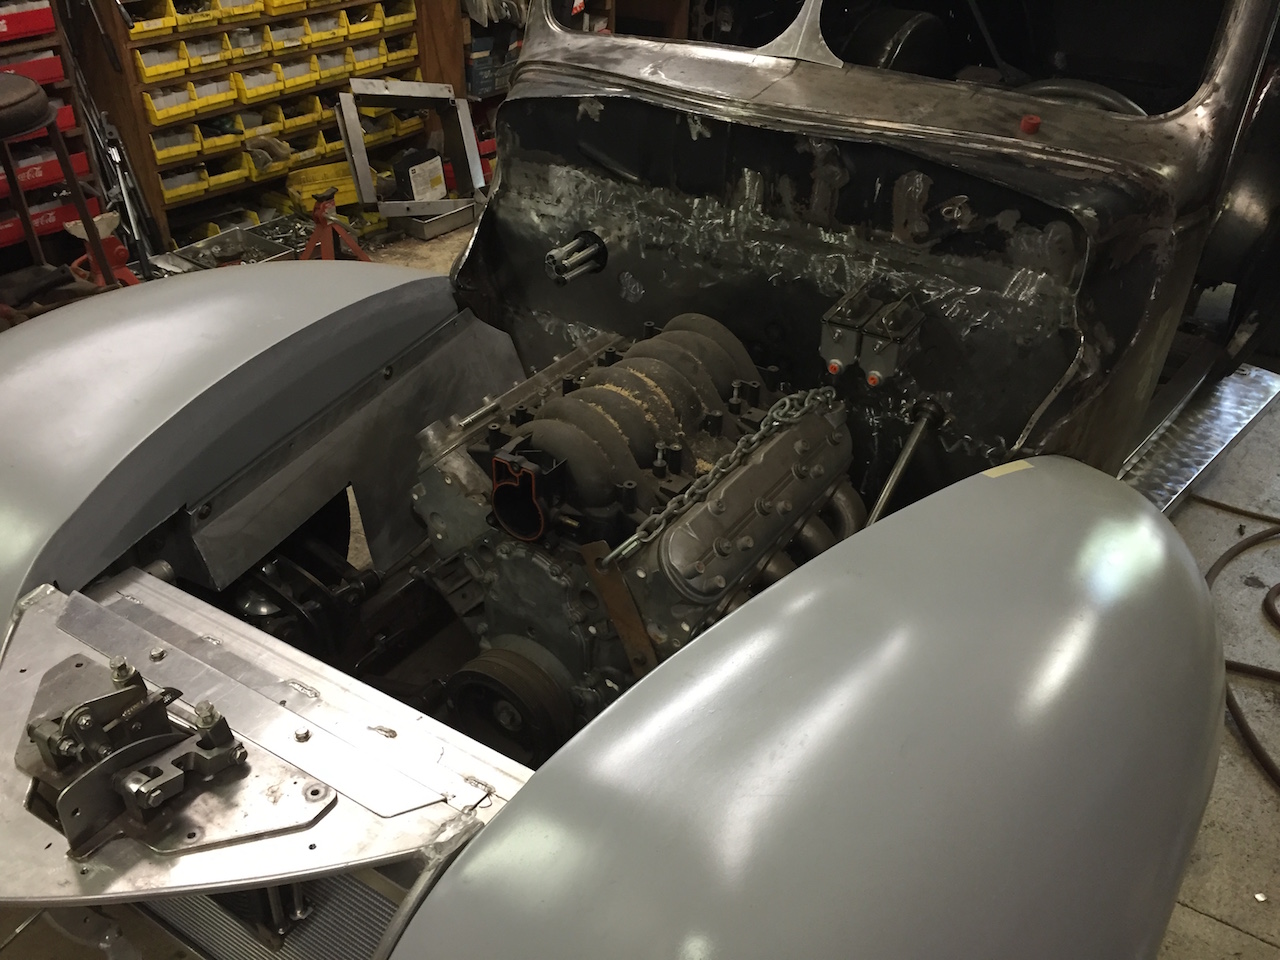
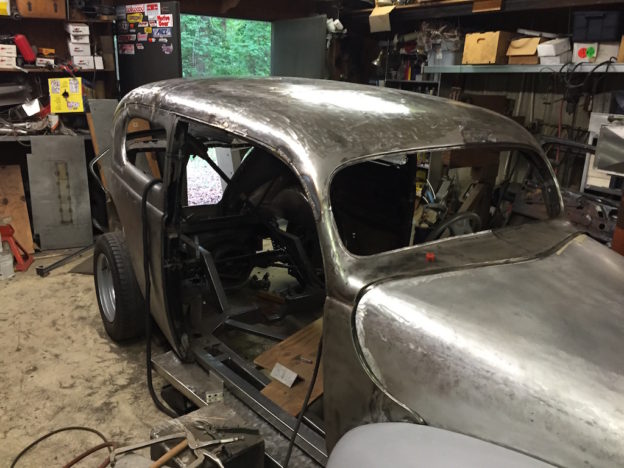
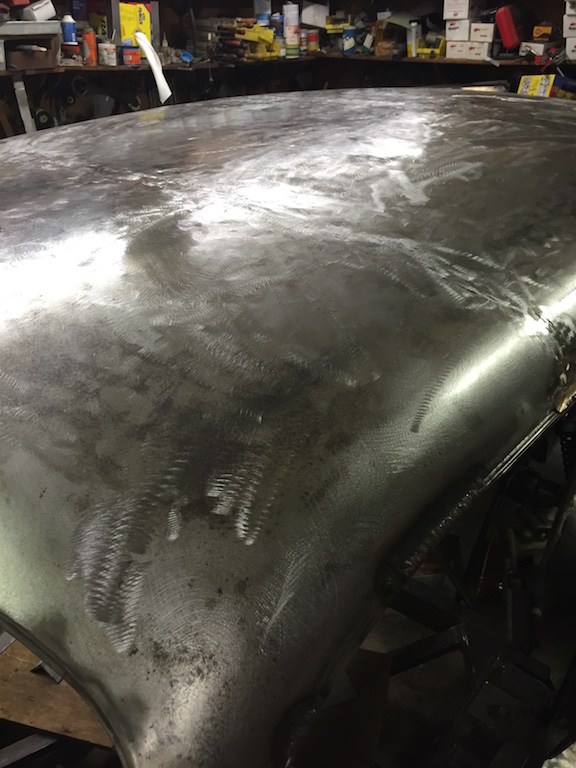
As you can see from today’s featured image, the top has taken shape once again and looks more finished. During this process, Jim found out there were alignment issues with the top itself. Not from the alterations, but from the original stamping of the sheet metal. As it turned out, the passenger’s side was not exactly symmetrical and required the use of a friction jack devise mounted inside the car while Jim welded the sheet metal inserts to make the top line up.
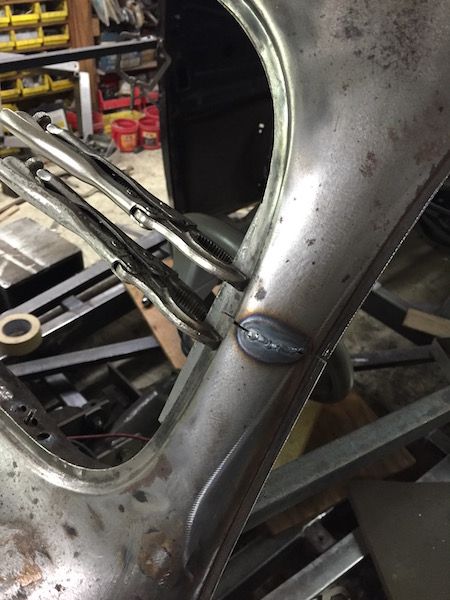
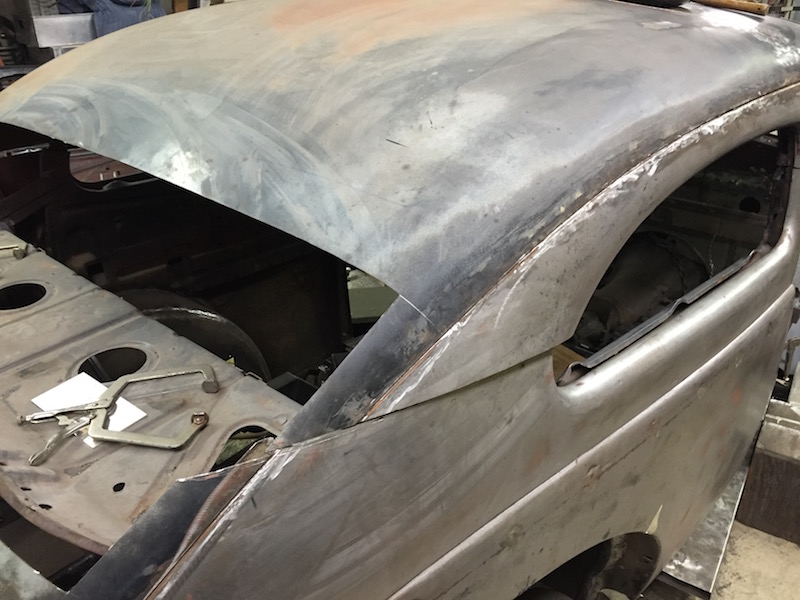
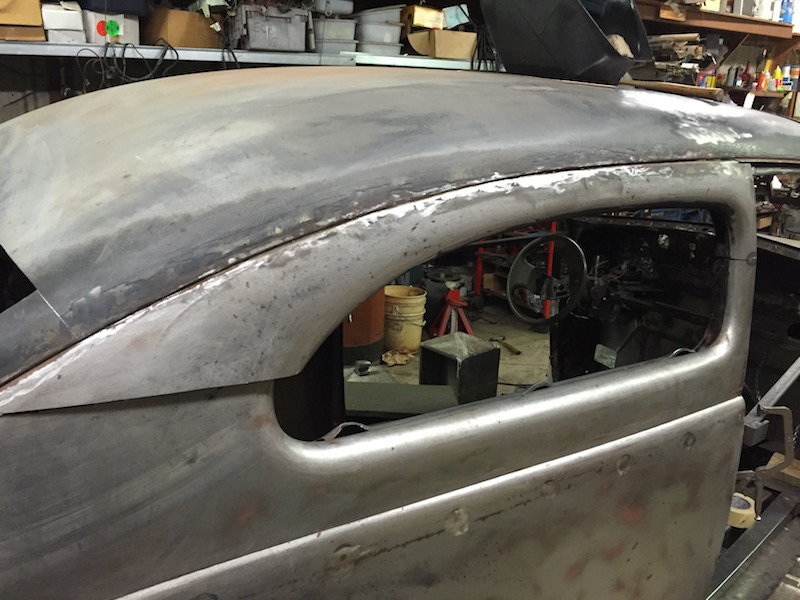
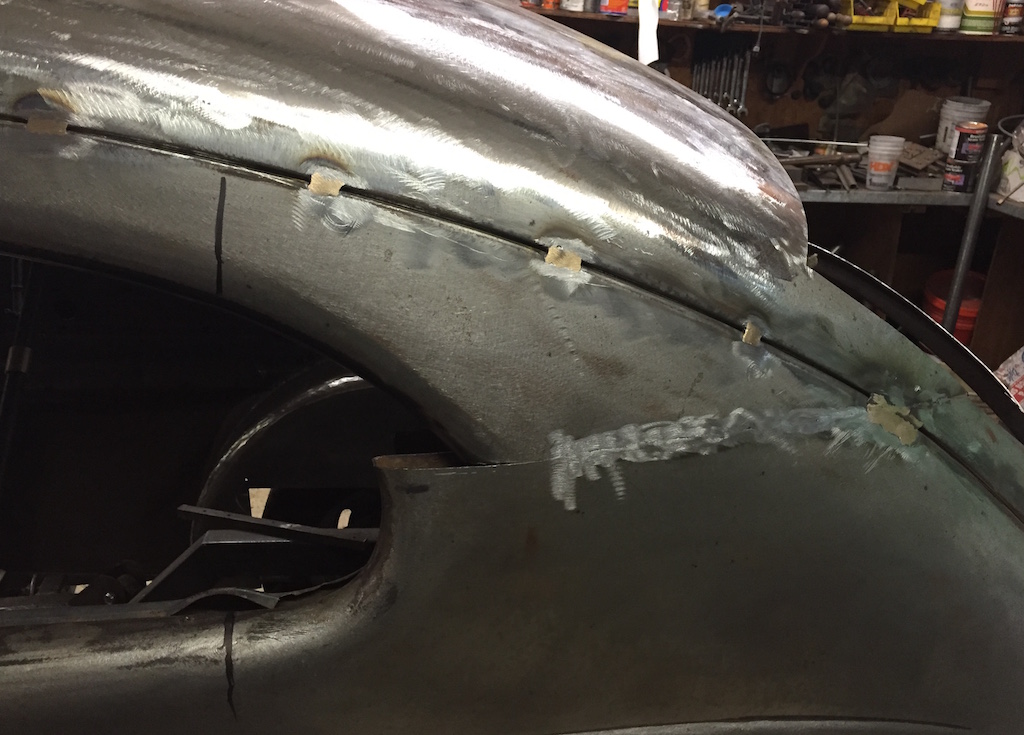
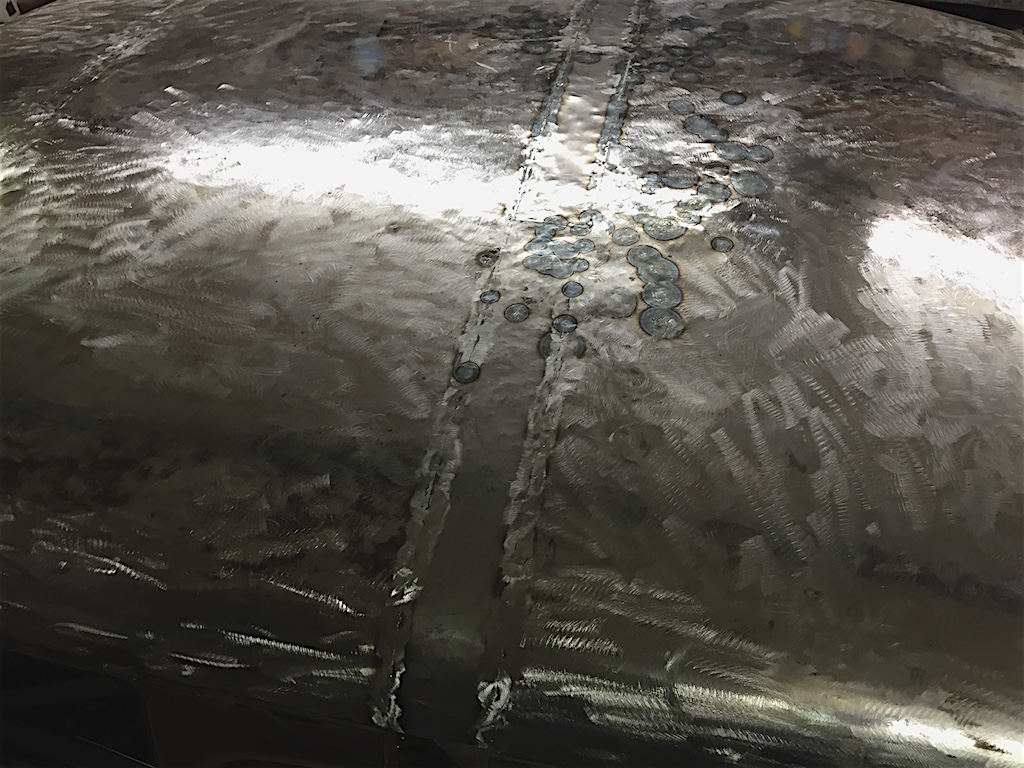
In the earlier post I described how a “filler” of sheet-metal had to be welded on the top to account for the material lost from chopping the top. This section has been completely TIG welded, shaped and rough-sanded as shown in the following picture gallery…
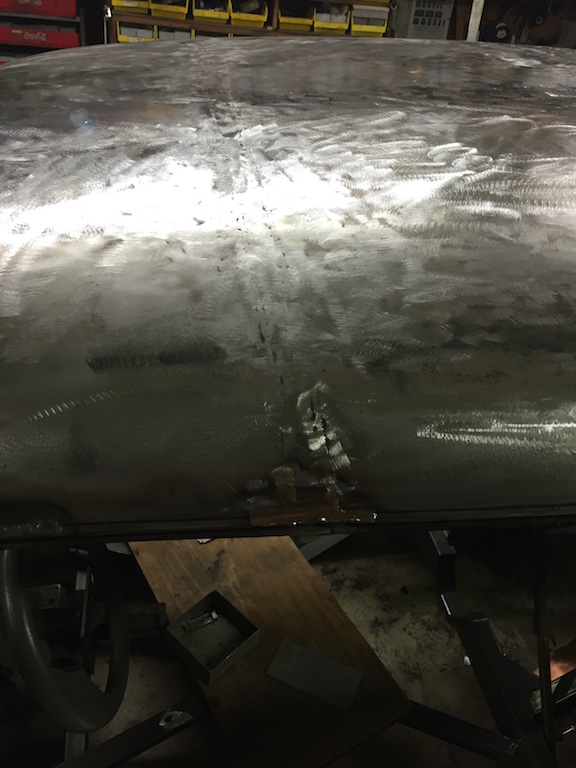
If you look closely, you will notice the drip rails past the door opening have been cut off (more about that later in this post). Also, you will notice the seam has some partial amounts of brass rod welded in. This will eventually be filled all along the seam and sanded down to a smooth finish. Think of this as a way of “leading” the seam.
And so we move to the back window opening…
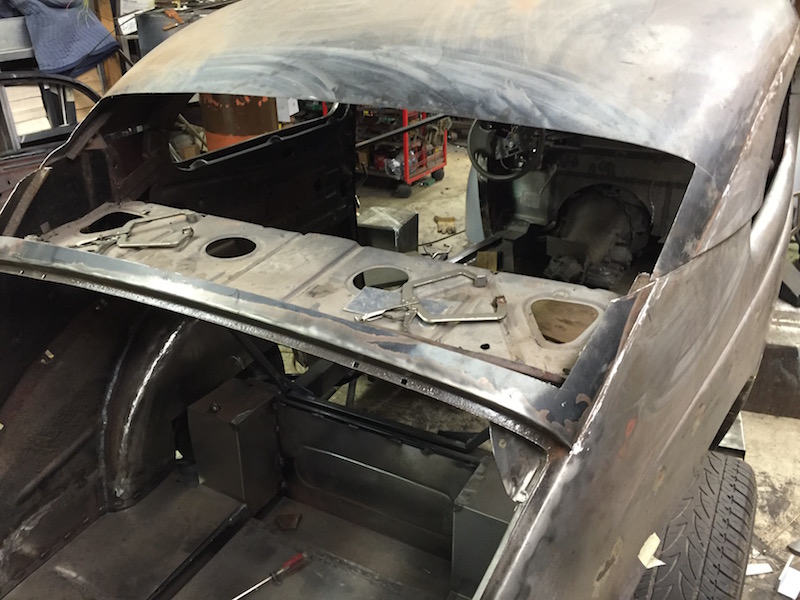
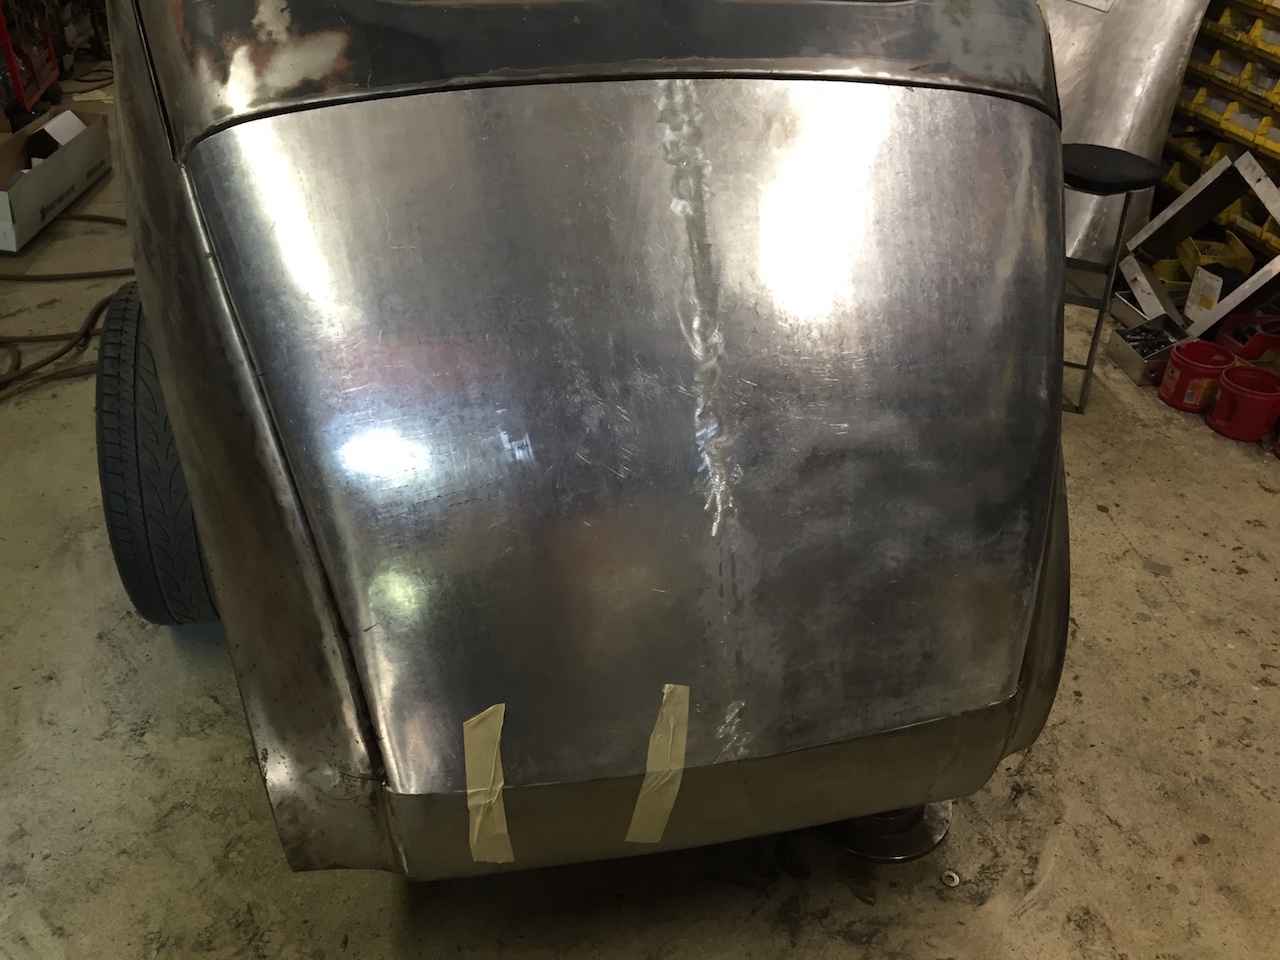
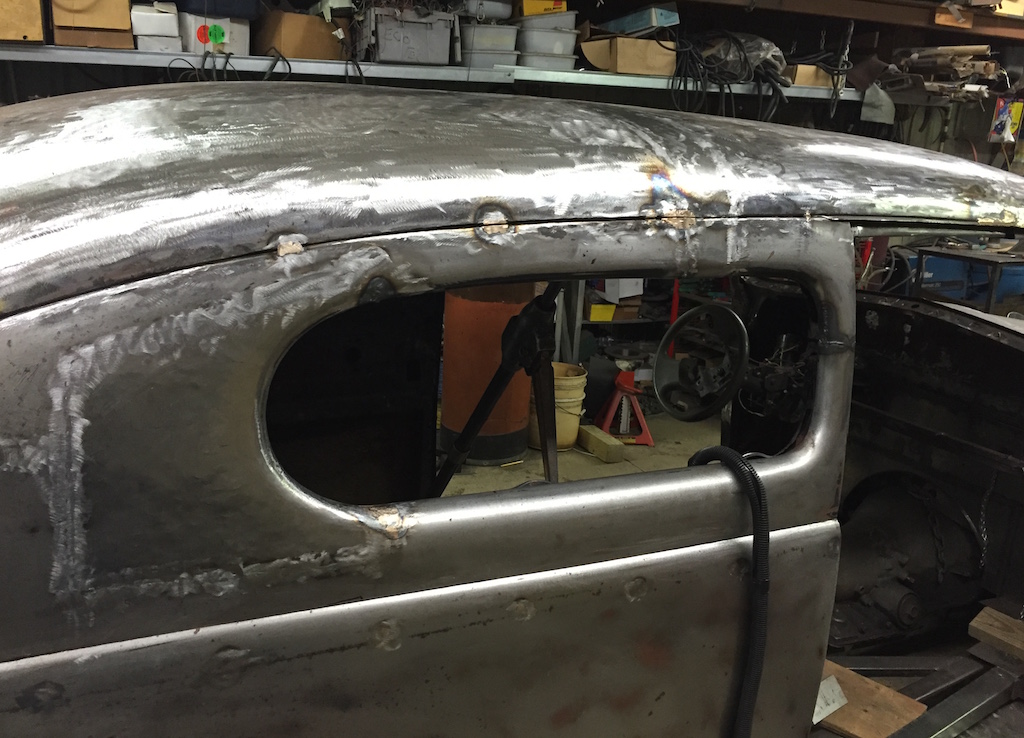
As you can see, stretching the top required yet another filler, this time above the rear window. Without the filler, the slope of the back top would not line up with the windshield and trunk area. Amazing what cutting the top down by a couple of inches does to the geometry of the car!
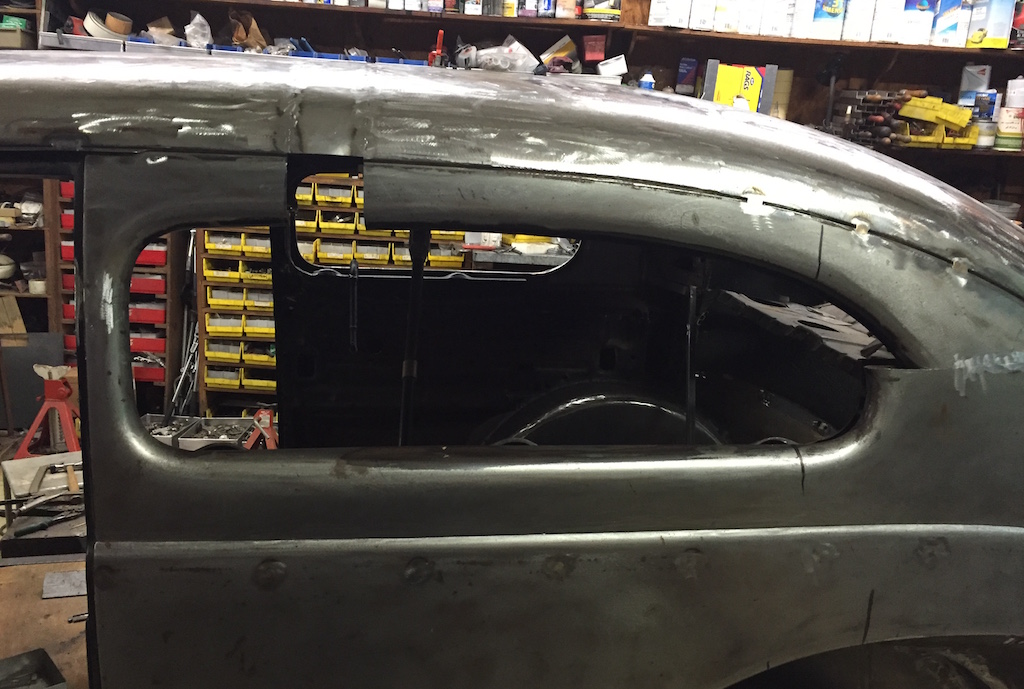
Looking at the left picture above presented yet another problem: the opening is out of proportion with the front. But, that is the way it came from the factory, right? Yes but that dimension made sense when the top was originally made. With the “chop” the geometry went to hell and Jim decided – right or wrong – to make the window opening smaller. Take a look…
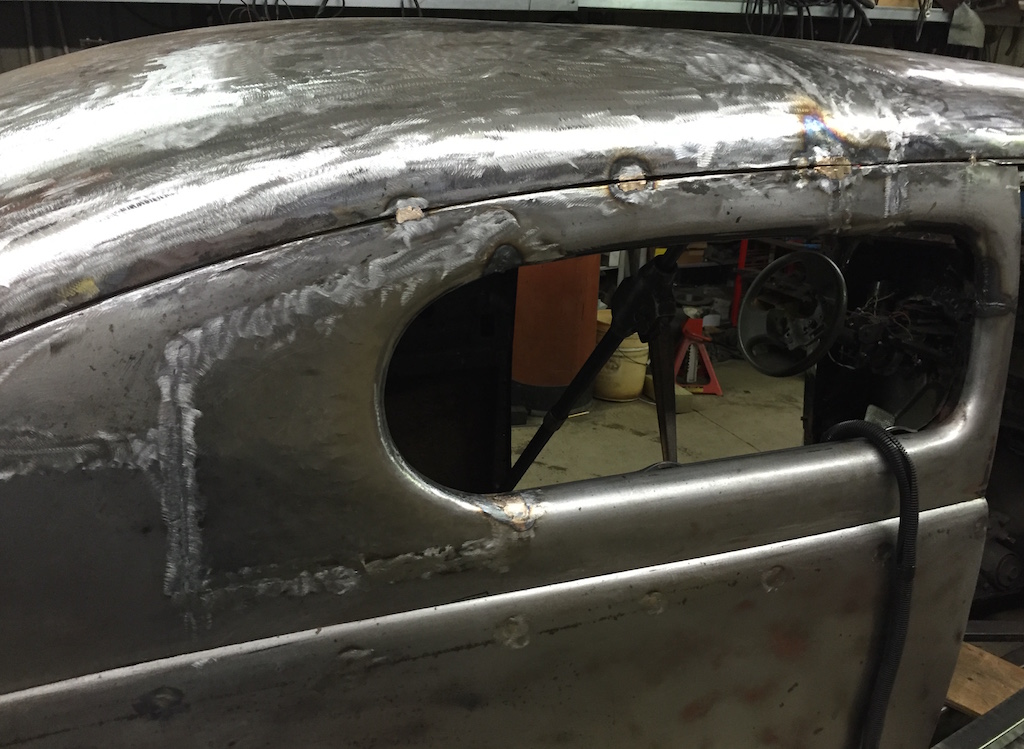
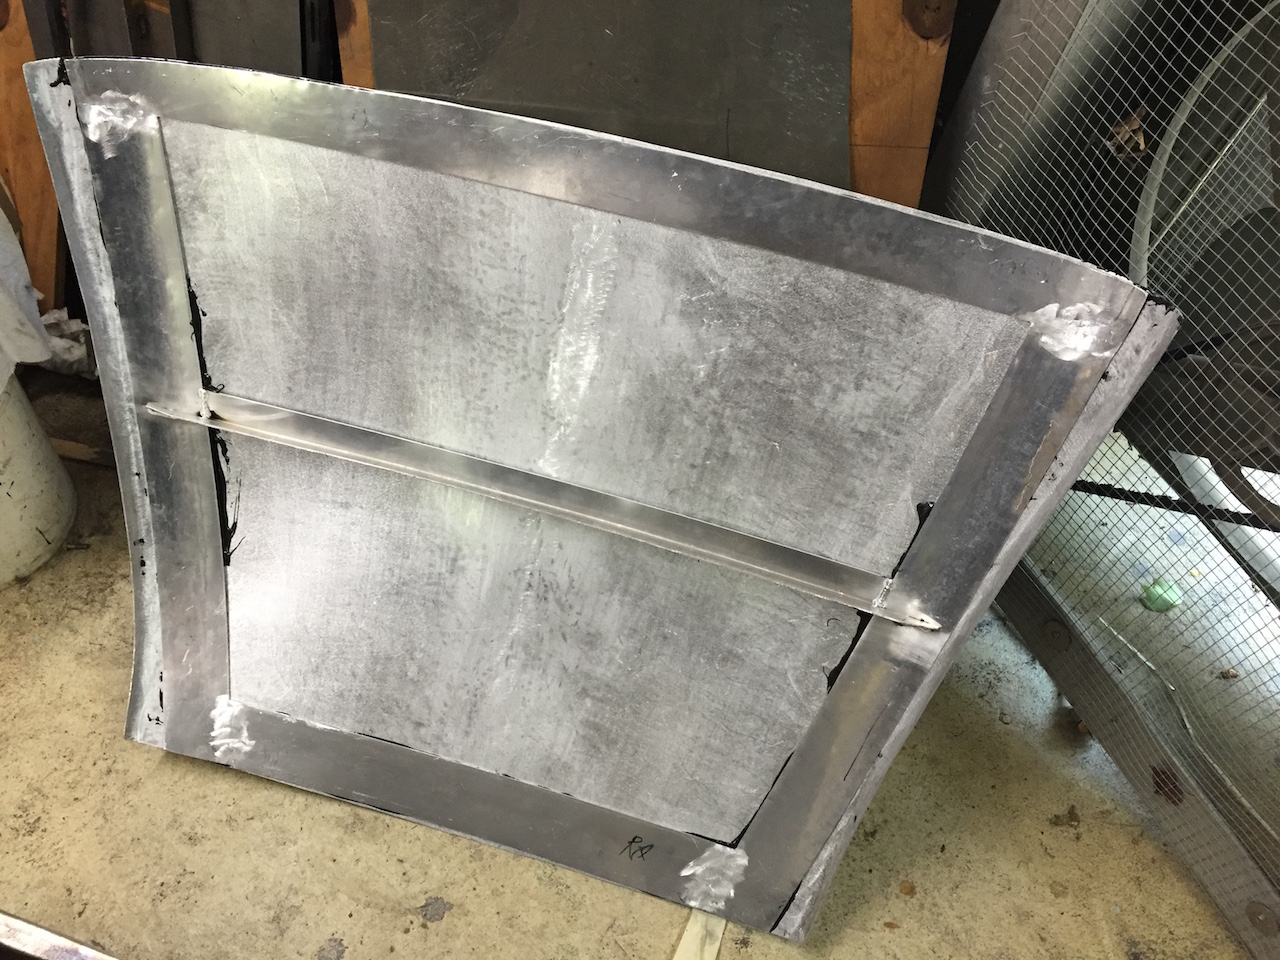
A new section of sheet metal now takes up some of the space and makes the rear window opening proportional to the front. And yes, this will need all new safety glass specifically cut to the new opening. You can also see more details of the seam I mentioned earlier, with the brass rod filler.
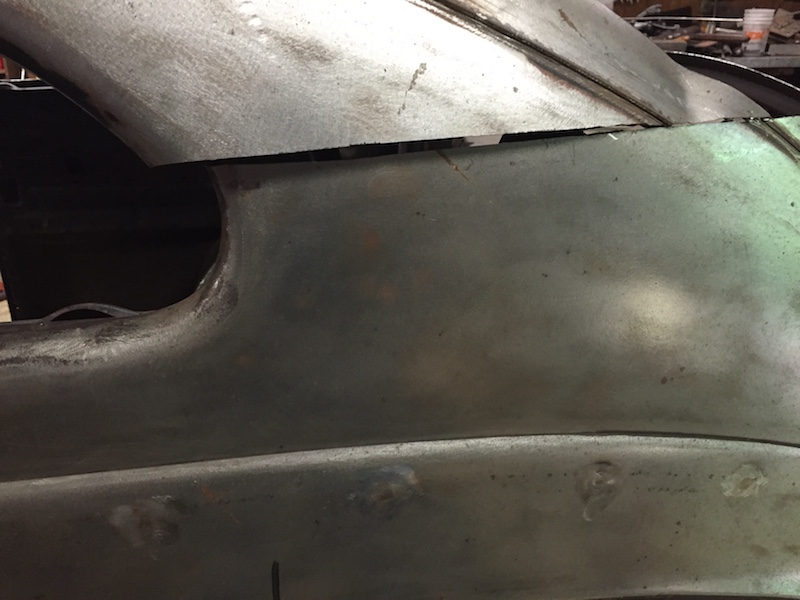
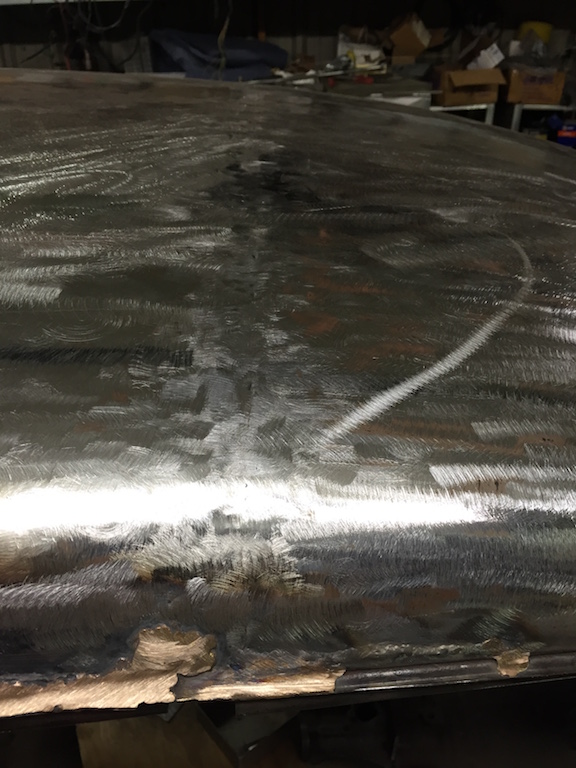
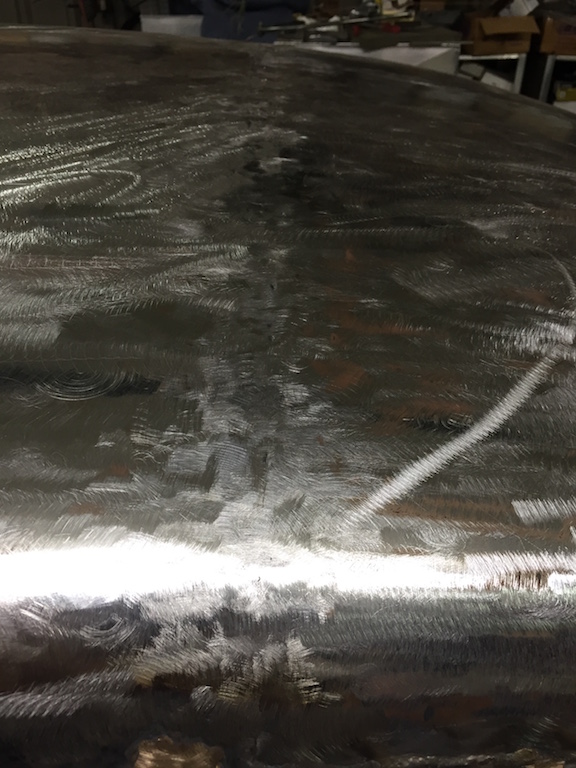
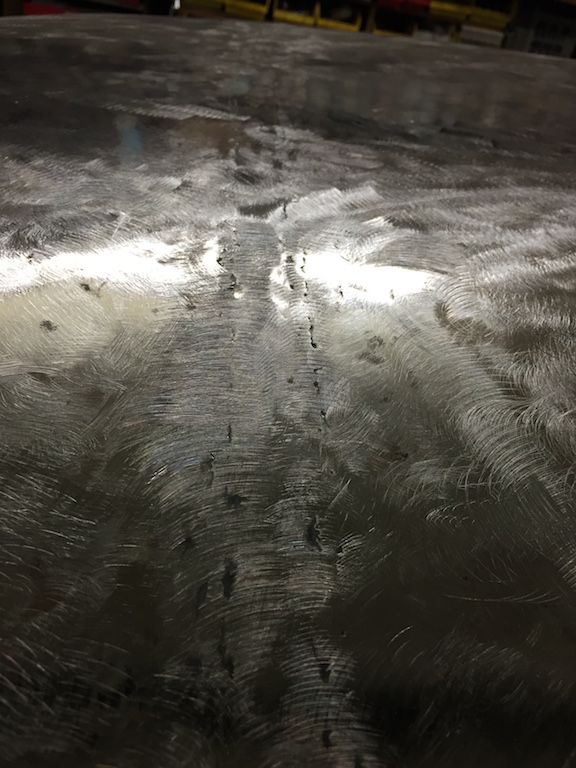
Next, the following gallery shows a collection of pictures from the second section of filler…

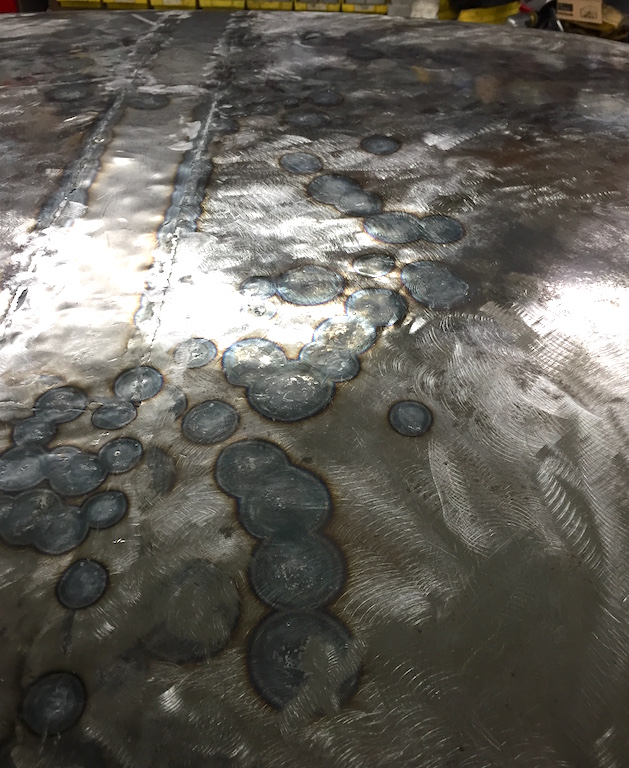
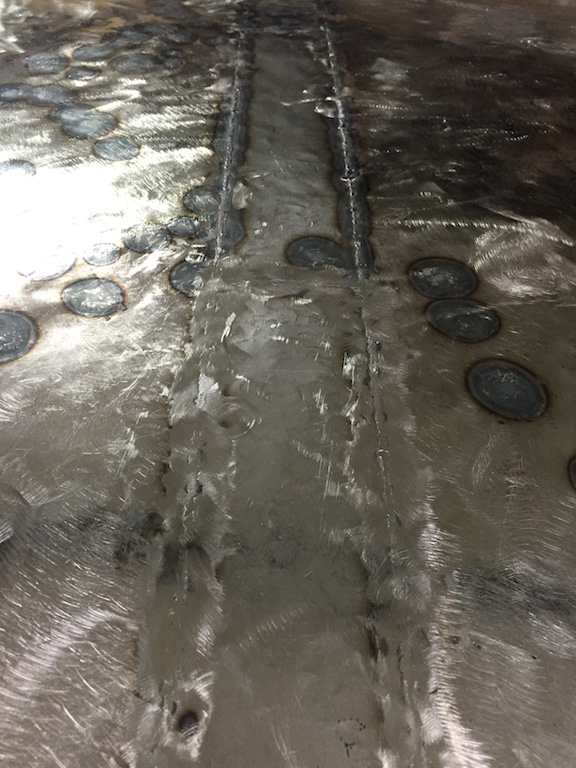
What are all those black spots? As it turns out, even with careful heat management during the welding of the filler strip, the top material warped. What you see in those black spots is the result of careful heating followed by hammer and dolly work. This method provides relief to the metal to shrink and expand, and thus remove the “oil can” effect introduced during the welding process. I’ve seen Jim do this before and it takes careful application of heat otherwise it only makes the warping worse.
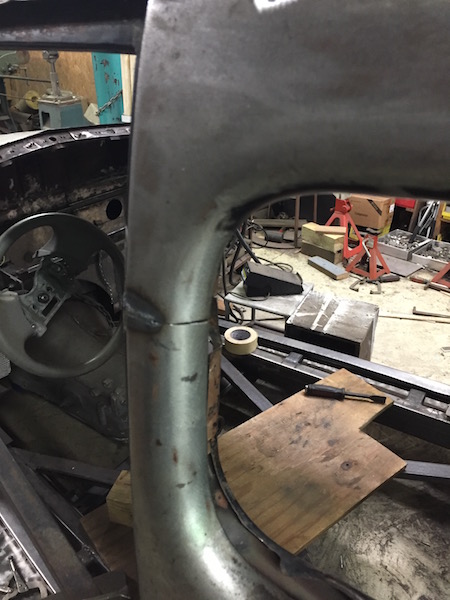
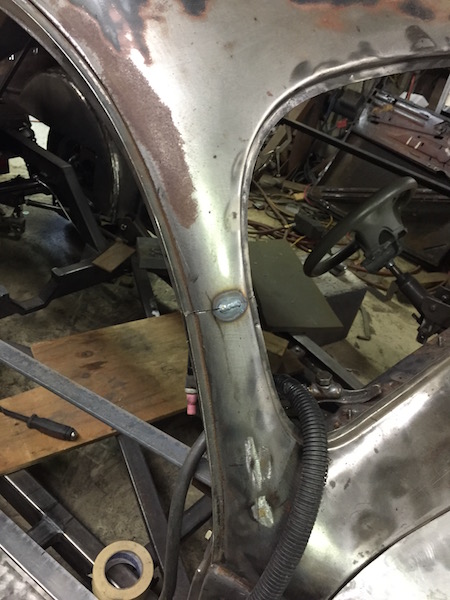
Here is a closeup of the area where the drip rail was removed:
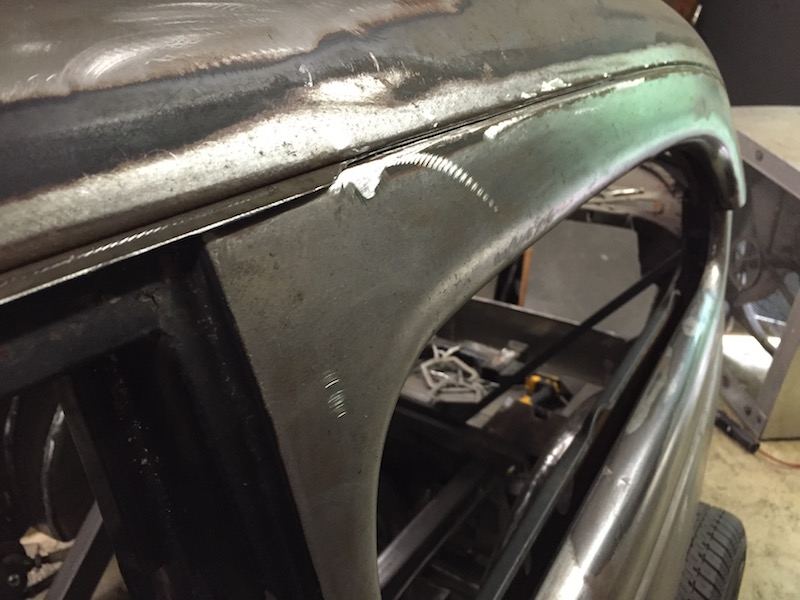
No more ugly drip rail over the rear window opening…
Only a small part of the drip rail was left over the opening of the door. The rest has been cut off and the seam will be eventually filled with brass welding rod. Why not just use Bondo? Well, this is a stress area and as flex takes effect the Bondo filler will crack. So in a case like this it is best to fill the opening with metal.
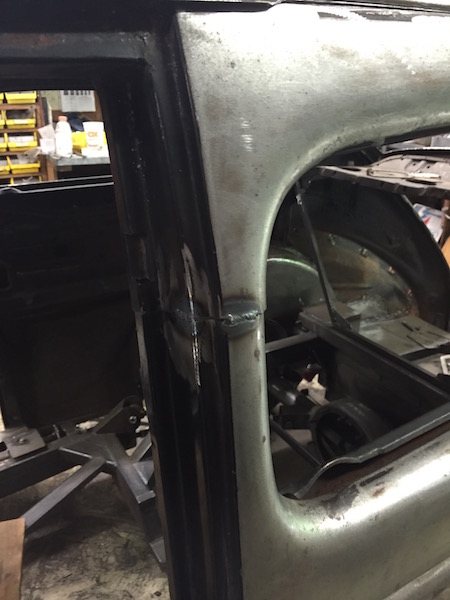
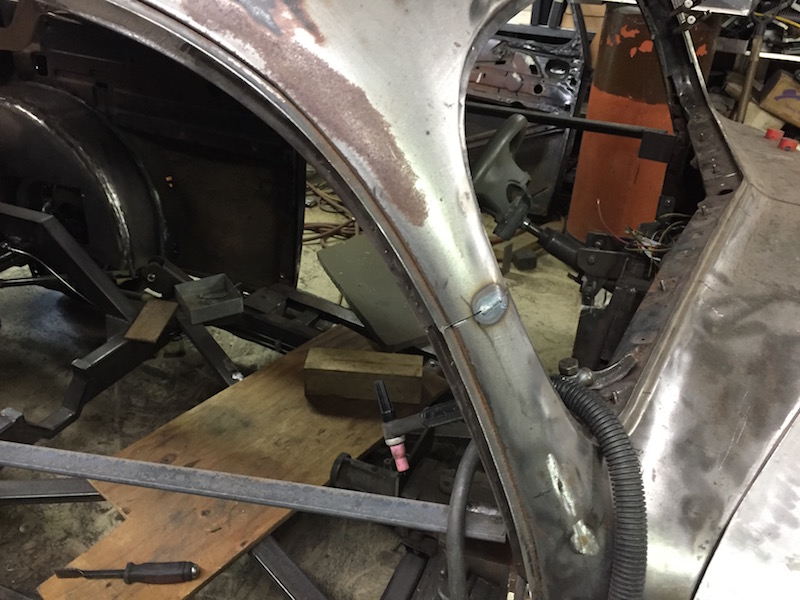
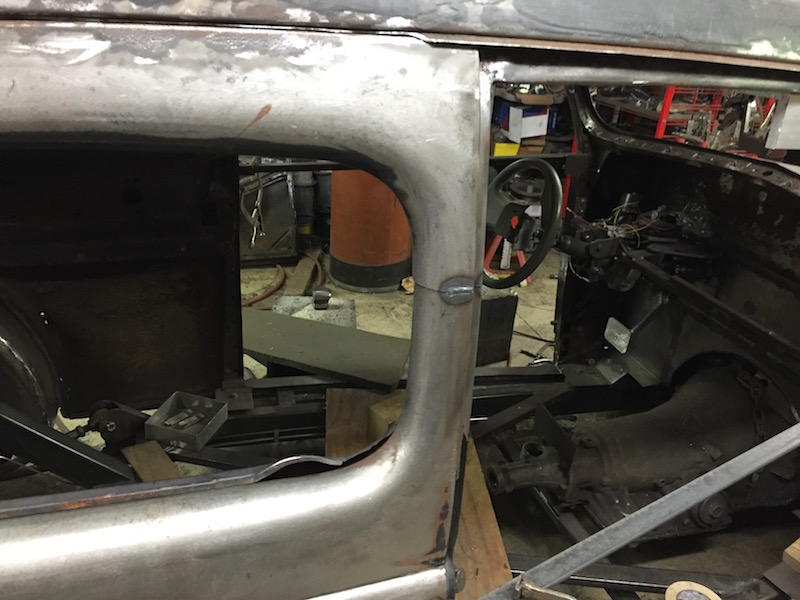
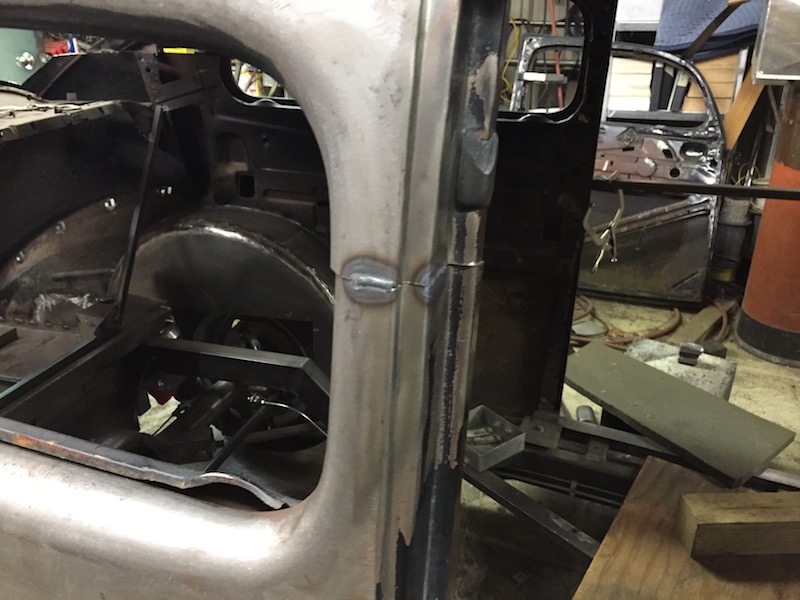
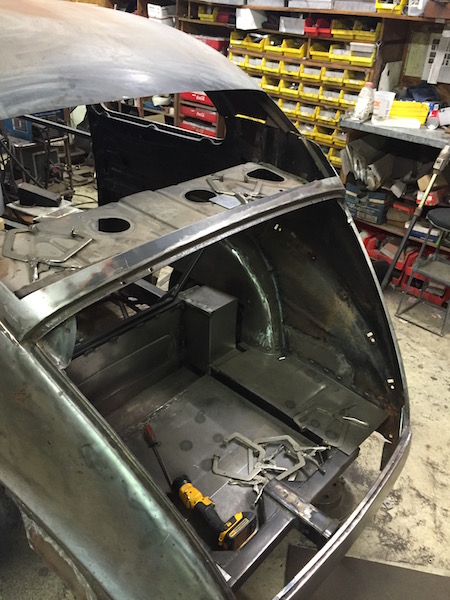
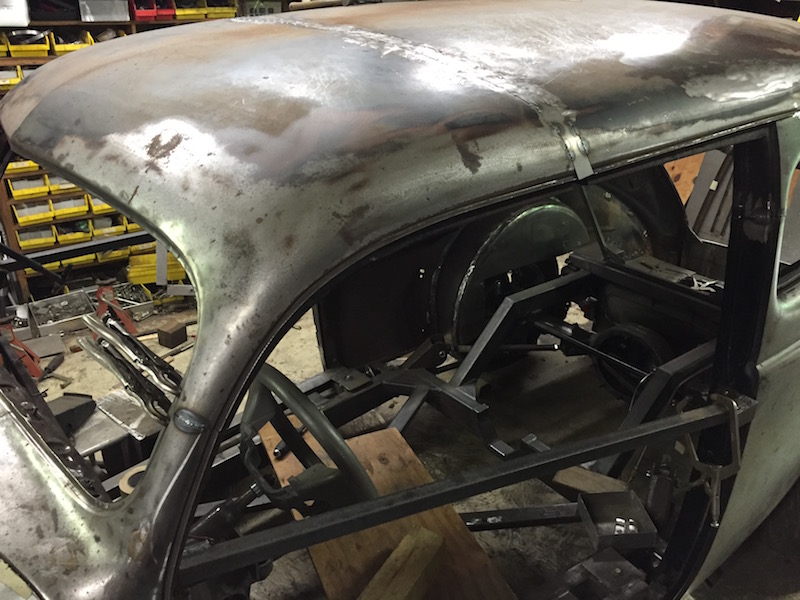
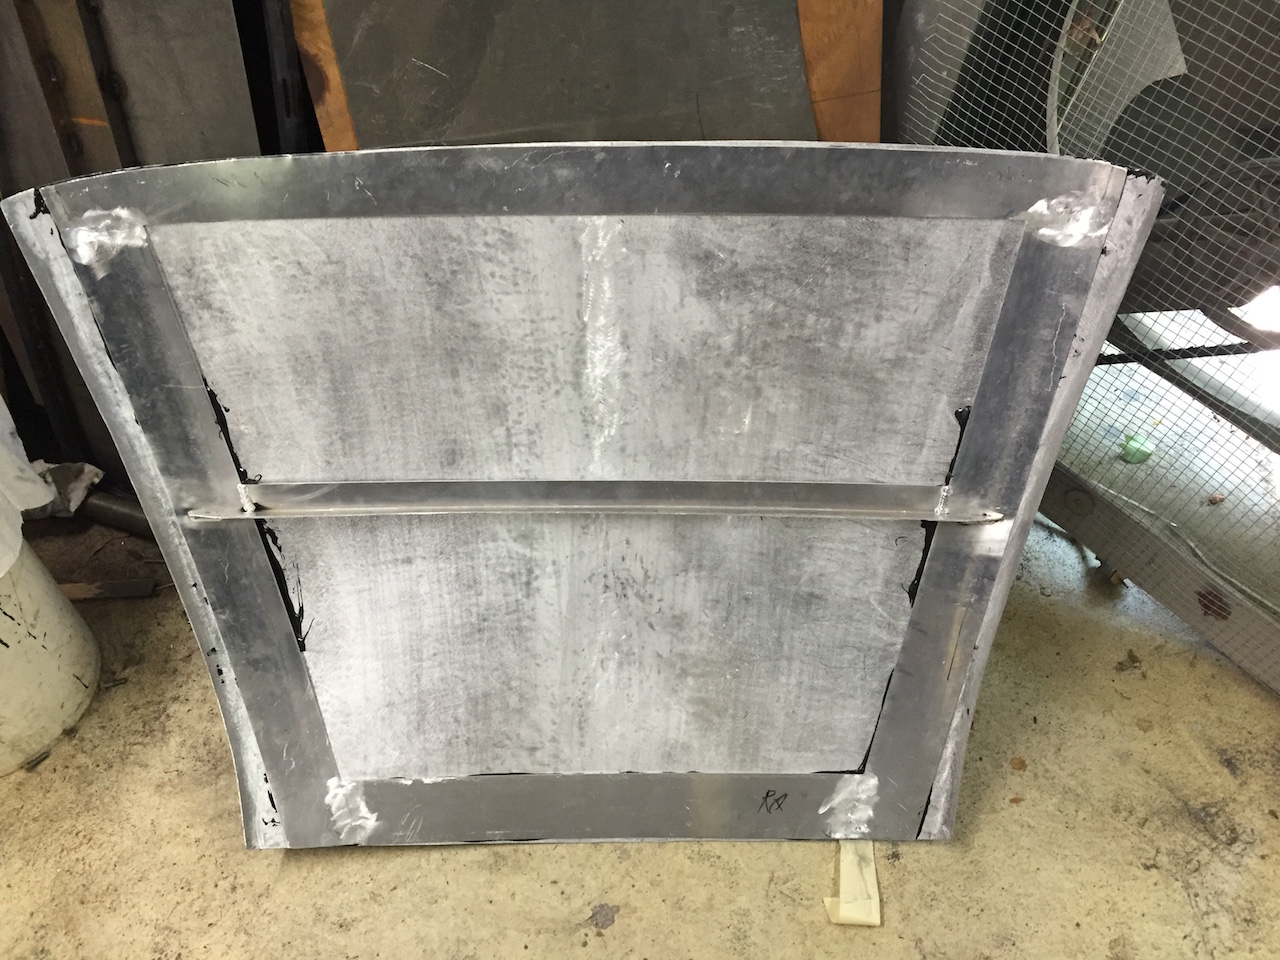
And finally, the rear glass opening…

Note the side pillar weld has been filled in…
The opening has been left very large as to allow room for a “frame” that will eventually fit around a donor piece of glass. One of Jim’s buddies has a junker Chrysler convertible with a nice glass rear window. The plan is to cut the soft top on the Chrysler and remove the glass, cut all excess off and then make a frame to fit in this opening. I’ll have more details on that in a future article.