I’m not very keen on endorsing products but, I will make an exception for the Holley EFI Terminator kit. At my cousin Jim’s shop is Wayne’s 1956 Chevrolet 210, restored sometime in the 1980’s with a nice paint job, interior and a crate engine. Wayne wanted something more reliable and fuel-efficient, so the old carburetor got ditched and work started to help bring this American icon back to life with modern EFI. The centerpiece of all the new parts and today’s topic is the Holley Terminator EFI kit.
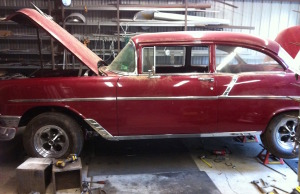
Wayne’s 1956 Chevrolet 210
A new, fuel-injection compatible fuel tank with high pressure fuel pump, replaced the original tank. The fuel pump kit included a special cylindrical shape sock made of a material that resembles a loofah sponge; this prevents sloshing and erratic fuel gauge readings. Pretty cool stuff. This was then plumed forward to the engine compartment with new stainless tubing. Nice and tidy.
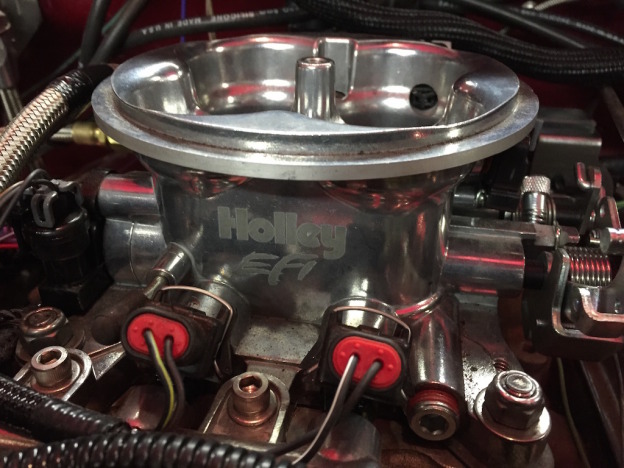
The Holley Terminator EFI kit comes packaged in a large box including all the bits needed to replace an aging carburetor. This includes a device that resembles a 4 barrel carburetor but with all the necessary sensors needed by the EFI controller.

EFI Throttle body – note the 2 injectors and Throttle Position Sensor (TPS)
So essentially this is a Throttle Body Injection (TBI) kit. You can see in this picture the four butterflies, the two fuel rails and two of the four injectors. These injectors are special in that they spread a very fine mist below the butterflies that bust up fuel into a very fine fog. There is a throttle position sensor (TPS), manifold absolute pressure sensor (MAP) and an idle air controller (IAC). This whole affair sits on top of the intake manifold with no changes.
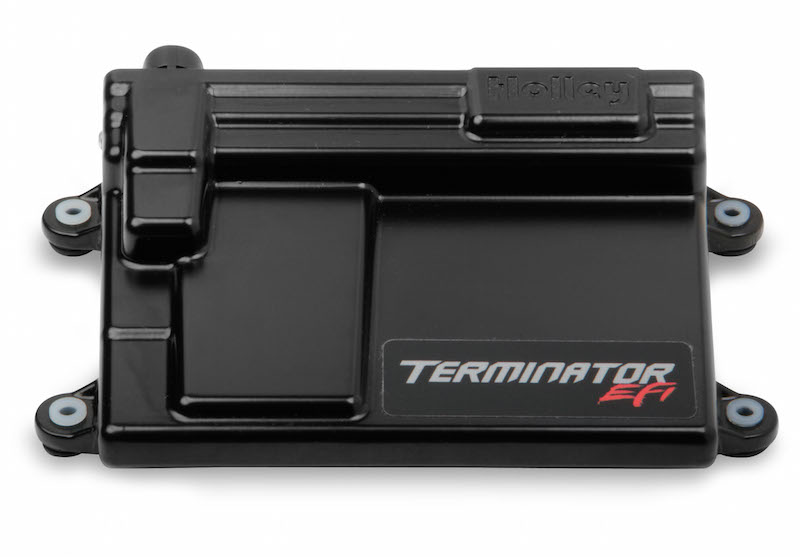
Holley Terminator EFI Controller (from the Holley website)
In the box is also a high quality wiring harness with first-class connectors and very clearly labeled wiring harness; wide band oxygen sensor and engine coolant temperature (ECT) sensor. Several plastic bags are also included with just about any bolt and transmission linkage adapter one could ever need. Finally the centerpiece of the kit: the Terminator EFI controller and hand-held interface. This is the same controller used by NASCRAP these days except that instead of four injectors, they use eight. This controller can also be configured to run 4, 6, 8 or 10 injectors so this makes an excellent choice for other projects. 

GM HEI distributor
The Terminator controller provides the ability to also control timing provided the a suitable distributor exists. In this case, Jim installed a GM HEI distributor with new custom-cut spark plug wires.
Configuring the EFI Terminator and First Start-up

Holley EFI Terminator hand-held interface
This is where the Terminator kit really shines. To kit comes with a joystick driven interface used to navigate a simple menu driven configuration. The interface gets connected to a special port in the harness and enables the user to configure the controller as well as for monitoring real-time the sensors. Prior to startup, the “Wizard” option enables input of engine-size, cam-profile and distributor type.

Throttle linkage and MAP sensor
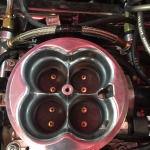
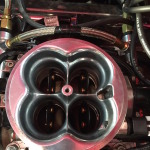
Next, the Throttle Position Sensor (TPS) requires calibration. Using another configuration menu option in the handheld interface, the throttle linkage gets cycled twice. This action tells the controller the range of motion of the TPS. The goal is to have the range of motion between 0% and 100% and this is easy to read in one of the “MONITOR” screens on the hand-held interface.
-
-
Throttle butterflies closed
-
-
Throttle butterflies open
Once initial controller configuration is complete, it is time to start the engine. Part of the built-in logic of the controller is the ability to “prime” the intake manifold by cycling the injectors depending on readings from all sensors. This prevents flooding.
In our case, it took a few tries but eventually it fired off and ran very strong. After a few minutes at idle the controller went to closed-loop. Next on the configuration process we had to set timing. This required revving the engine to approx 2000 RPM’s and shining a timing light. The HEI distributor needed a minor adjustment enabling the RPM’s shown on the hand-held interface to match the reading on the crank. At this point, the distributor could be locked in place.
Concluding initial setup required setting the idle speed. This step calls for selecting the “MONITOR” option and reading the idle air controller (IAC) value at idle. With a few tweaks of the butterfly adjustment screw we set the IAC value in accordance to the instructions.
Now What?
The next step requires taking the car out on the street. We are not ready for that just yet because the interior must be put back, instruments installed and so forth.
Overall the Holley EFI Terminator kit is impressive. Installation is very straightforward and the hand-held interface foolproof. Yes, it is very “basic” (more on that in a minute) but it gets you going with very little confusion. One thing I did not like is the flimsy and diminutive plug used to connect the hand-held interface to the main harness. It is very delicate – perhaps a more robust connector could have been used.
The documentation provided in this kit is excellent. Somebody took their time writing this and Holley structured the start-up process in a very well-organized and detailed way. There are plenty of pictures and diagrams especially of the menu-driven interface configs. This instruction manual deserves careful reading because there is a lot of information.
Another very big plus about this system is the ability to control electric fans. The controller is capable of running one or two electric fans. The hand-held controller also allows setting the “ON” and “OFF” temperatures for fan operation. In this installation because of space limitations there was room for only one fan. The preset temperatures were left alone: fans turn ON at 195 degrees and they go OFF at 180.
As if this were not enough, the controller can also be connected to a laptop! The software is available for download from the Holley website and requires a USB cable. In this case the cable gets connected directly to a port on the controller. According to what I have read, this is how more complex and detailed configurations get selected.
I’ll have more details on how the rest of the configuration goes once the car is ready for the road.
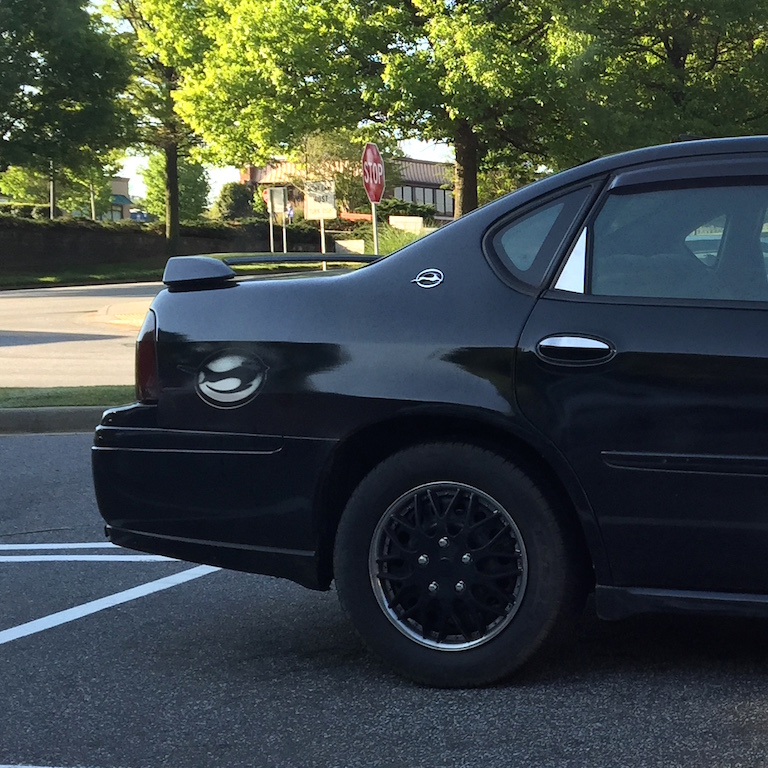 And there you have it… The stencil is upside down! Details, details…
