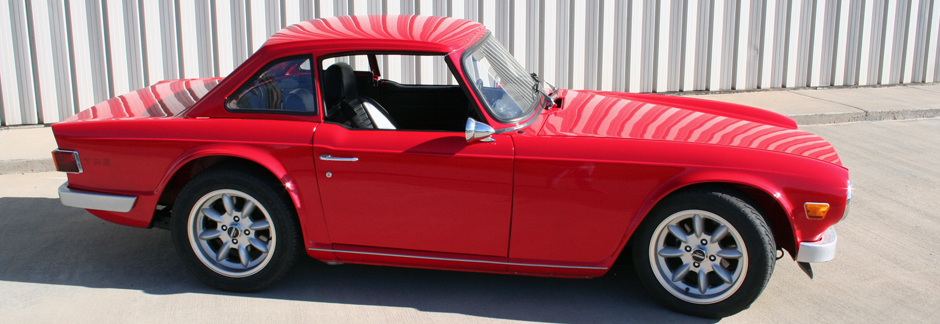
The last and final installment of the bowtie6‘s custom wiring takes us to the inside of the cab. This will be the last on wiring – I know this is getting boring but I just want to show what can be done with a little creative thinking.
So what do we have here?
The picture above shows the quilted maple dash we made, it is mounted to an aluminium backing dash which in turn is bolted to the stock TR6 mounts. The vent is fully operational with a bit of a twist – I’ll have to write about this later…
Behind all this you can see what I call the “cab” wiring. Here are two spade fuse housings holding 7 of 8 fuses. The ones on the left side are constant “on”; the ones on the right are switched. In the middle you can see four relays. Here is a closeup:
Why the missing fuse? I am not completely done with the interior wiring and this circuit will be used at a later date when I add the final details to the inside: fully operational door activated interior lighting.
Relays & Fuses
Four relays are mounted on this plate. They control the following:
- Heater and windshield wipers.
- Turn signals – one relay controls “left”; the other controls “right”.
- Parking lights.
As with all the other switches, the heater and windshield wiper switches make “ground”. They in turn activate the electromagnet on the relays. The B+ to the electromagnet side of the relays are fed by the fuses on either side. I did not use circuit breakers here, I just used the spade fuese.
The turn signals are controlled by a stock TR6 turn signal stalk. The turn signals feed goes through a “blinker” switch and from there, a wire is sent forward to control the front signals and a matching wire is sent rearward to the back turn signals.
The same process is done for the parking lights. The parking lights and headlights are both controlled by a universal park-light/headlight switch. I bought this from the same supplier I bought all the wiring from and is commonly used in street rods.
Two banks of fuses flank the relays. The left ones are constant “ON” and supply power to the ignition switch, ECM and dash clock. Yes, we have a clock in bowtie6! I’ll have a writeup on the VDO gauges soon.
On the right, the fuses are switched “ON”. These fuses supply such things are the control side to the relays as well as instrumentation lights and such.
In Summary
Once again, I guess you must be saying “this guy has a lot of time on his hands”. Then again I wanted to make this flawless and 100% reliable. I imagine you are asking yourself if this can be “seen”. Well, I made sure to hide this as best as possible. You have to get on your knees to see the fuse panel. If you don’t know about it, you will never see it. Finally it is mounted high enough that it does not get in the way of your knees and/or feet.
Another great advantage about all this is that all three panels are very easily accessible. If for some reason a fuse blows it can be easily found and replaced. When I built bowtie6 the first time, the fuse panel was in one central location. It was VERY difficult to get to and was not easily serviceable. I made sure to make it this time very “user friendly”.
And Then There is More…
See anything “unusual” in the pictures above? There are two small details that do not exist in a stock 1972 Triumph TR6. See if you can spot them.
If not, stay tuned and there will be more about this soon…


#1. Good wiring layout
#2. Quality parts
Two thing not in a stock 72 Triumph TR6
This is one of the items folks don’t see. However a lot of time and effort went into it. It does make a huge difference though.